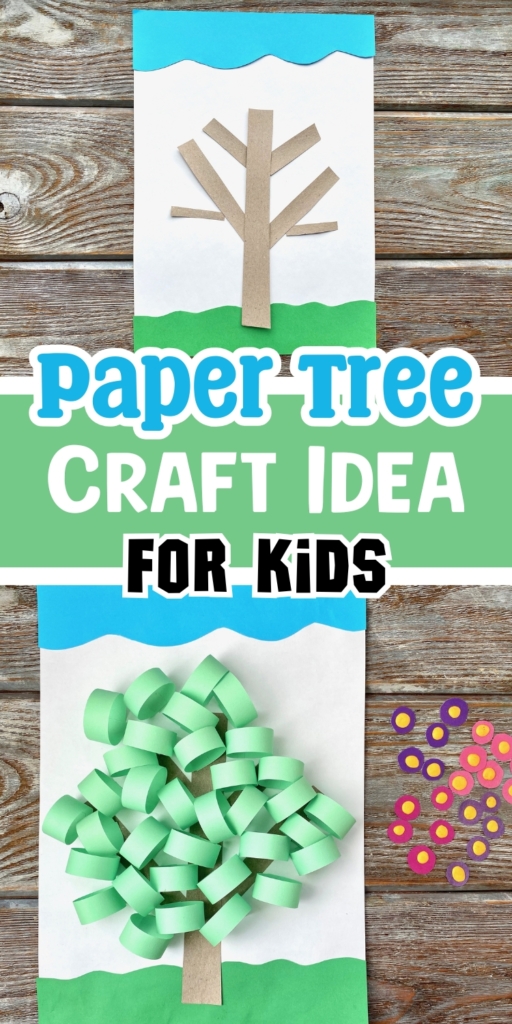
Turn a few sheets of construction paper into a beautiful 3D paper tree craft that is sure to be a hit with young kids.
This is such a fun art project to do with preschoolers and kindergarteners. My 8 year old son even had fun doing this paper tree craft with his little sister! And you probably already have all the supplies you need at home.
Gather Supplies
- Colorful construction paper
- Glue, scissors, and tape
How To Make 3D Paper Trees
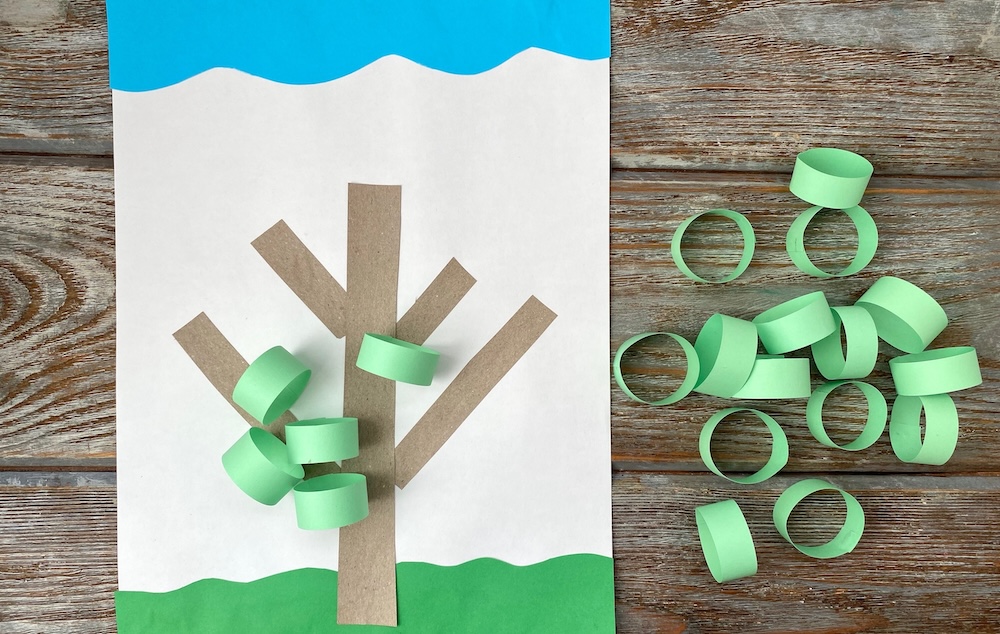
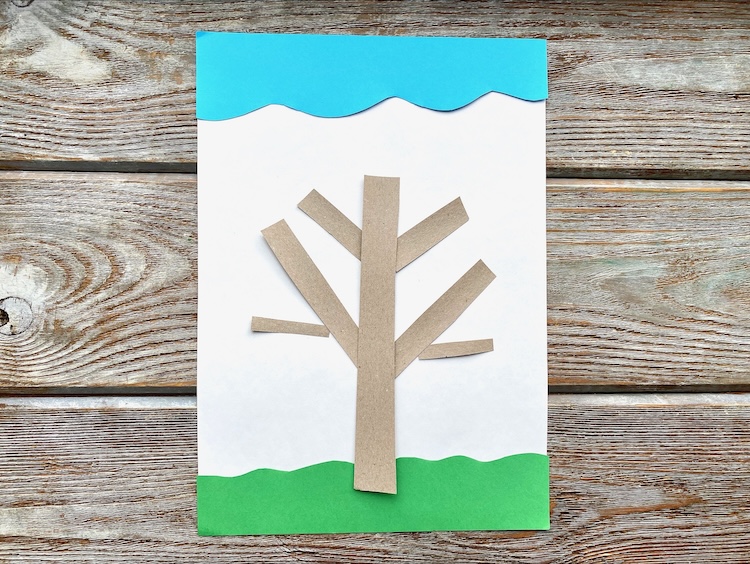
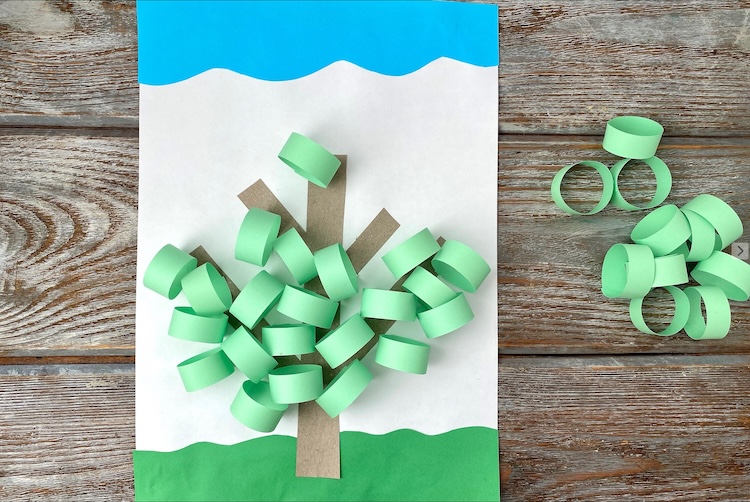
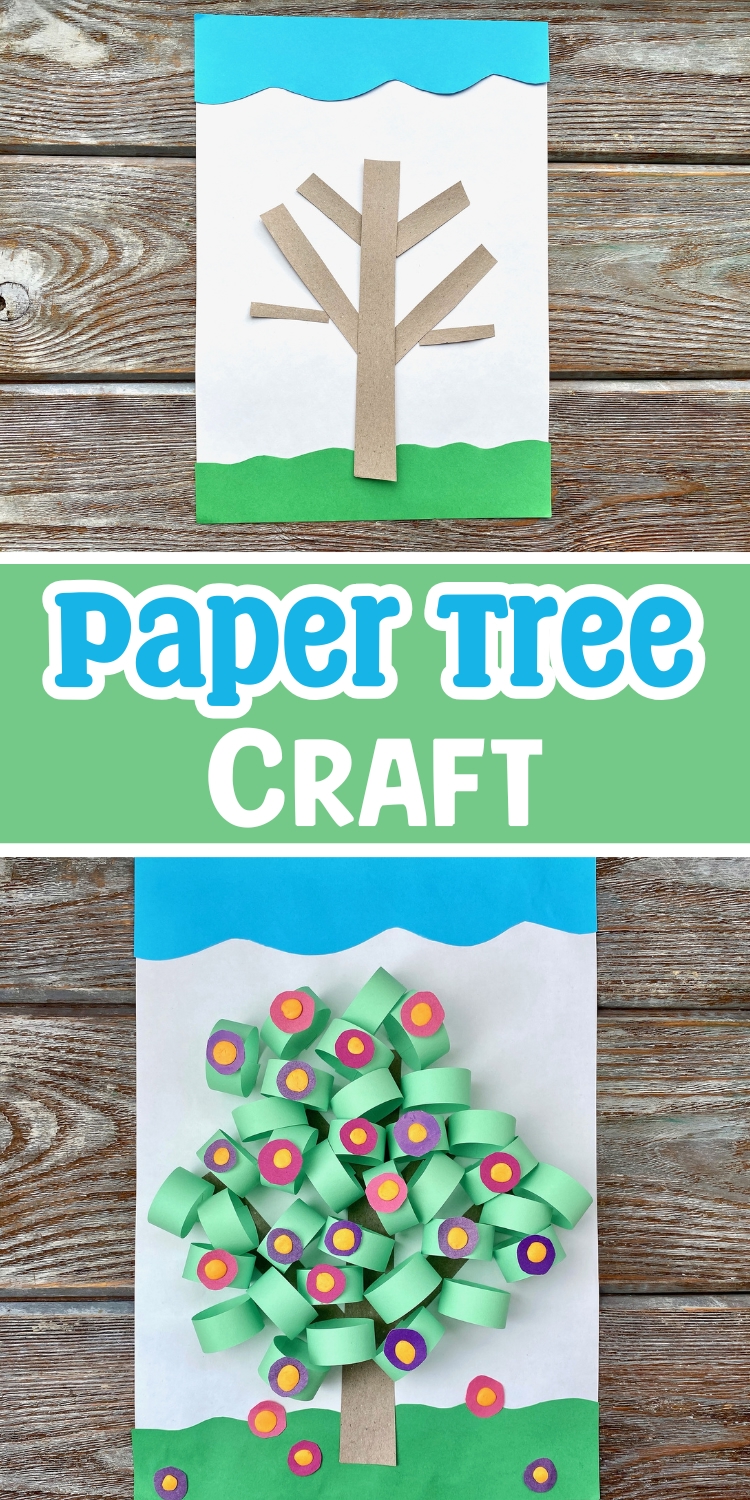
1. Start by cutting strips of blue and green paper (make one side wavy) and glue them to a white piece of paper like the picture below. Cut a few strips of brown paper at different lengths and glue them to the white construction paper in the shape of tree branches.
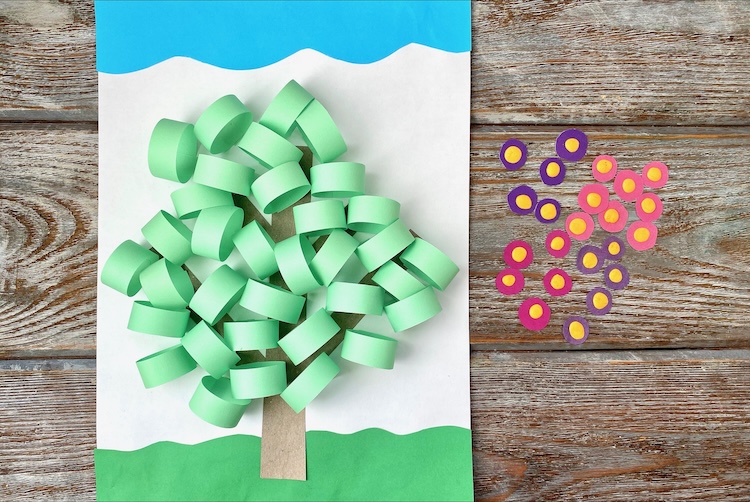
2.Next, cut 1 inch thick strips of green paper and attach the ends of the paper strips into a loop with a small piece of tape. (Like you’re making a paper chain but don’t attach the loops together!) Use glue, tape, or a stapler to attach the green loops to your tree branches. These are your 3D leaves.
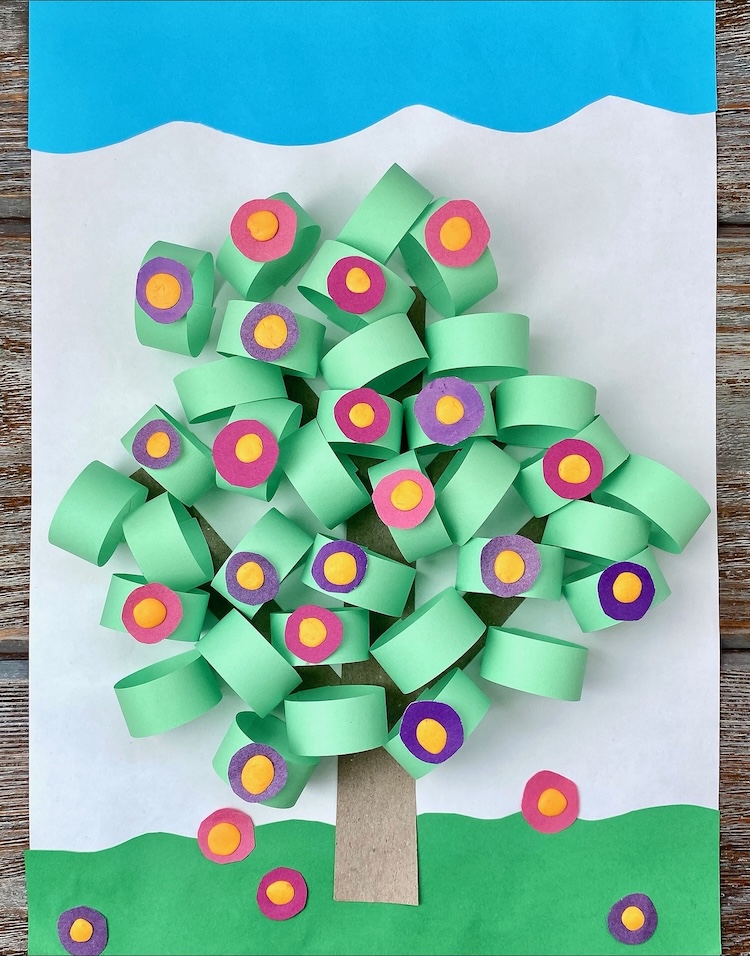
3.Now let’s decorate the paper tree with some pretty flowers! Grab a few colorful pieces of paper, like pink, purple, or even blue and cut out circles. Cut smaller circles out of yellow paper and glue them to the middle of your flower circles.
4.Finally, attach the flowers with a small dot of glue to the green paper loop leaves. This is such a fun paper craft to do with kids!
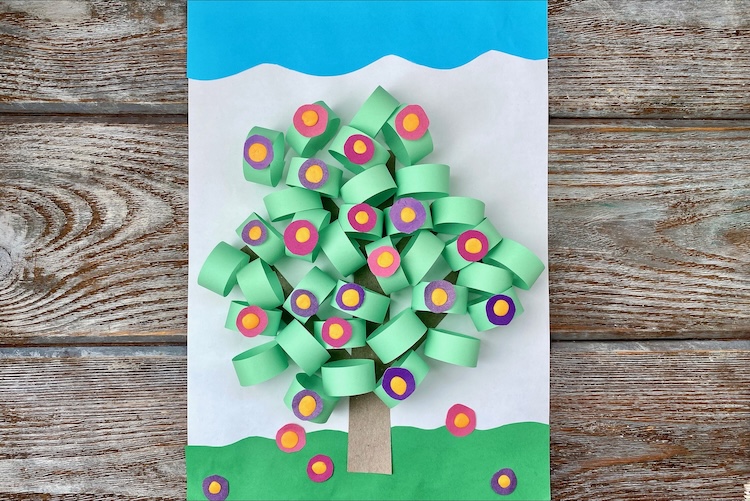
This cheap and easy craft project is not only fun to make with materials you already have on hand, but these pretty construction paper trees are such a fun spring time art project. Imagine how pretty your kitchen or classroom would be with a bunch of these 3D paper trees hung all around! Each as unique and special as the kid who makes it.
Don’t forget to pin and save this fun paper craft idea for later!

![]()