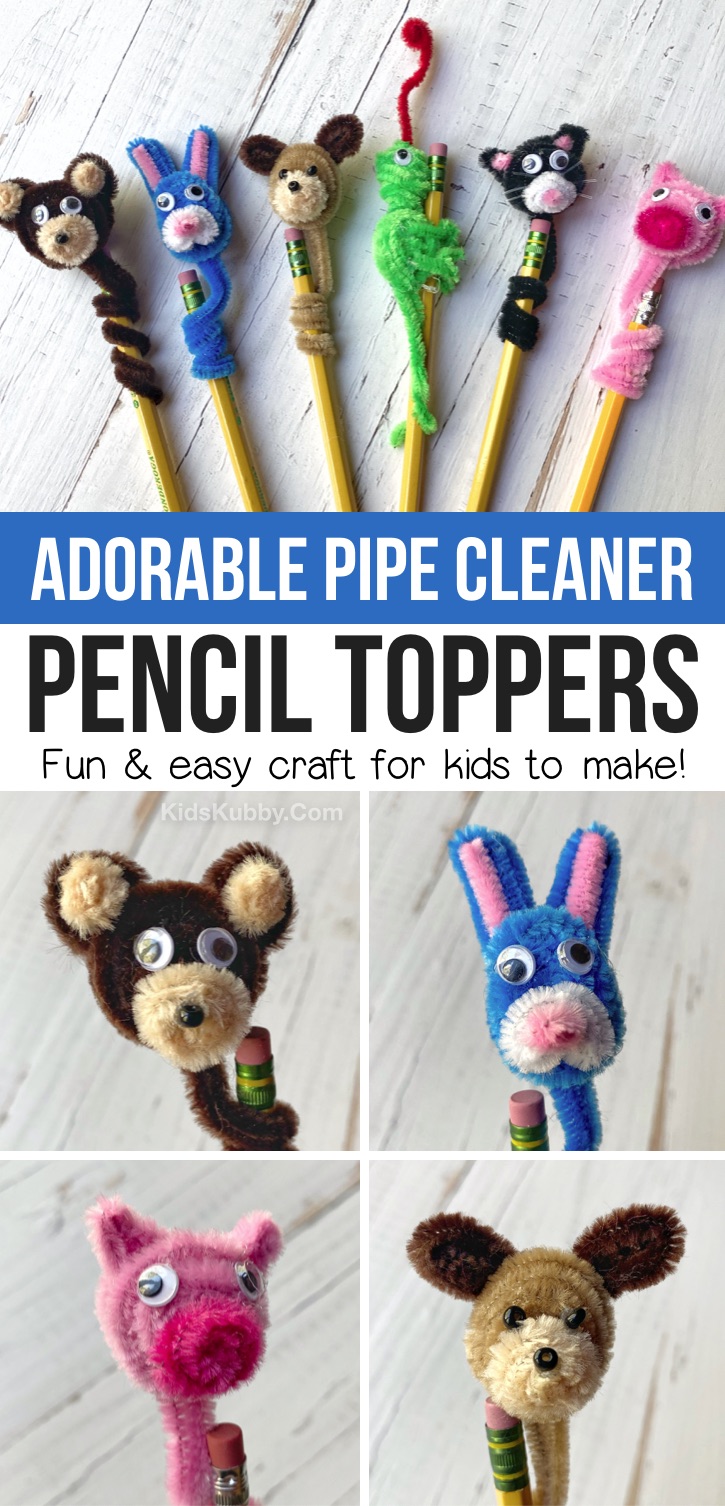
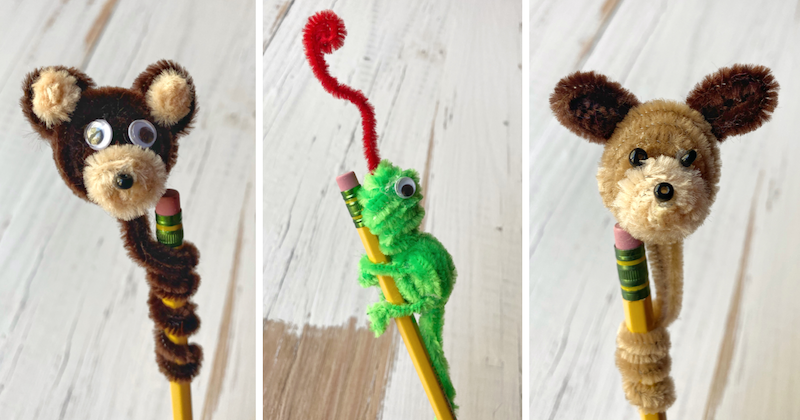
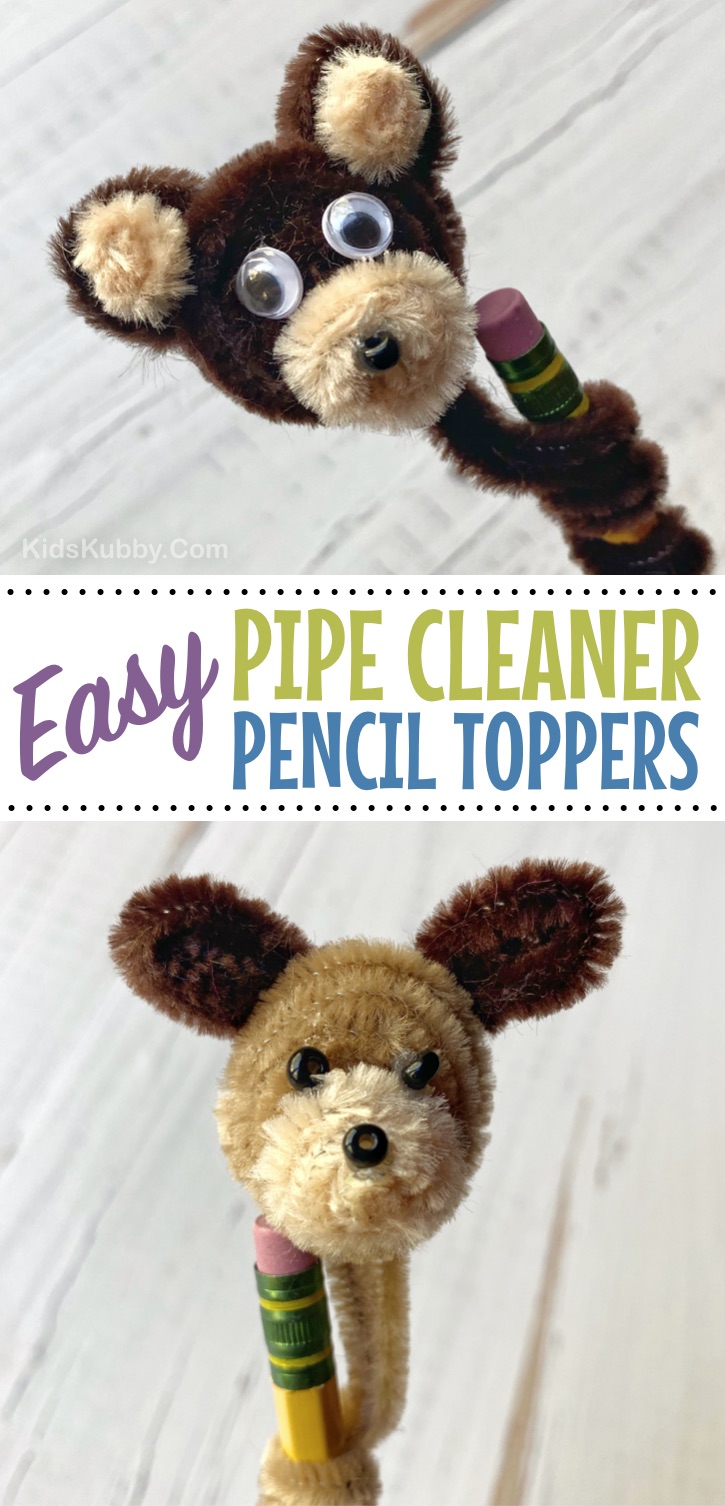
Are you looking for creative crafts for kids to make at home when bored? These furry little friends are the perfect project for older kids!
Boys and girls will love this simple pipe cleaner craft. Younger children will probably need supervision and help with the glue gun, but older kids and teenagers will be surprised at how easy it is to make these adorable fuzzy animals.
Heck, even as an adult, I had so much fun making this craft! I couldn’t believe how cute they turned out considering I really just experimented and threw them together without much planning. The idea behind each animal is pretty much the same, you’ll just be changing up the colors and slightly adjusting the shape of the head, ears and nose.
Easy DIY Pipe Cleaner Crafts For Kids To Make
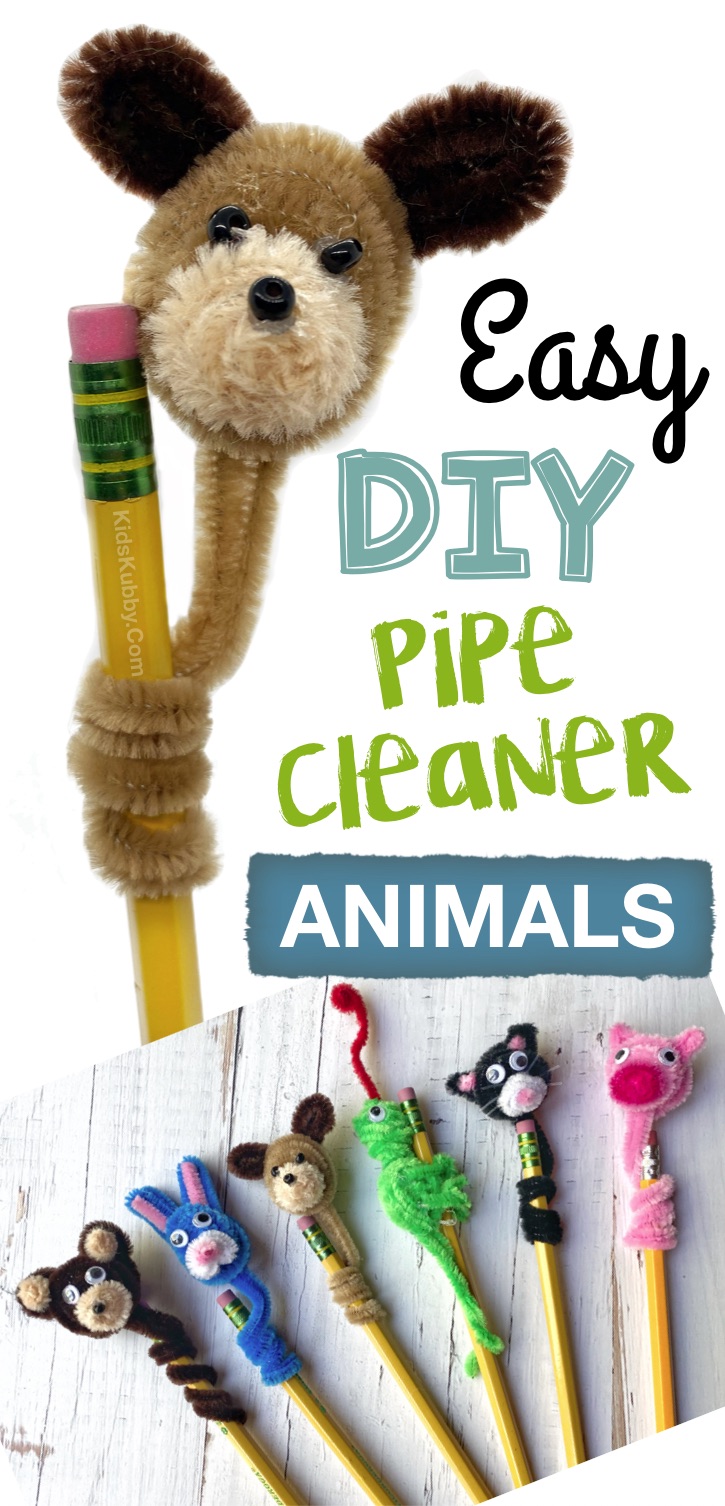
Pipe Cleaner Animal Ideas
Dog, Cat, Bear, Bunny, Pig, Lizard, Snake, Turtle, Duck, Spider, Crab, Mouse, Horse, Elephant, Butterfly, Lion, Dinosaur, Alligator, Fish, Koala, Owl, Bumble Bee, Frog, Zebra, Unicorn, Poodle, Giraffe, Jellyfish…
You could also think outside of animals and make characters, shapes or objects like snowmen, flowers, stars, hearts, fruit, etc.
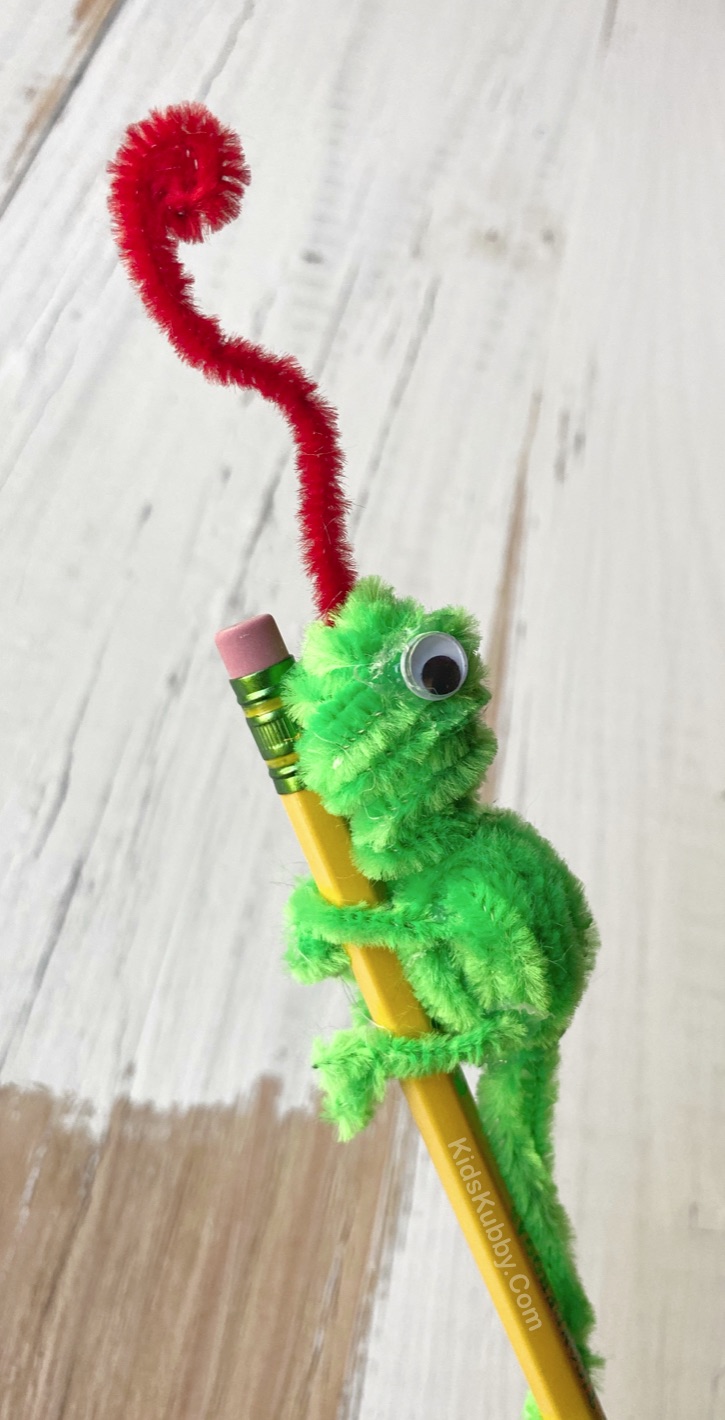
Could You Use These For Something Other Than Pencil Toppers?
Yes! These adorable creatures could also be used as finger puppets, bookmarks attached to a popsicle sticks, or as fun accessories to wrap around a bed post, lamp, cork board, cabinet knob, etc. I think they’re kinda fun to have around. 🙂
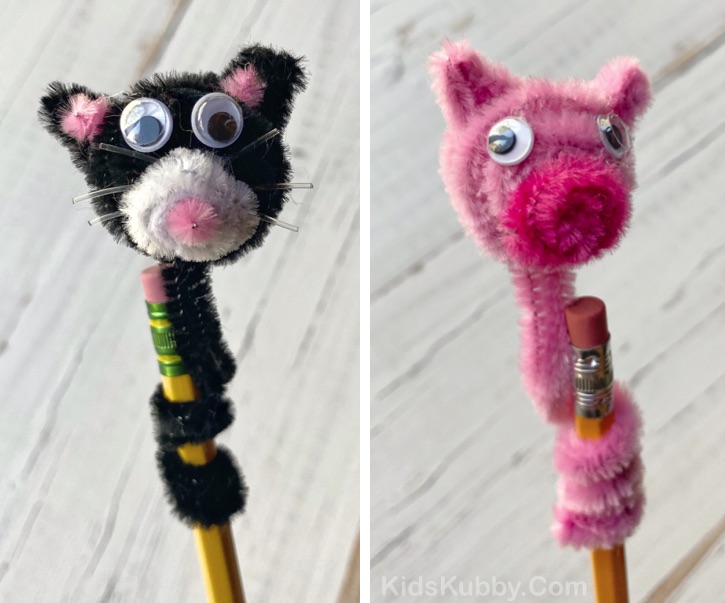
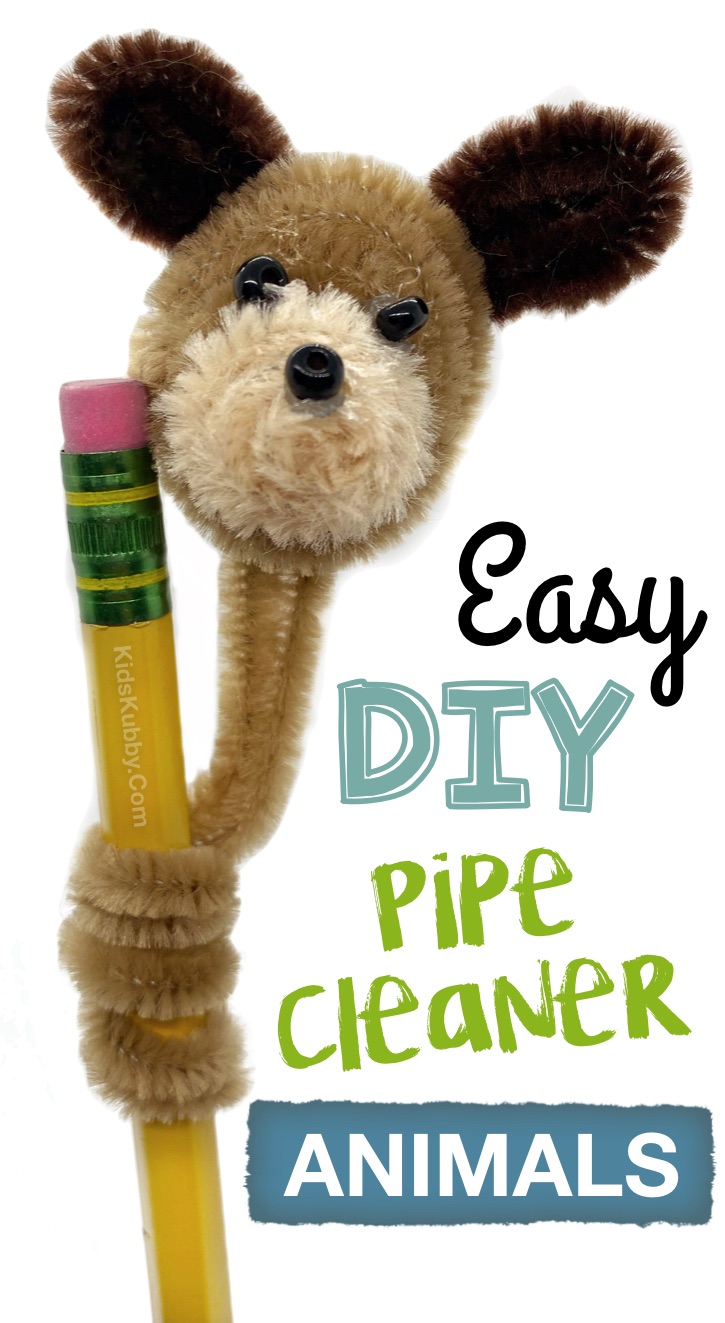
Isn’t this puppy adorable! If you have a dog or cat, try recreating your pet with their fur colors, facial features and ear shape.
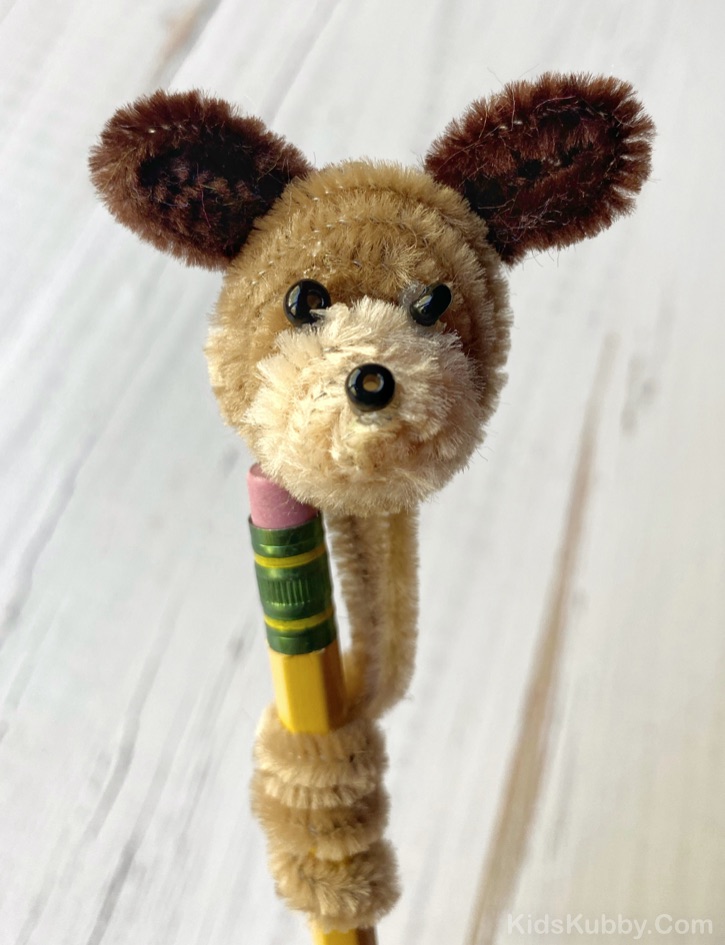
I recommend starting with an easy-to-make animal like a puppy or teddy bear, and then once you see how easy it is, you can get creative with other animals.
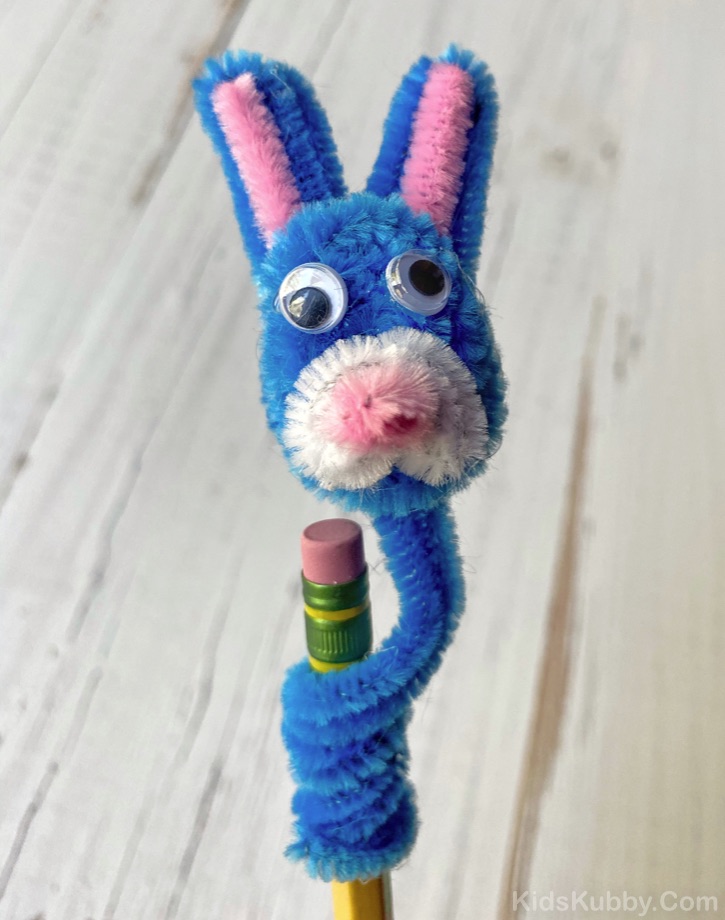
Supplies Needed
- hot glue gun
- scissors
- an assortment of pipe cleaners (I used this variety pack that I found on Amazon)
- small googly eyes
- small black beads or craft foam for the nose
- I also used a piece of fishing wire for the cat whiskers (optional)
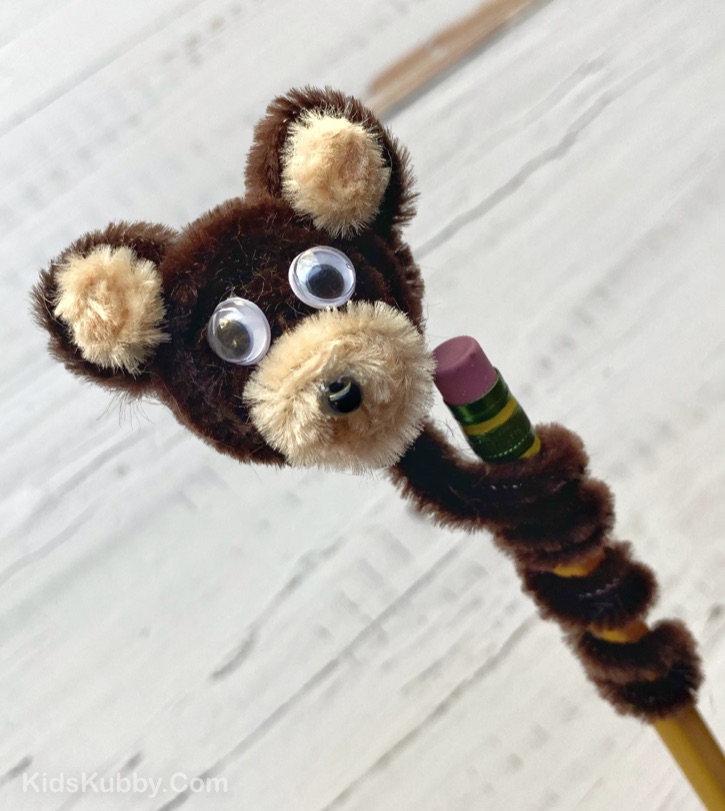
How To Make Pipe Cleaner Animal Pencil Toppers
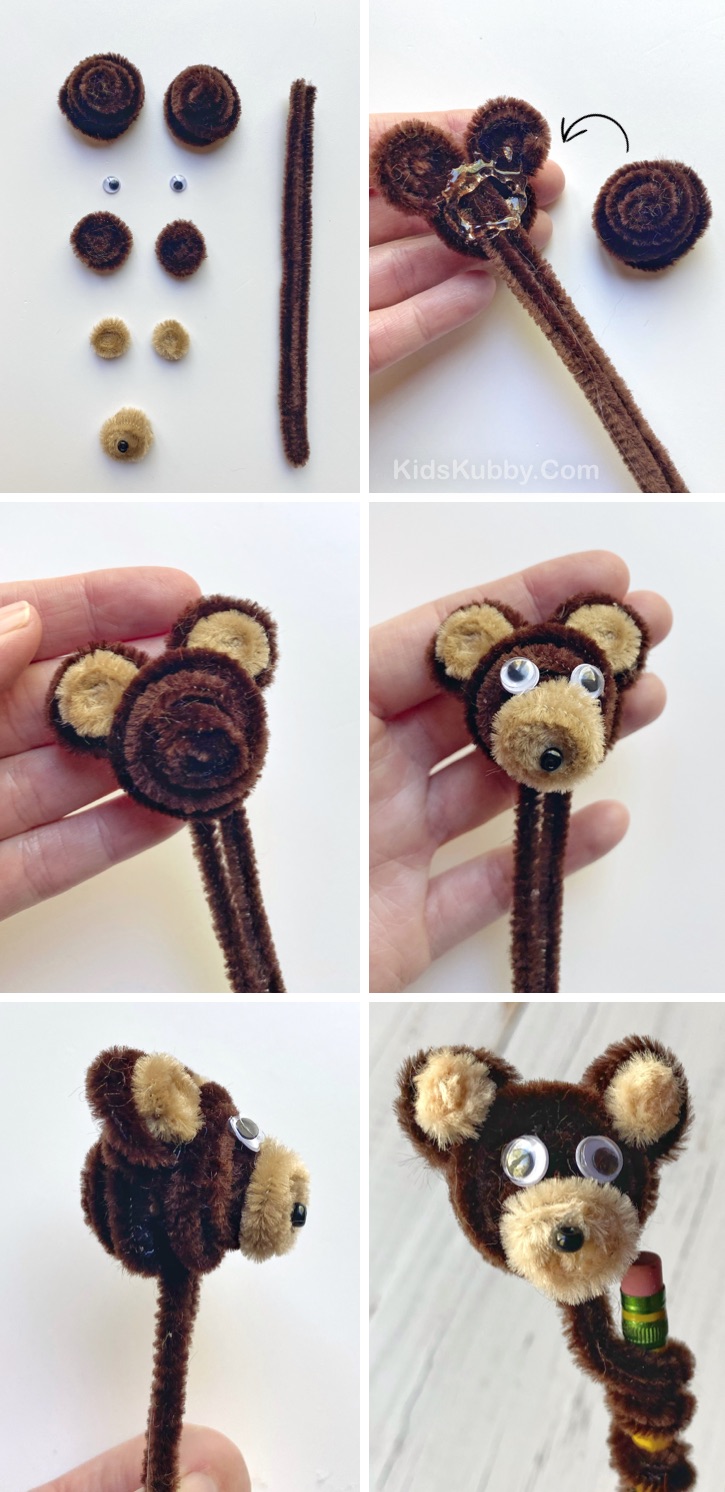
I used the teddy bear as an example.
I tried my best to make a tutorial with instructional photos because it can be incredibly difficult to follow written instructions. I used the teddy bear as an example, but the other animals will be made the same way aside from changing the colors and slightly altering the head, nose and ear shapes.
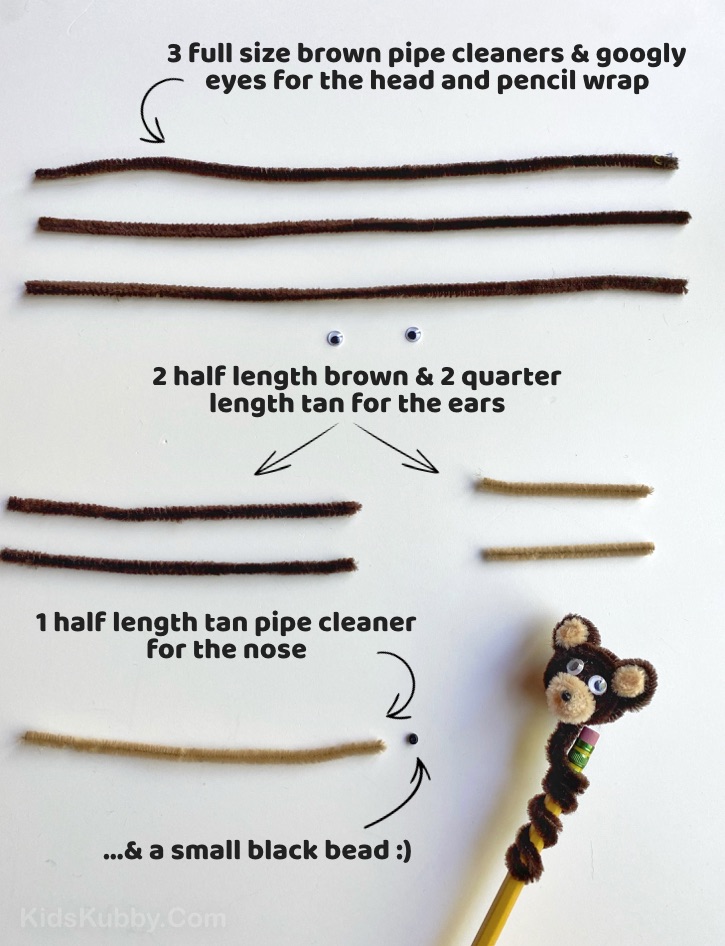
Step One: Use your scissors to cut the pipe cleaners to length according to the instructions above.
Step Two: Once you have your pipe cleaners cut to size, you’re just going to fold one of the full size brown pipe cleaners in half, and then roll the rest up into a circle like show below. Tuck and slightly bend the ends in so that they don’t come loose.
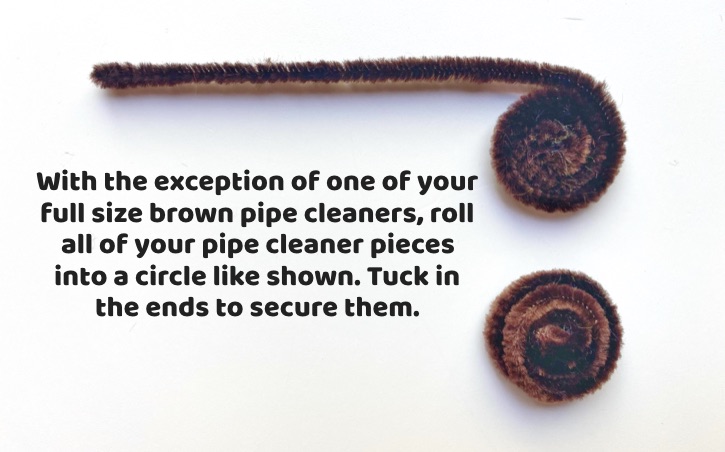
Shown Below: this is what you should now have to build your teddy bear.
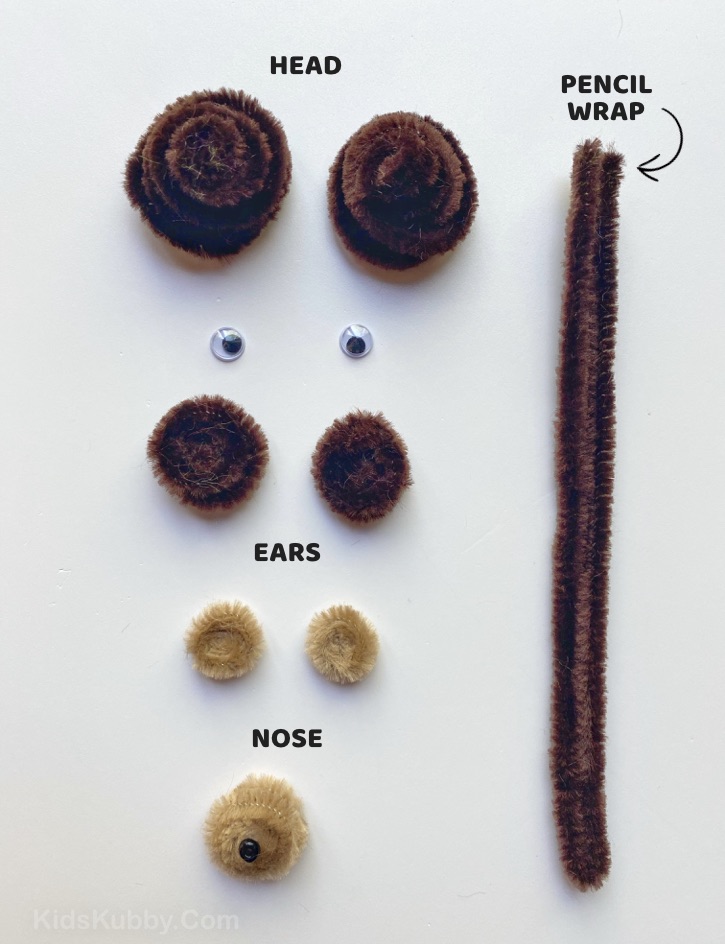
Step Three: Take your larger brown spirals and your nose piece and use your fingers to create a bowl shape with them. This is what will give your animals a 3D effect.
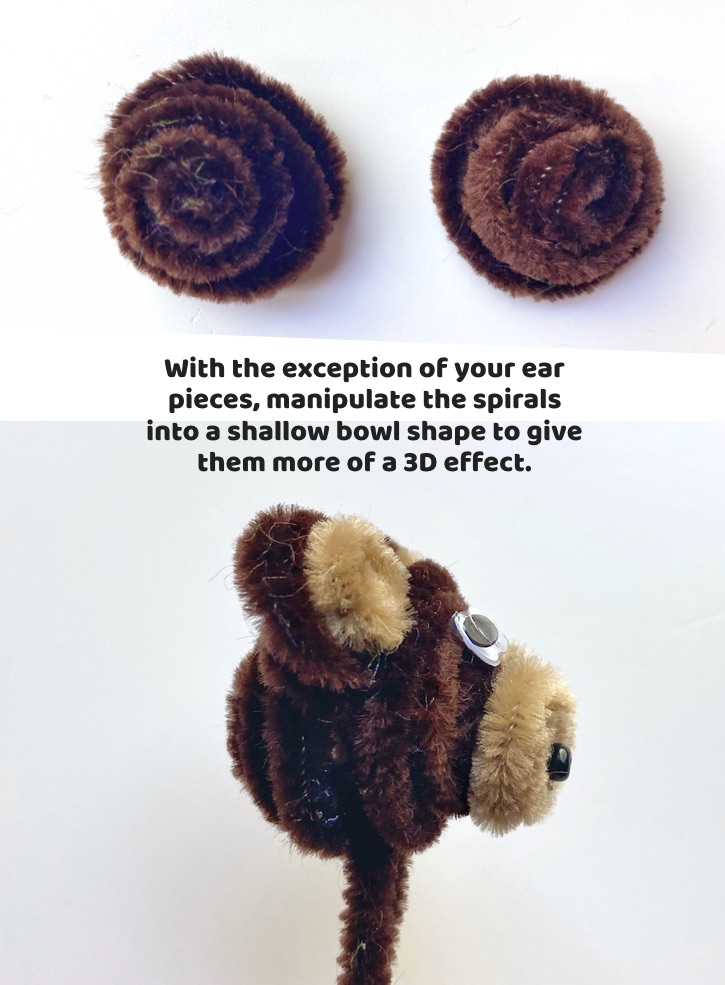
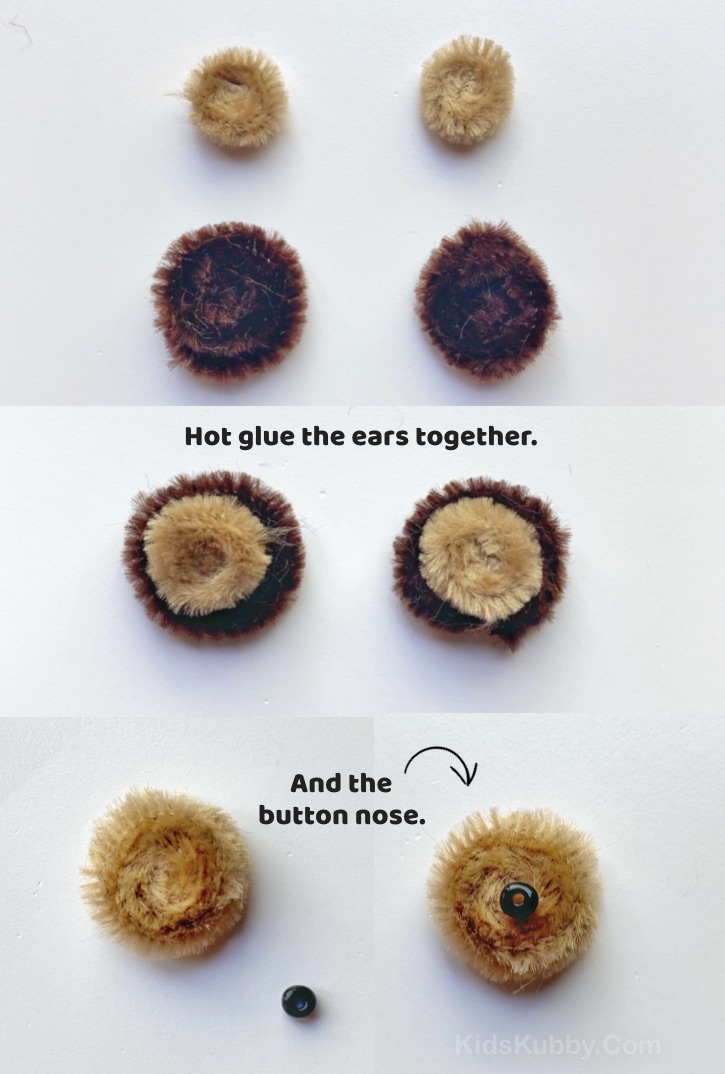
Step Four: Assemble the ears and nose with your hot glue gun.
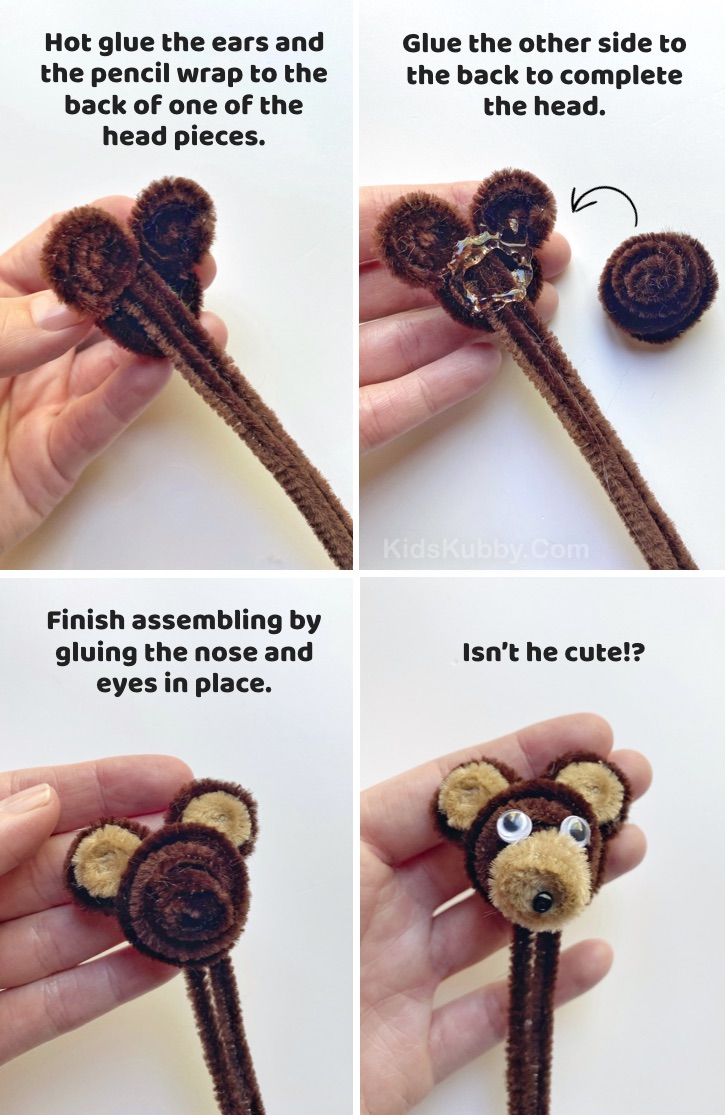
Step Five: Hot glue the ears and the open end of the pencil wrap to the back of one of your head pieces, and then hot glue the other half of the head on top like shown below.
Step Six: Finish assembling by hot gluing your nose piece and eyes to the front side.
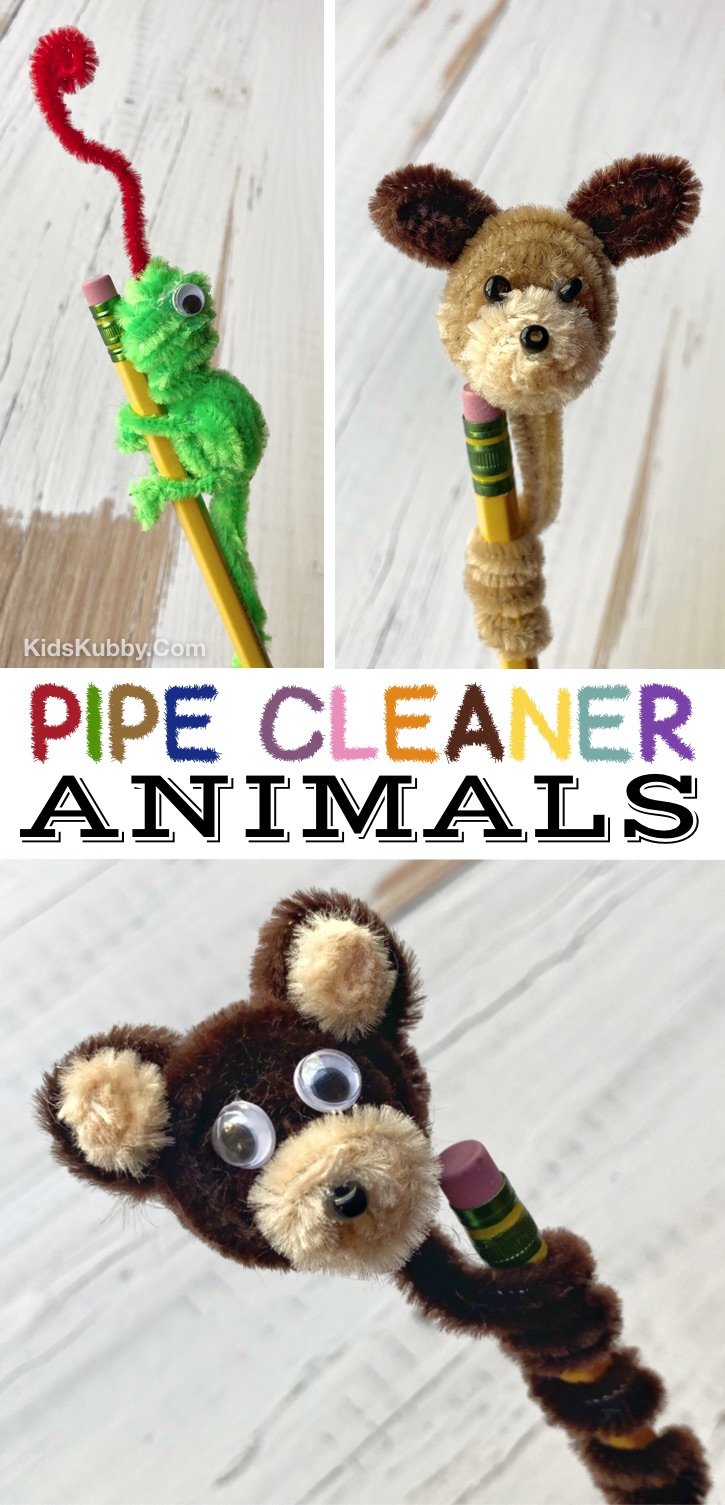
The tutorial for the other animals will be the same aside from changing the colors and slightly altering the head, nose and ear shapes.
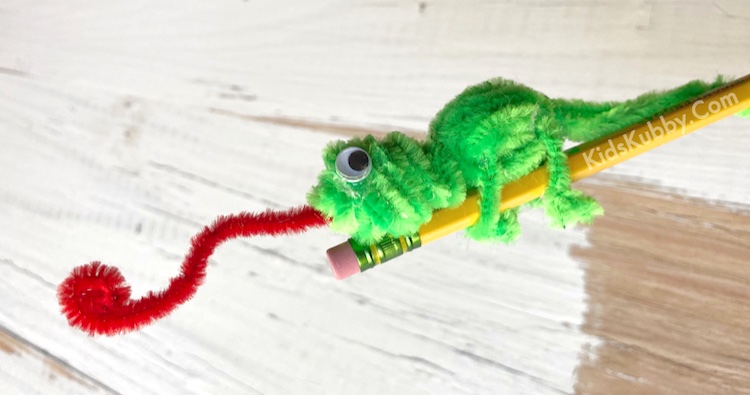
The only exception to this is the green chameleon I made with the red tongue sticking out. I used the same two oval bowl shaped pipe cleaners to create the body, and made the head by wrapping a few pipe cleaners around each other until I got my desired shape. I then hot glued the head, legs, tail and tongue on to the body. Easier than it looks!
Don’t forget to pin and save this easy pipe cleaner craft for later! 🙂
