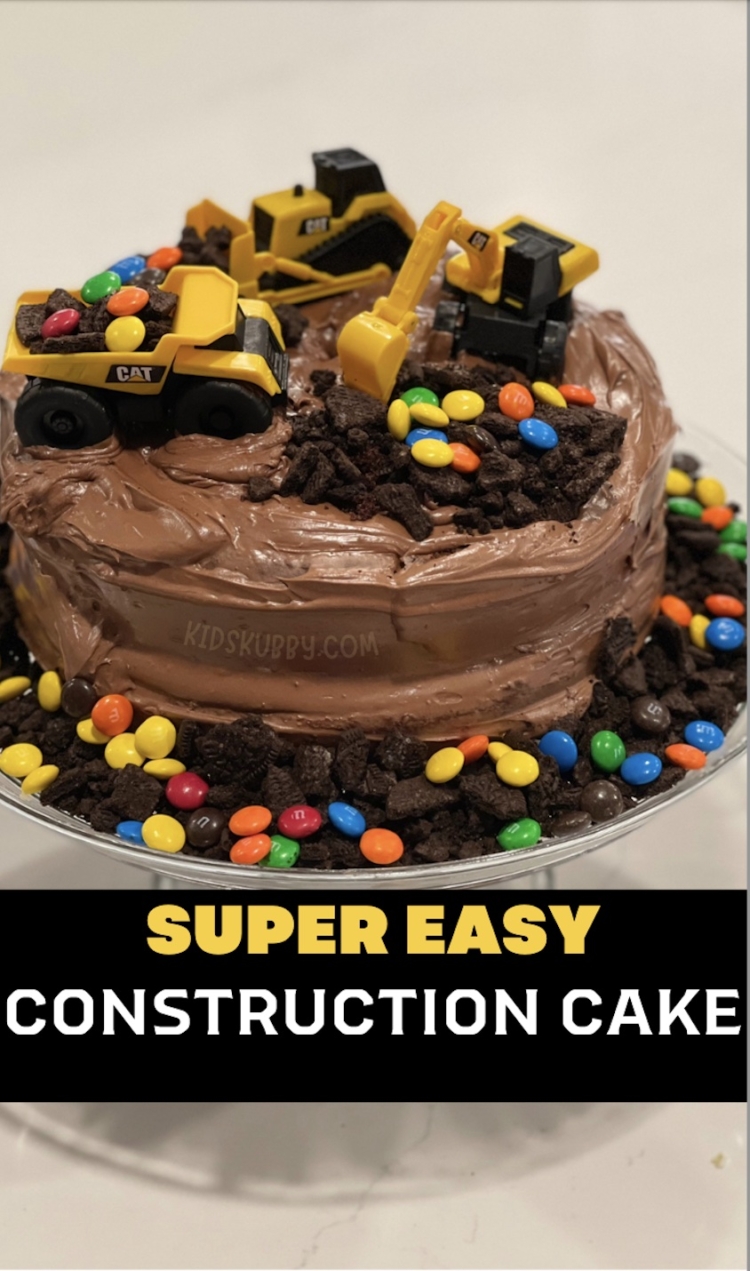
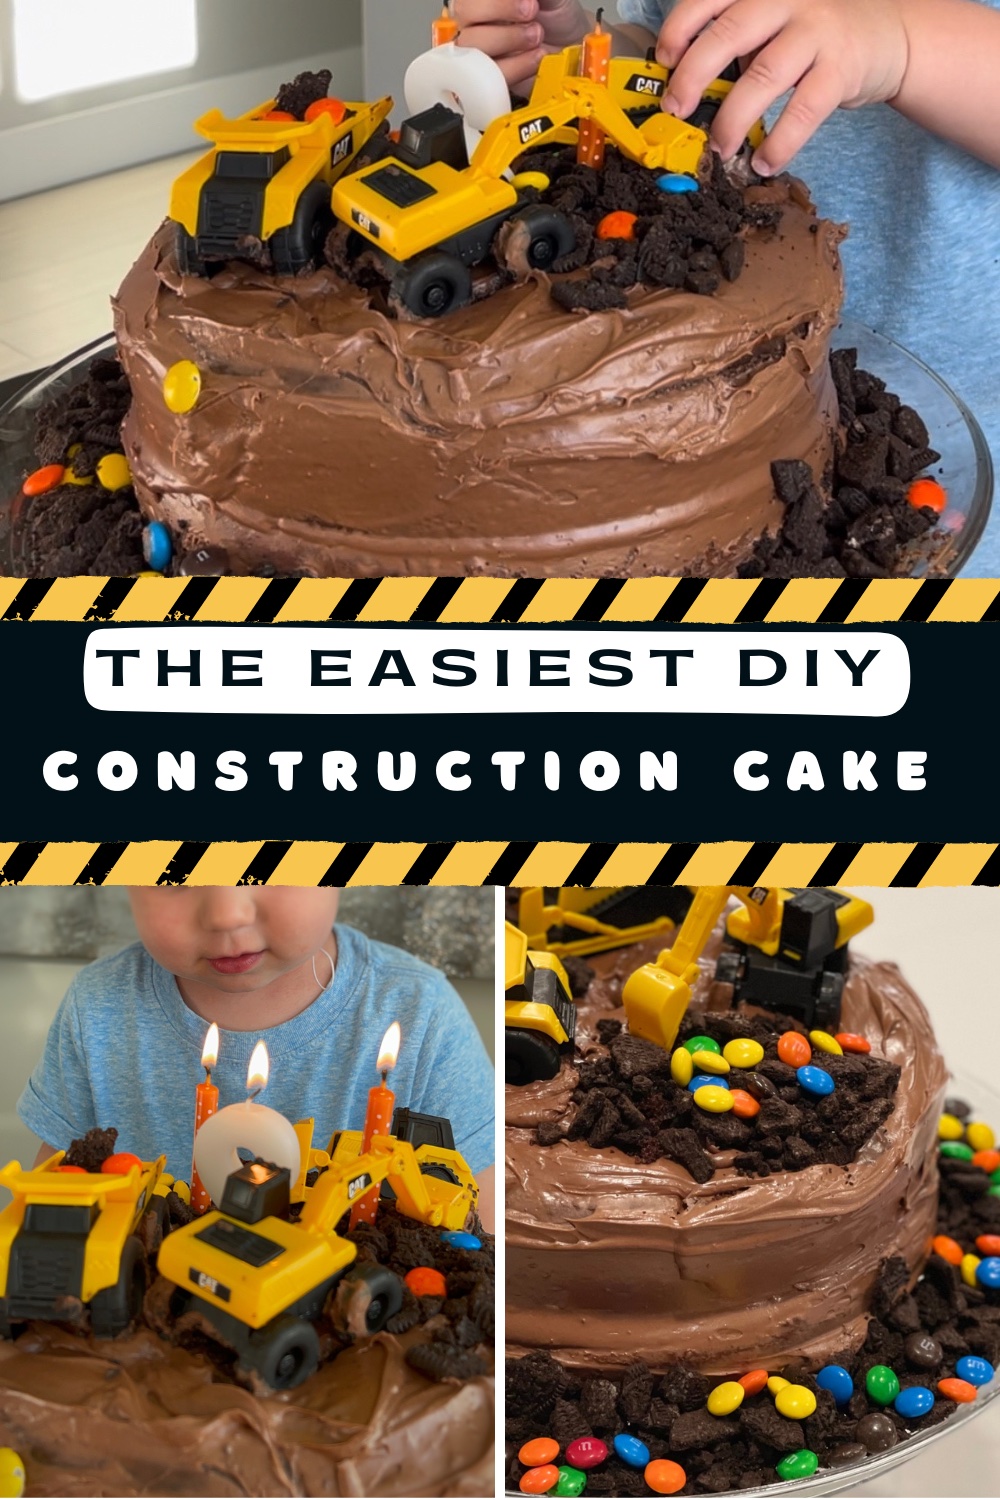
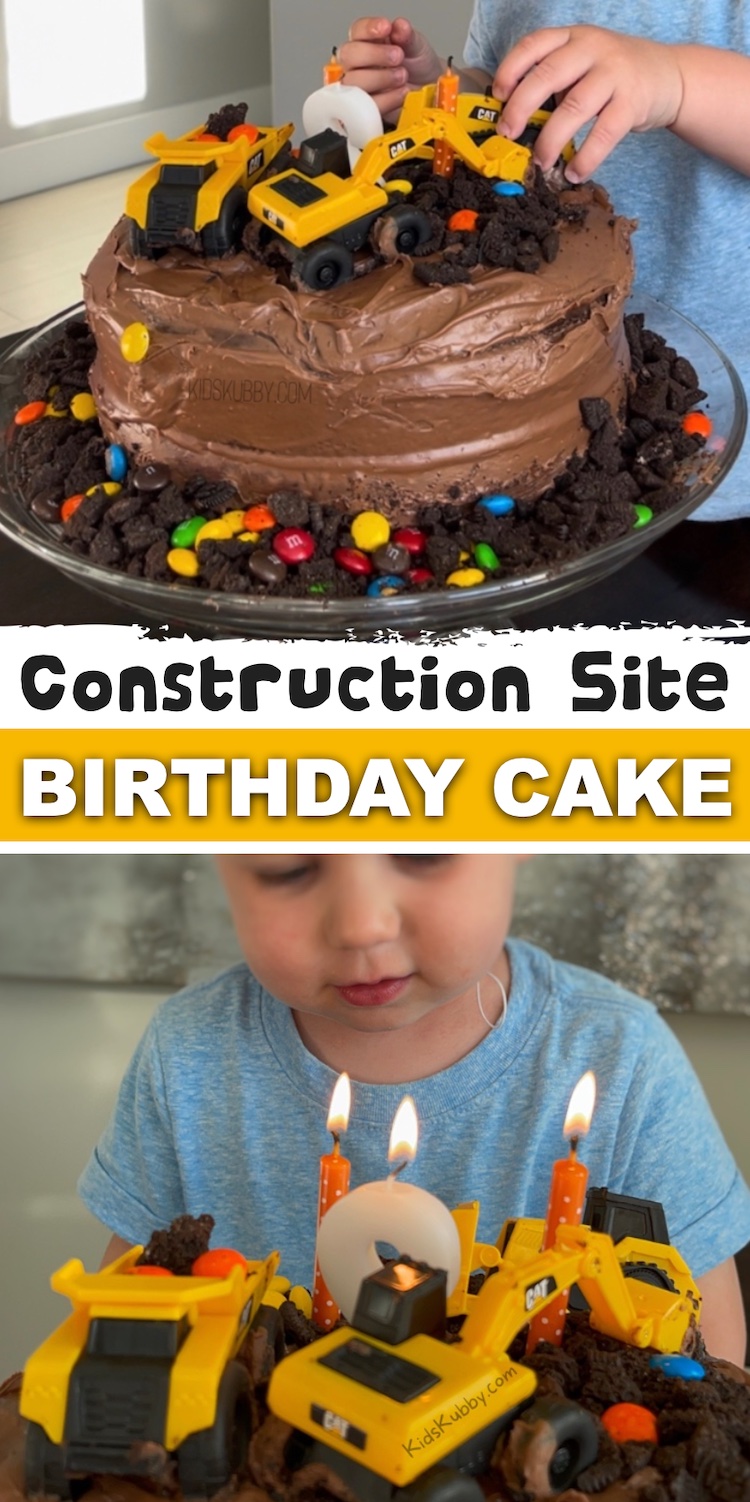
If you are looking for a fun and easy cake to make, your child will love this homemade DIY construction themed birthday cake!
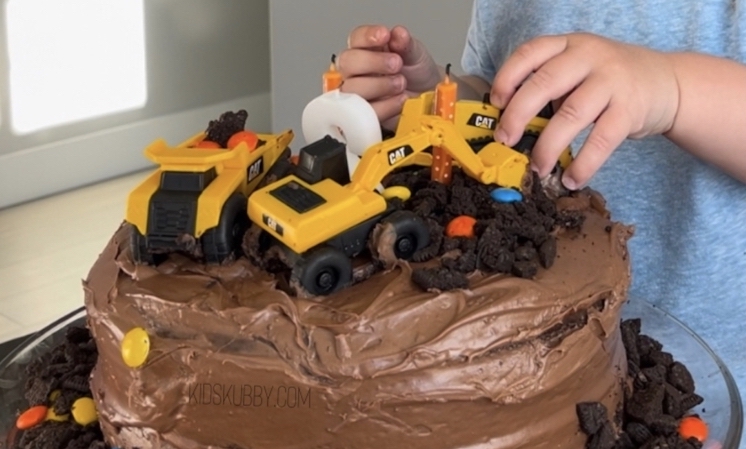
This year I decide I wanted to stop with the store bought cakes and start with new traditions– me making the kids their own special birthday cake! I was so nervous and had no idea what I was getting myself into. This construction site cake ended up being totally fail proof! This cake is not only easy and delicious, your kiddo will also be able to play with the tractor toppers (after they lick off all the yummy frosting of course!).
My two year old is ALL about the tractors these days so I thought this easy homemade construction themed cake would be perfect. I was right. He absolutely loved it!
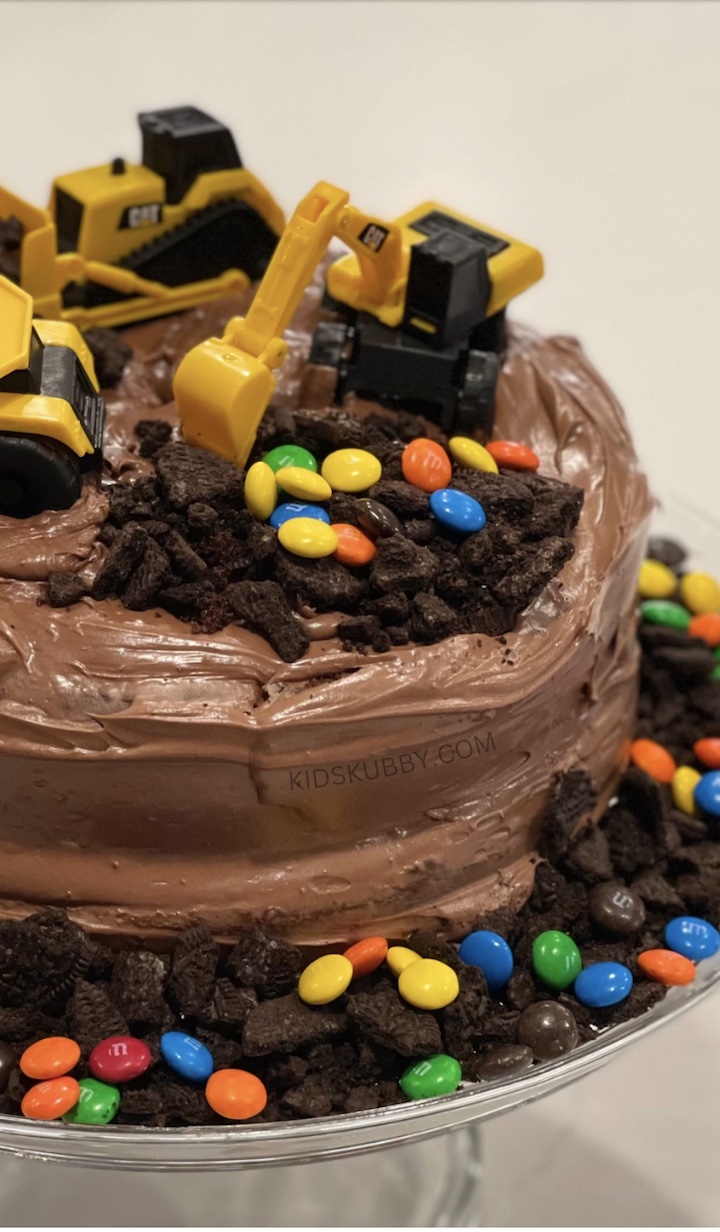
Making this homemade construction cake was so fun. Plus ordering a cake can get pretty pricey! So saving some money was a win!
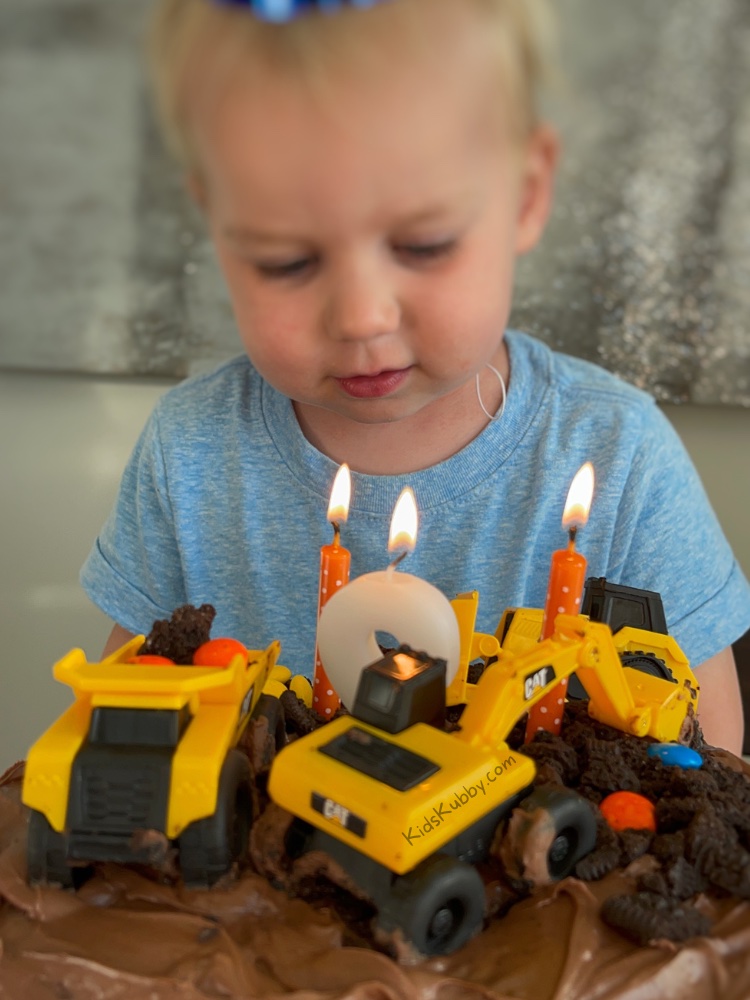
I made two cakes using two 9′ round pans, one chocolate and one vanilla. If you’re on a time crunch you can head to a near by grocery store and pick up two chocolate cakes that are already baked and frosted.
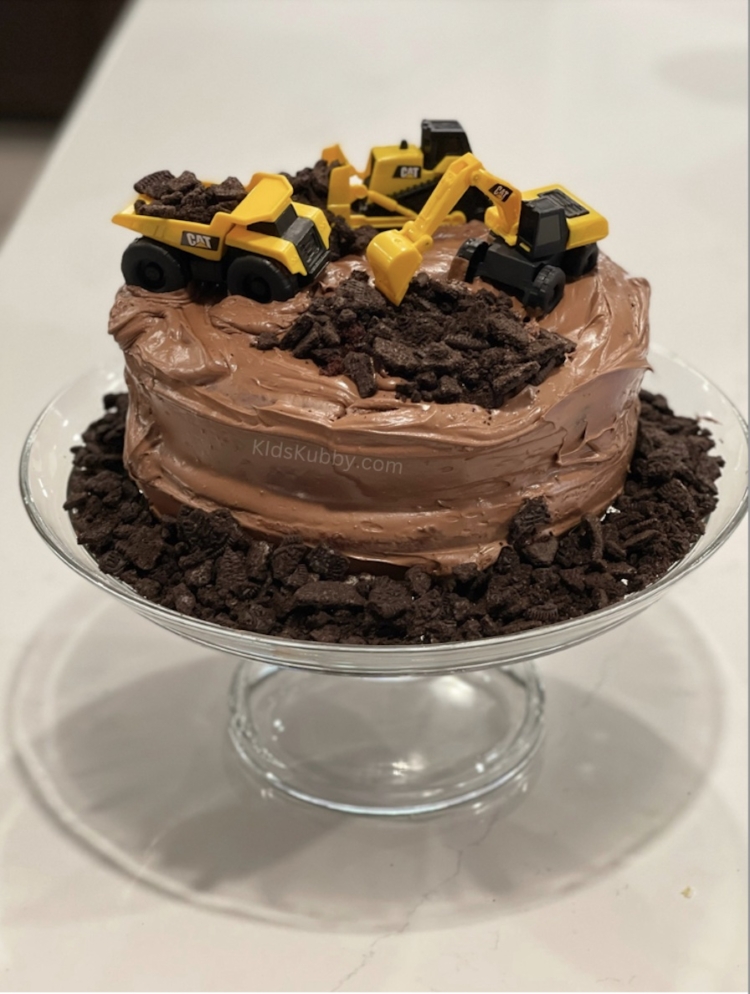
DIY Construction Truck Cake Supplies
- Two 9 inch round cake pans (or two store bought chocolate frosted cakes)
- Box of cake mix (including the ingredients needed on the box)
- Chocolate frosting
- Treats for the dirt (I used Oreos). You can also use Kit Kat, Twix, Butterfinger, or Crunch bars.
- M&M’s (optional)
- Whoppers (optional)
- Little tractors
- Cake Stand
- Birthday Candles
DIY Construction Birthday Cake Instructions
- Bake 2 round cakes (or use a store bought chocolate cake) and place them on top of each other. I flipped the top tier upside down so I would have more of a flat service to work with. TIP: Before starting, put your cake on a cake topper to save yourself a disaster when trying to move the cake later. 😛
- Using a cake server, cut a piece out of the top tier. Don’t worry about the mess. That’s what’s great about this cake. The messier, the better!
- COAT that baby in chocolate frosting. You can make your own frosting or pick up some that’s already made at the store. Add on as much as you’d like, the more the better! YOU CAN NOT mess this part up. (Don’t forget to treat yourself and lick the spatula when you’re done!)
- Split the Oreos and scrape off the filling. You can dump the filling, save it for later use, or in my case… I let my oldest indulge! (Woohoo! Mom brownie points!) Place the plain cookies in a zip lock bag and start crushing. You can also add them to a blender for a quick blend! I tried to do a good balance of small and big pieces. Sprinkle in the Oreos in the hole on the top tier and then around the base of your cake.
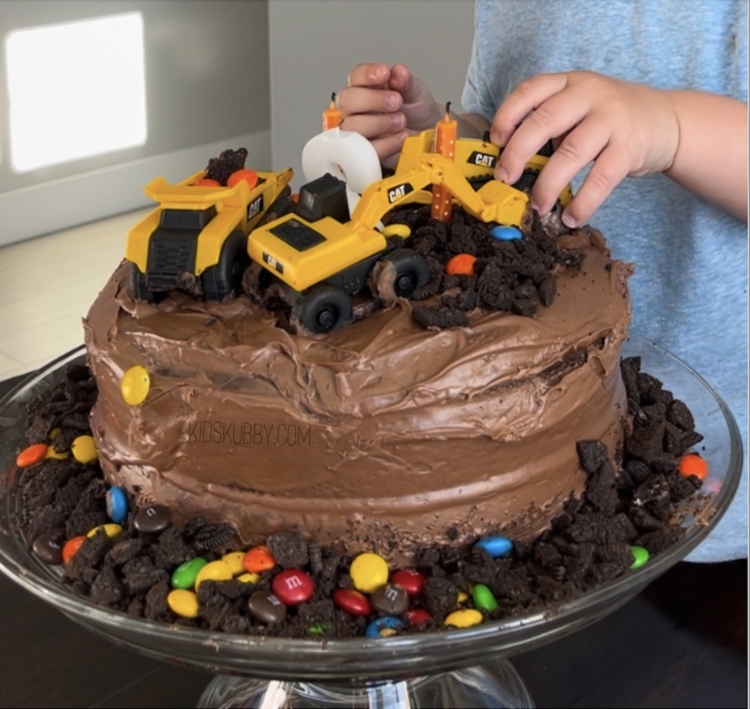
- Place Little tractors on the top of the cake. No one way is correct. I did have fun using the little excavator to create the digging look. I also placed the cookies in the dump truck and in front of the bulldozer… these little guys are hard at work! At first I didn’t have plans to use M&M’s but thought it would be a fun splash of color, totally optional.
- Add your candles and YOU’RE DONE!
Need some party appetizers? Check these out! The Best Fruit Dip, Chocolate Peanut Butter Bites and Apple Slice Cookies.
