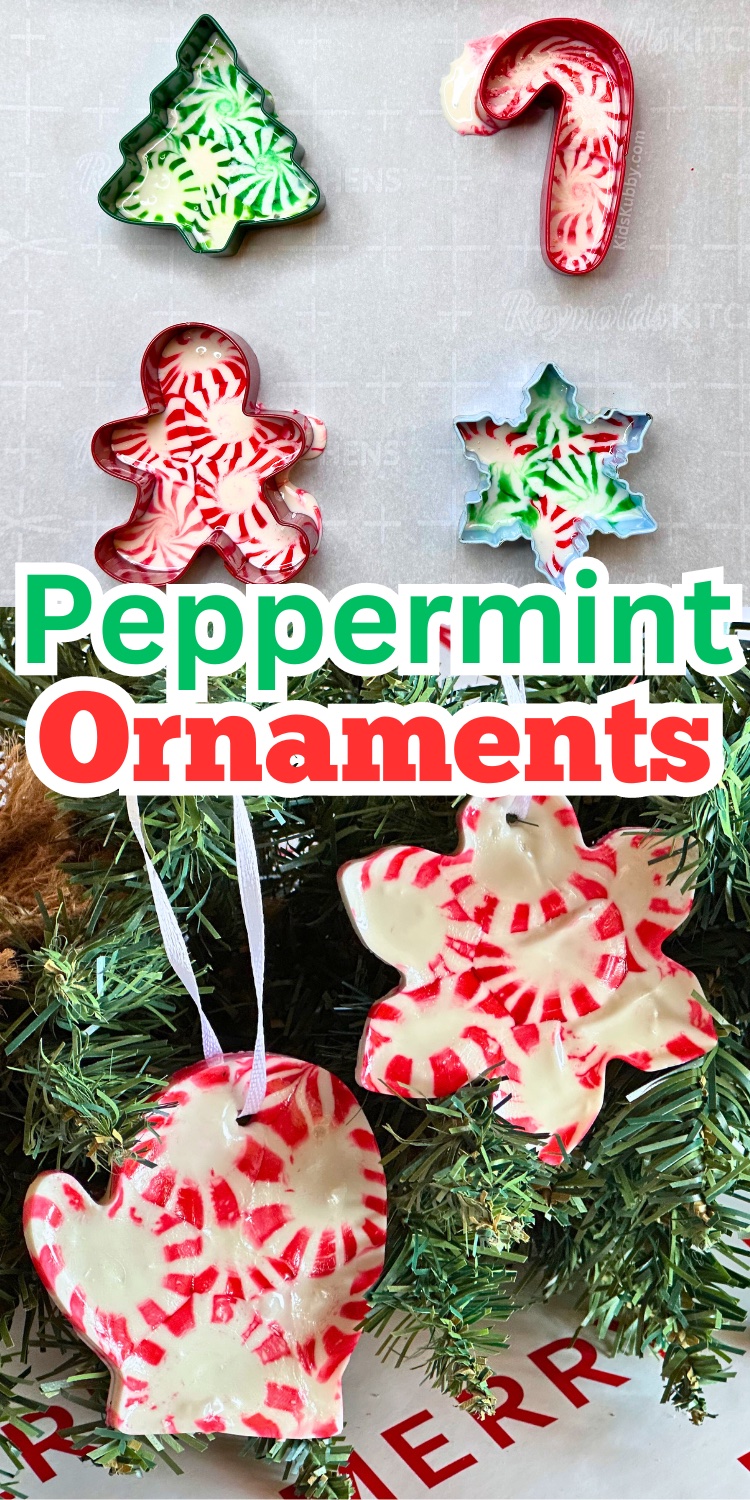
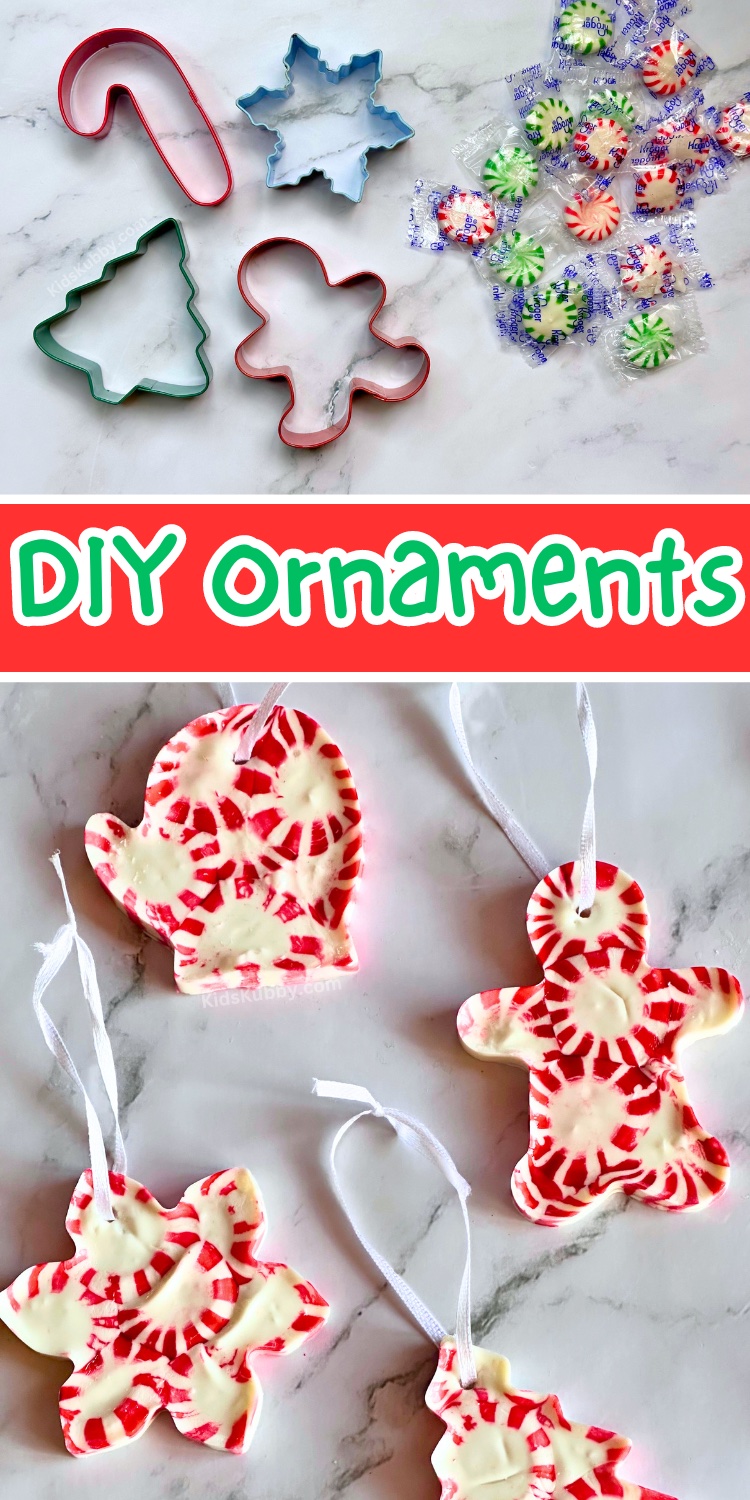
Easy And Fun DIY Christmas Ornaments That Kids Will Love To Make!
Are you looking for a fun Christmas craft to make with your kids? Well these Melted Peppermint Candy Ornaments are so fun and easy to make. My kids had a blast making these DIY ornaments with just cookie cutters and peppermints. Plus the peppermints make your house smell so good! All you need is some fun Christmas cookie cutters, a bag of peppermint candies, and some pretty ribbon.
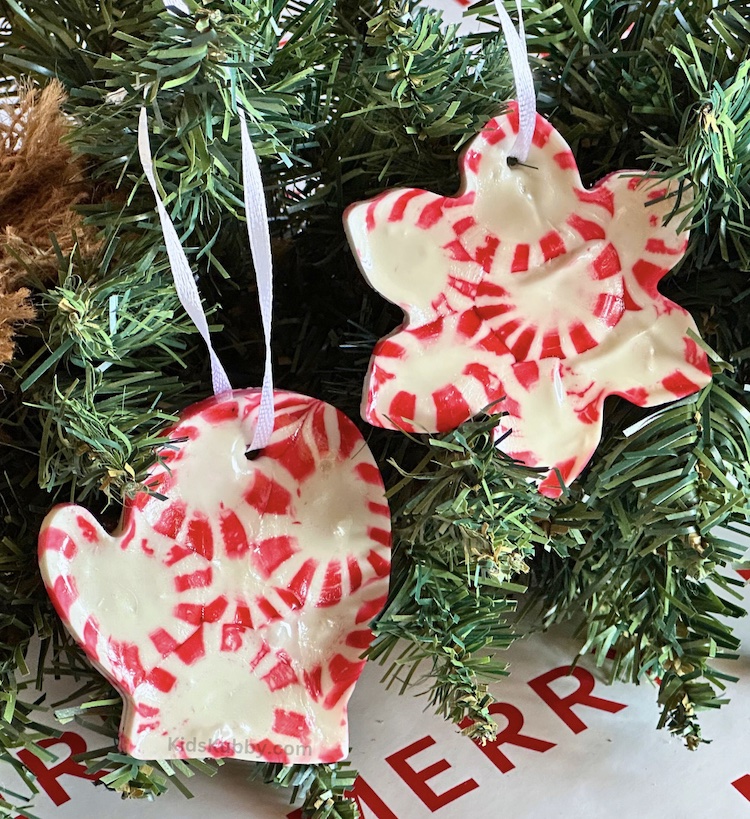
I cannot believe that Christmas is around the corner. Where did the year go? This morning it was cool outside and all I wanted to do was get out the Christmas decorations. BUT, we have a rule not to pull out the Christmas tree before Thanksgiving so I compromised by making these adorable melted peppermint candy ornaments with the kids. We loved this Christmas craft and I know that you will too. So break out the holiday cookie cutters and let’s get started!

DIY Peppermint Christmas Ornaments
- Metal Cookie Cutters (Here’s some cute one!)
- Peppermint Candies
- Toothpick
- Thin Ribbon
- Parchment Paper Lined Baking Sheet
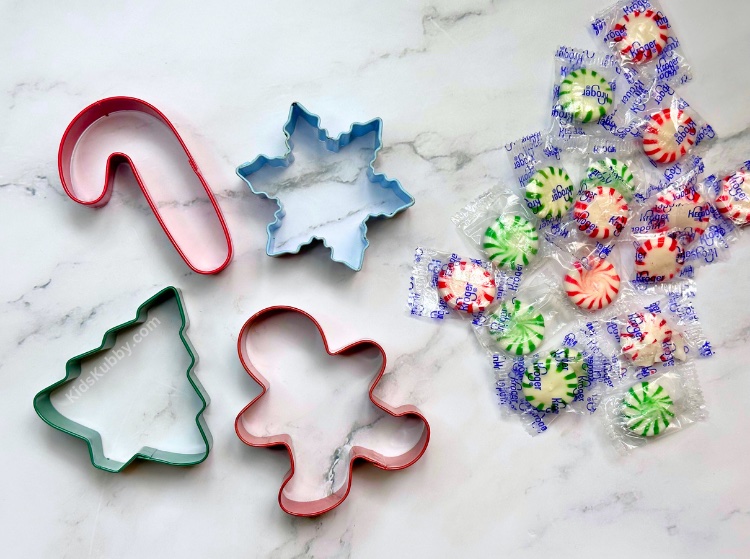
Aren’t these cookie cutters so cute. I’m a sucker when it comes to Christmas baking. If it has a Christmas tree, an elf, or Santa, I more than likely own it. BUT… I did end up using plain silver cookie cutter for this fun Christmas craft after my initial pictures. The color finish on the cookie cutters above made it difficult to remove the ornaments without cracking. I also decided that I wasn’t a fan of the green peppermints and made a second batch in all red!
How To Make Melted Peppermint Ornaments
Line a baking sheet with parchment paper. You can also use a silicone baking mat instead of parchment paper. Don’t skip this step or the melted candies will stick to the baking sheet.
Place peppermint candies in a simple layer inside each of your holiday cookie cutters. You can break up a few pieces of candies to fill in any gaps but make sure the candy is in a single layer or it won’t melt evenly.
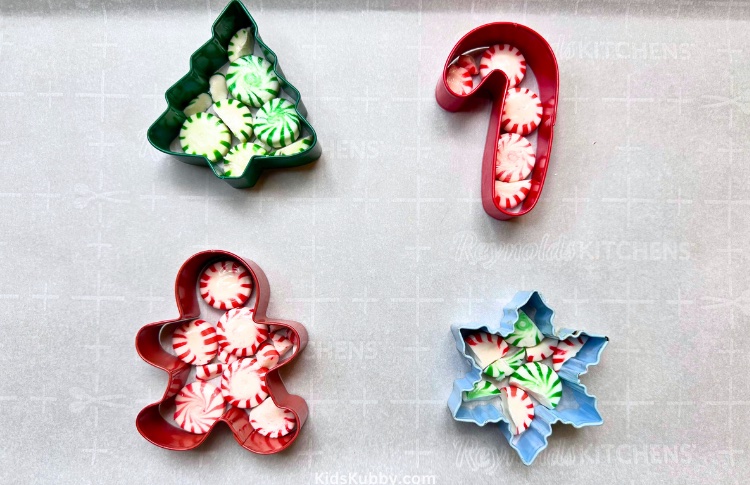
Time to bake! Place your baking sheet in the oven and bake at 350 degrees for 5-10 minutes. Mine took 6-7 minutes to melt. Pull the ornaments out of the oven as soon as all the candy has melted. You do not want the melted candy to start bubbling so watch closely!
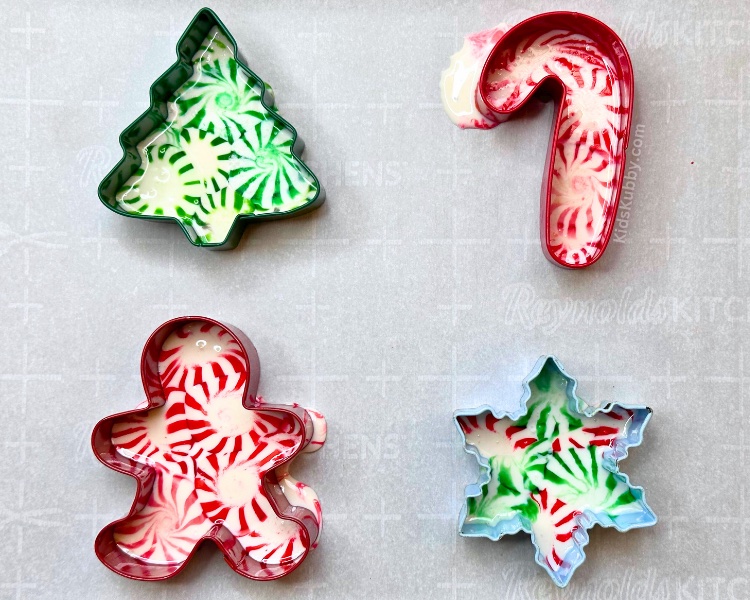
Let the candy ornaments cool for about 2 minutes. Use a toothpick or skewer dipped in cooking oil to make a small hole at the top of your DIY ornament for the ribbon. Make sure to wait the 2 minutes or your hole will fill with melted peppermints.
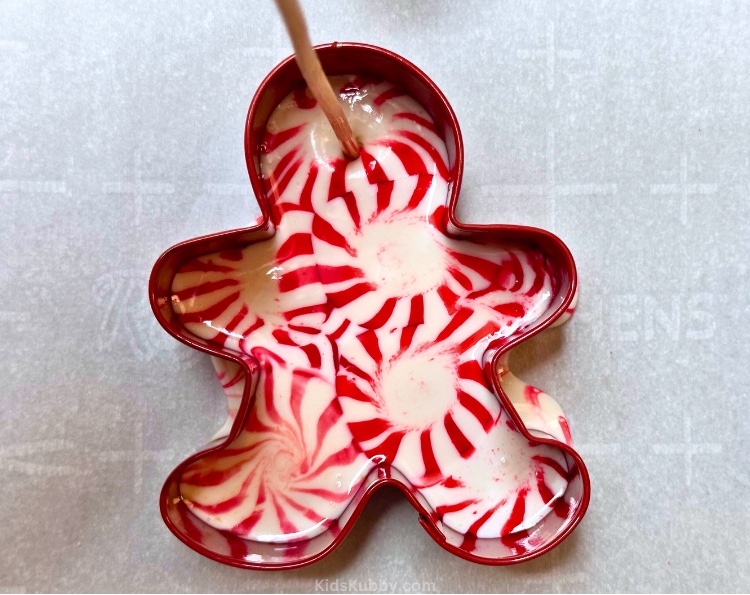
Let the melted peppermint candy ornaments cool for about 5 minutes then remove from the cookie cutters by gently pulling the side of the cookie cutter away from the ornament! String a pretty ribbon through the hole you made and you’re done!

Helpful Tips
- If you’re having trouble getting the ornaments out of the cookie cutters without cracking, you may need to try different cookie cutters. Try getting some plain silver cookie cutters, instead of cookie cutters with a color finish.
- Make sure to layer the unmelted candy in a single layer in the cookie cutters or the candy will melt unevenly.
- These homemade ornaments will last one Christmas season. Do NOT store these for next year. Simply make new ornaments each year with your kids!
- Try not to handle these DIY ornaments very much or you’ll end up with sticky hands.
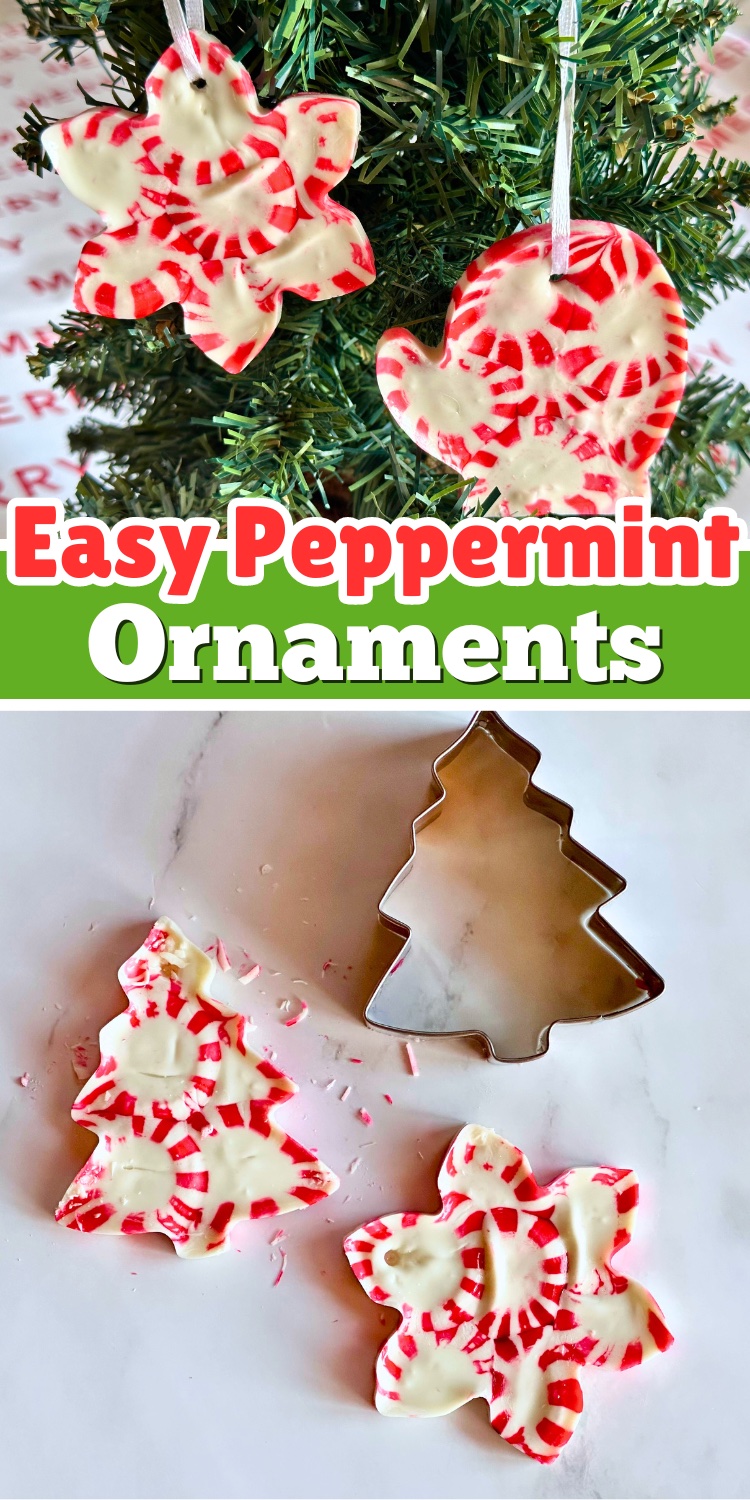
This inexpensive Christmas craft for kids is so fun to make. Homemade ornaments are always more special than store bought which makes this the perfect craft idea for Christmas. Try making these DIY ornaments for teacher gifts, place setting decorations, and party favors. Head to the store and grab a big bag of peppermints today because I promise you will want to make these melted peppermint candy ornaments all holiday season. The only thing sweeter than these candy ornaments is watching your kids make them!
More Christmas Fun
Contact Paper Christmas Tree Craft | Christmas Candy Cane Ideas | 5 Fun Christmas Tree Ideas
