A fun project for both kids and adults!
As a busy mom with three kids at home and one on the way, I’m always looking for simple and affordable ways to keep my kids entertained at home. They’re always full of a ridiculous amount of energy! I’ve got a long list of activities saved up for when they are bored and going stir crazy in the house, and these homemade suncatchers have been at the top of the list for quite a while now.
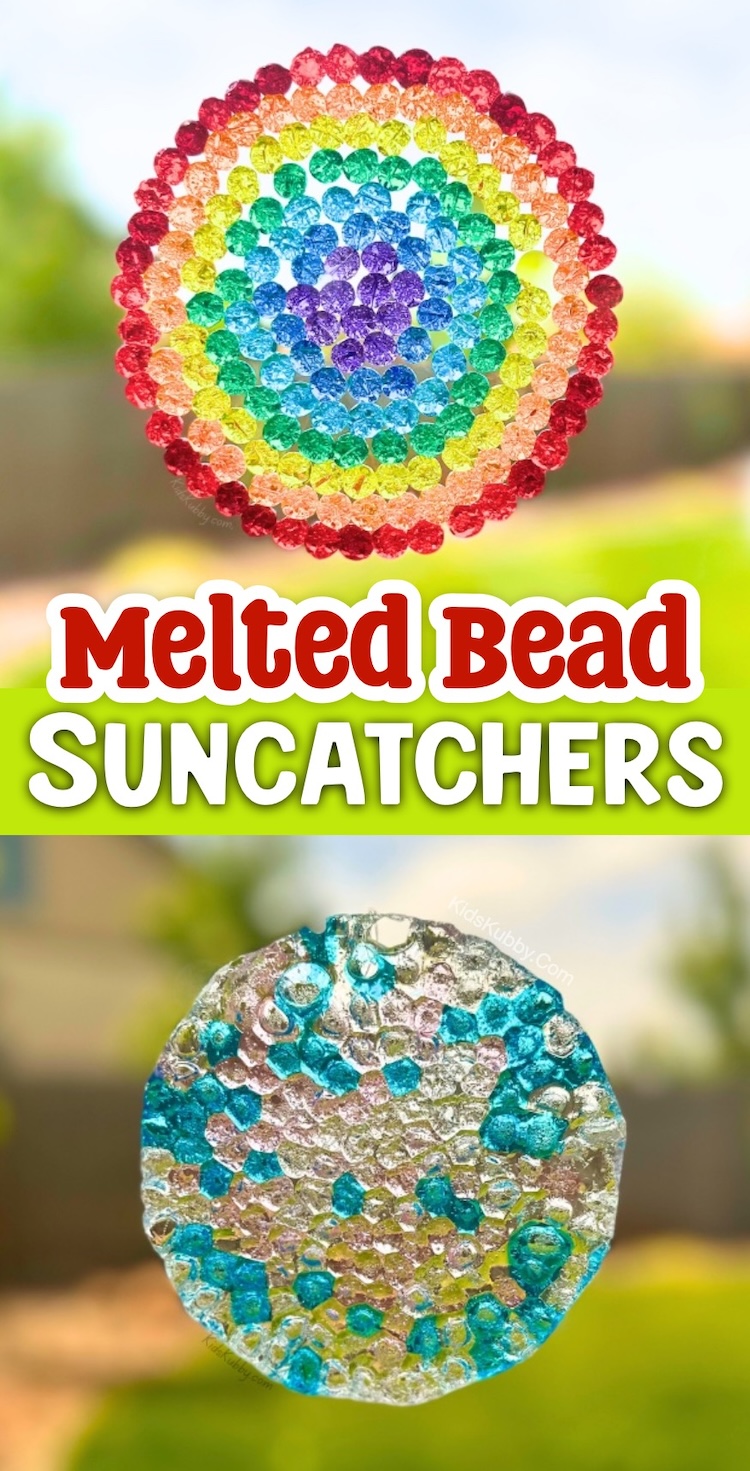
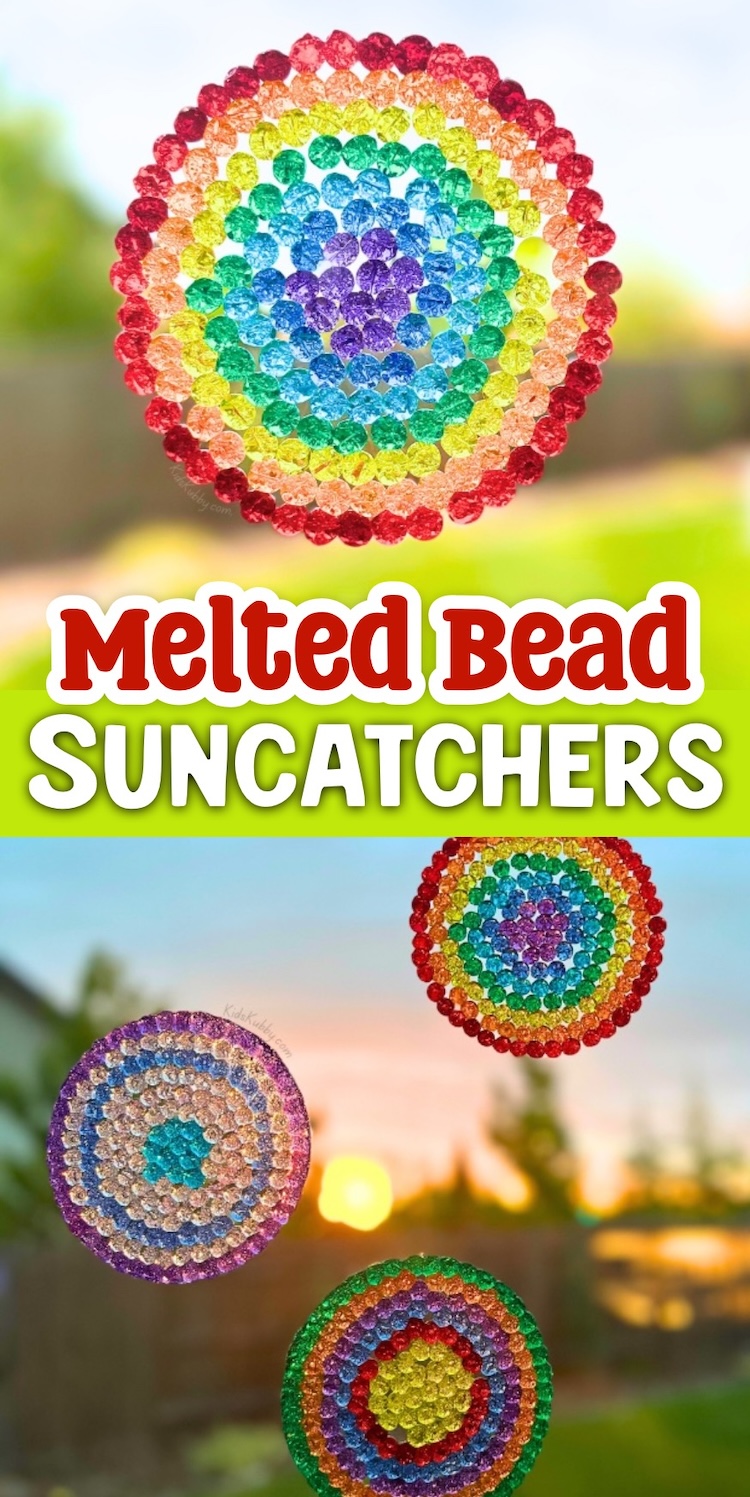
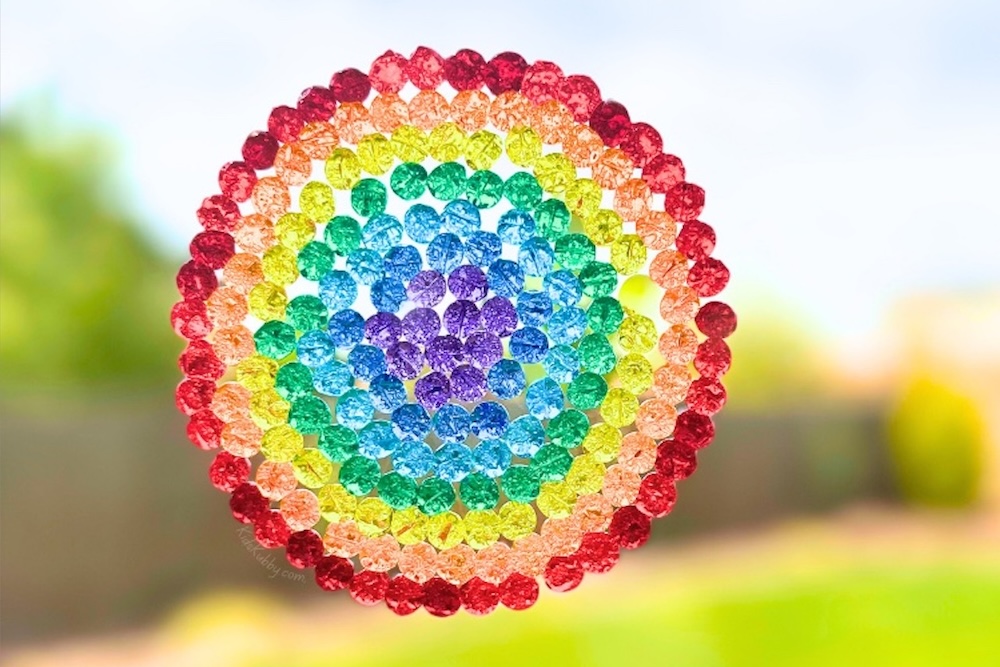
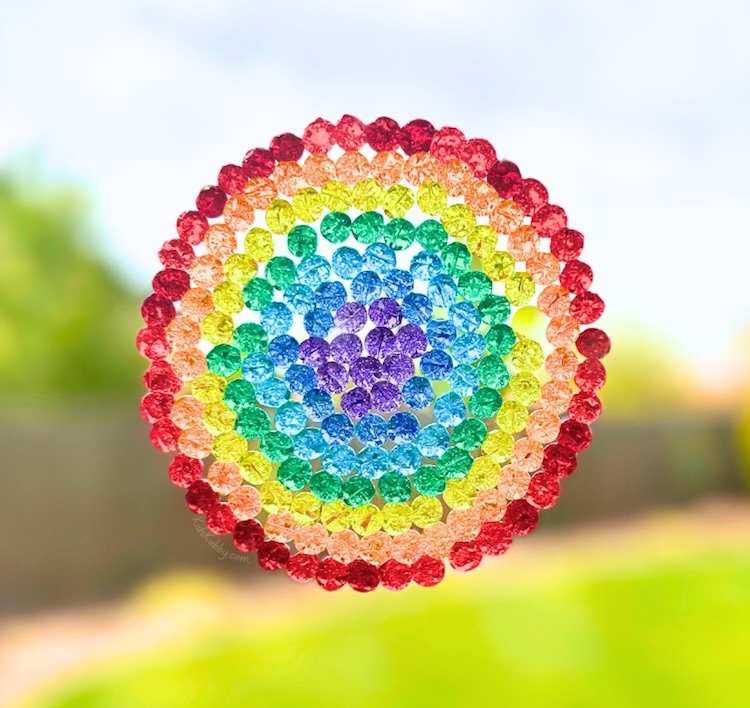
We finally got around to make them, and I’ve got to say, they turned out AWESOME! Most crafts end up in the trash, but I’m totally thrilled at the way these colorful suncatchers look hanging in the window of our playroom. It’s really hard to capture how magical they look in a photo, but trust me, this easy craft is something you’ll be proud to display in any room of the house.
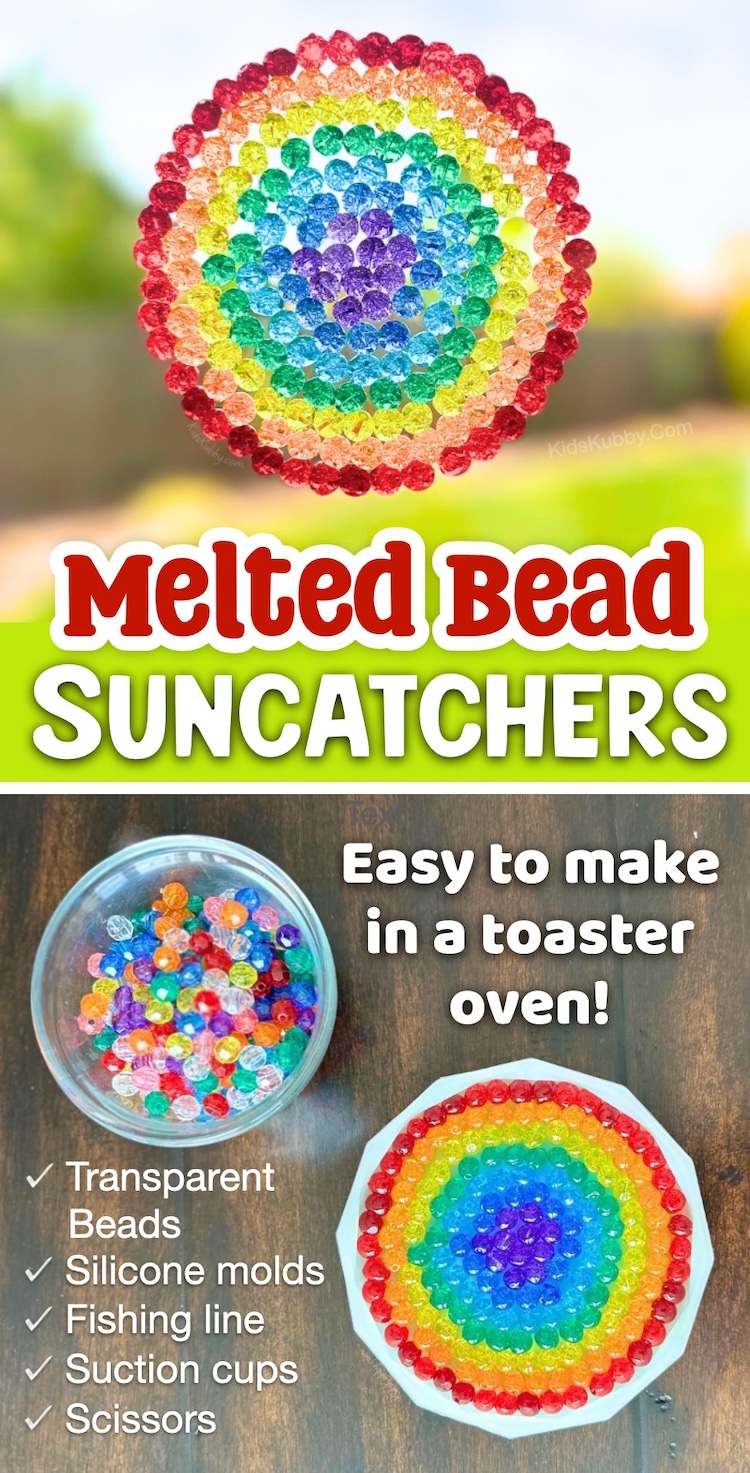
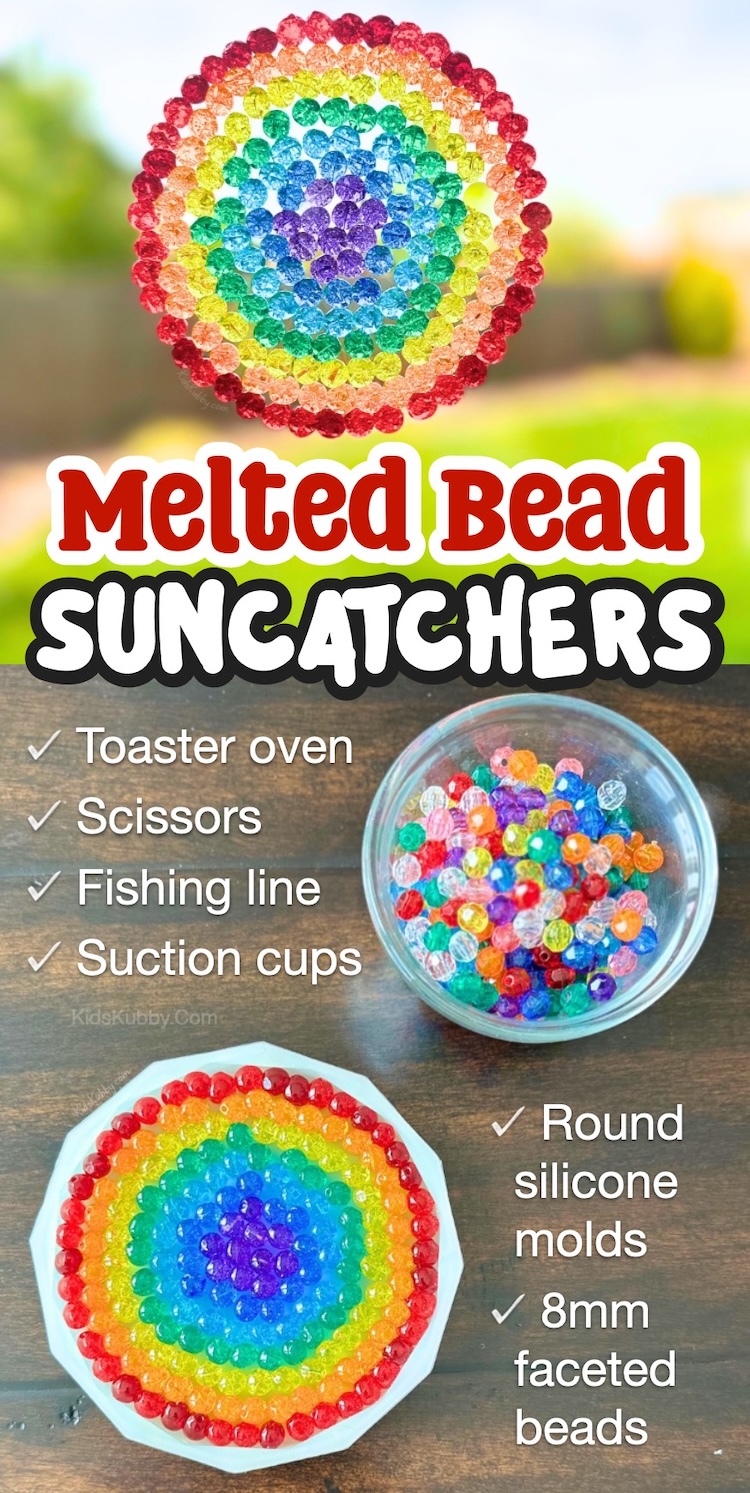
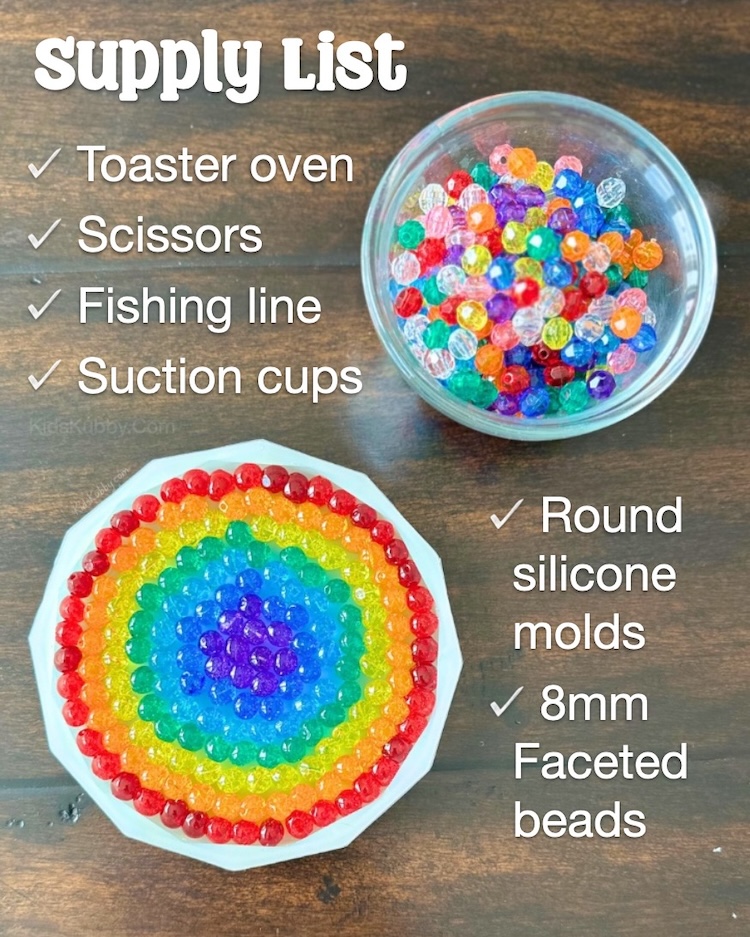
Supplies You’ll Need
- toaster oven
- round silicone molds
- transparent beads
- fishing line
- small suction cups
- scissors
Good To Know
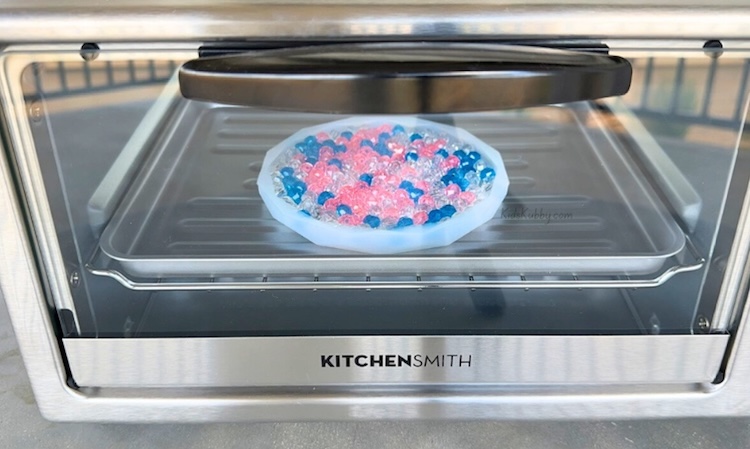
- Because of the questionable fumes that come from the melted beads, it’s best to use a toaster oven that can be brought outside in a well ventilated area.
- The round silicone molds are actually meant for making resin coasters which could be another really cool project to try later. They are about $9 for a pack of six, but if you’d rather not spend any extra money, I’ve also seen this project done in old muffin tins or small cake pans.
- Any transparent plastic or acrylic beads can be used, but the faceted beads have a really pretty effect thanks to their diamond-like shape.
My preschoolers and teenager all had fun making these suncatchers together. It’s a really cool project for any age group, including adults! I might have had more fun making these than my kids. 😄
How To Make Melted Bead Suncatchers
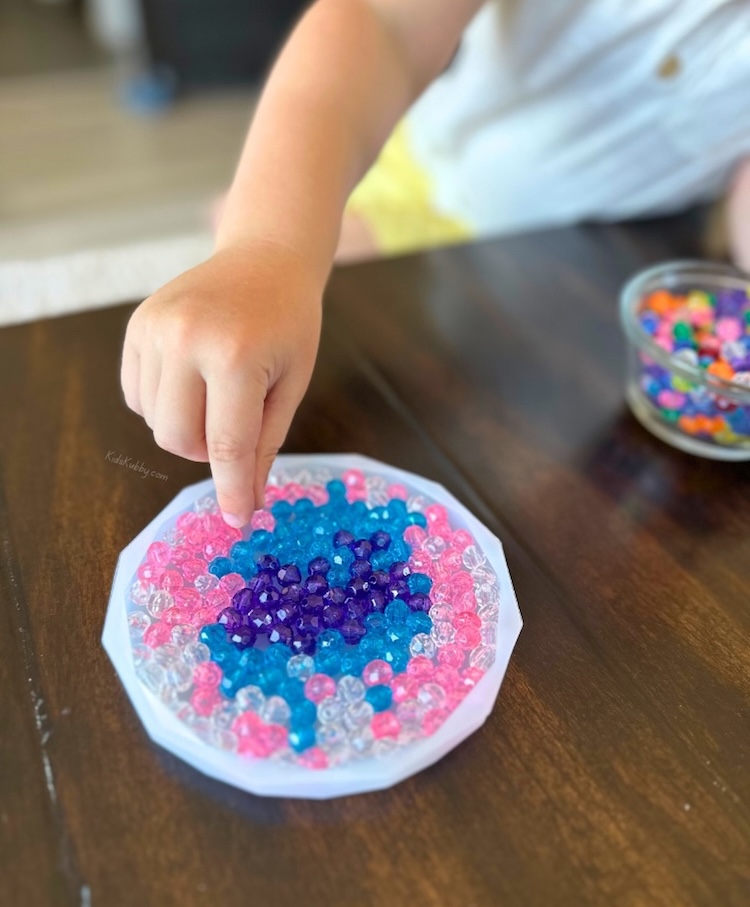
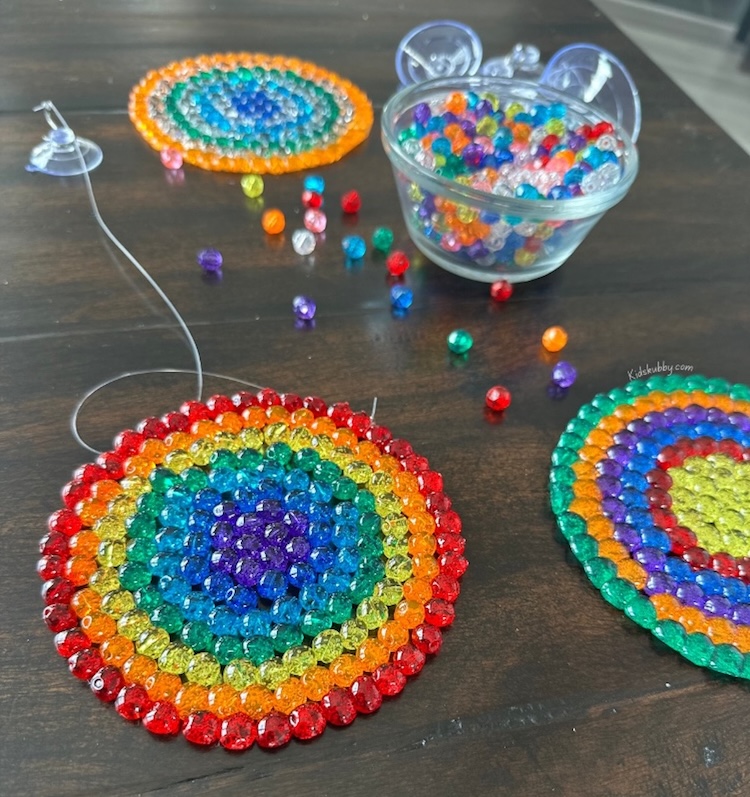
Step 1 Begin by arranging the beads in the silicone molds starting on the outer edge and working your way around. You can design them however you’d like with a pattern or even something random. Make sure that the beads are close together and fill the entire mold so that you don’t have big gaps once they melt.
Step 2Plug your toaster oven in somewhere outside in a well ventilated area and set it to 350° F. Place the silicone mold on the baking tray that comes with your toaster oven and bake for 10-15 minutes. The longer you bake them, the flatter they’ll get. I prefer to bake them just until there are still a few small gaps in-between the beads so that the fishing line can easily be looped in once they harden.
Step 3Allow the suncatchers to cool for at least 10 minutes before removing them from the silicone molds. Cut a piece of fishing line to your desired length and loop it through one of the gaps in the beads and tie it in a knot (If you don’t have any gaps, read the helpful tips section below). Hook the line onto a suction cup and hang it up in any window.
Helpful Tips
- What’s the best way to create a hole for the fishing line? We simply took our suncatchers out of the oven while the beads still had a slightly round shape with a few gaps in-between, but you could also poke a toothpick through while the beads are still warm to create a hole. You could also use a 1/8 inch drill bit once they are hard.
- What kind of beads are best used for this project? Any transparent plastic or acrylic beads can be used including pony beads or faceted beads. The larger your beads are, the longer they take to melt.
- What else can I use besides silicone molds? I’ve seen these DIY beaded suncatchers made in old muffin tins, cake pans, glass dishes, and cookie cutters. I’ve only tried this project with silicone molds, so I’d definitely do some research before experimenting with other baking dishes.
- Don’t have a toaster oven? You can also make these on a sheet pan on a hot gas grill. Simply close the lid and allow the beads to melt for 10-12 minutes.
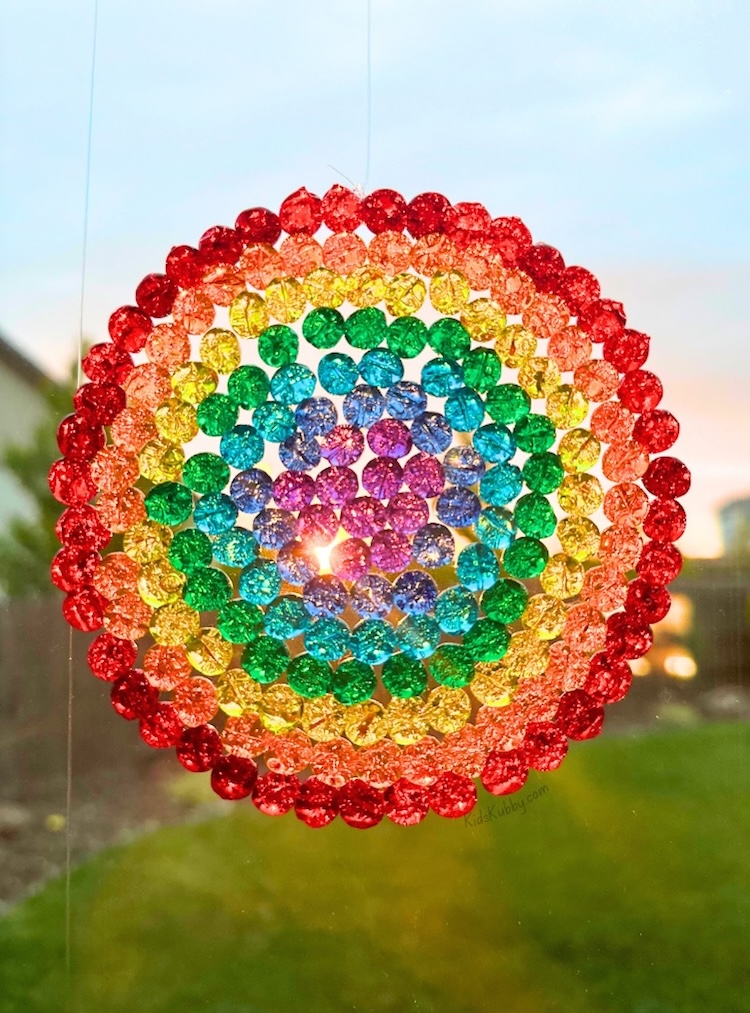
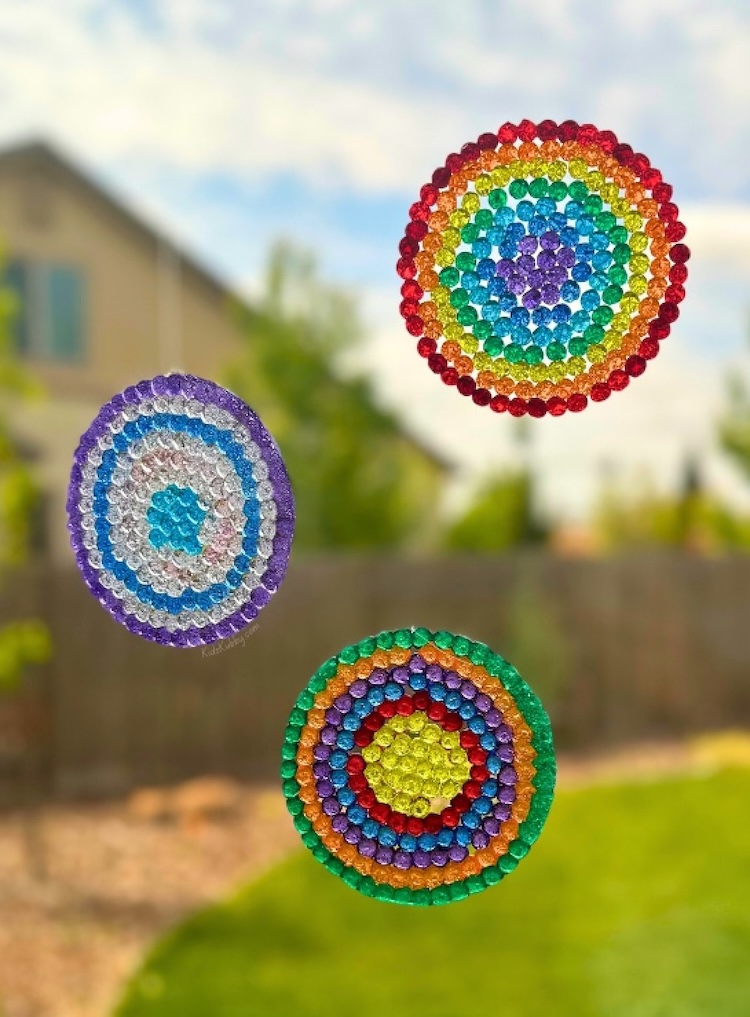
These colorful suncatchers look like small pieces of stained glass hanging in the window! The colorful “target” pattern turned out to be our favorite using a variety of colors that resemble a rainbow. I recommend trying a mixture of patterns and colors if you plan on hanging them in the same window for added interest and variety.
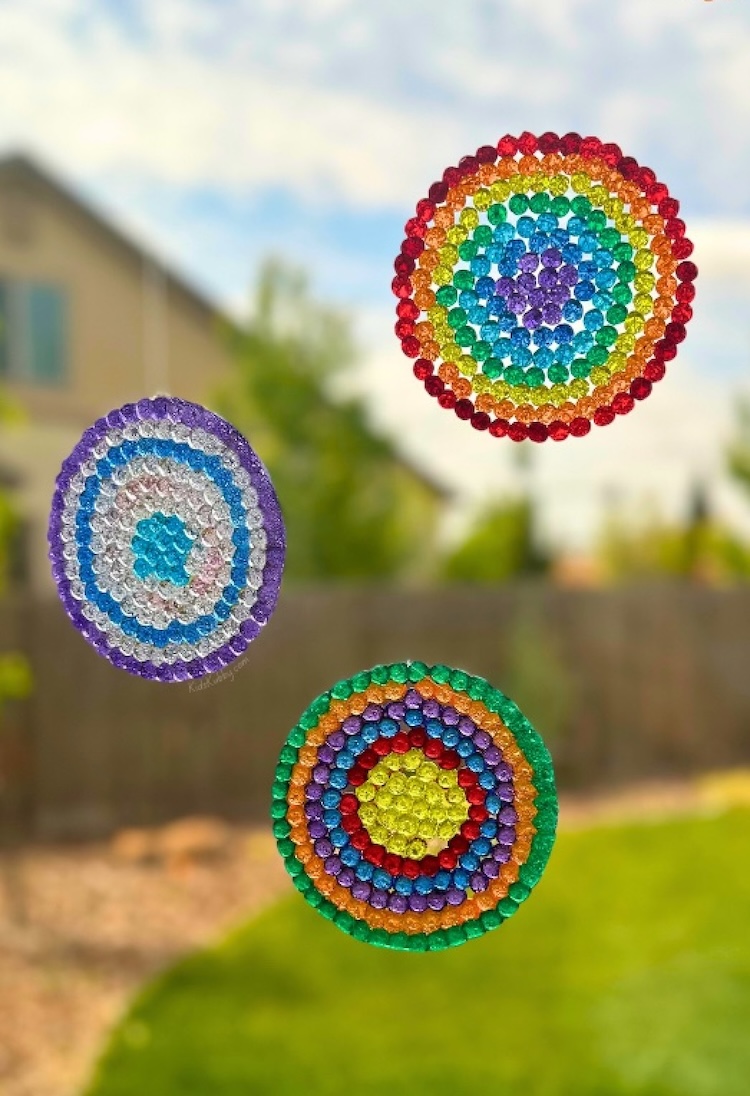
If you’re a busy mom like me looking for fun things to do with your kids at home, you’ve got to add these beautiful homemade suncatchers to your list of activities to try! Not only were they fun and easy to make, they’ve created a whimsical addition to our playroom. My kids are mesmerized every time they glance out the window.
