Easy outdoor activity for kids using recycled materials and flowers
DIY Flower Trees are a fun and interactive craft for kids using supplies you already have around your house! If you’re like me, you always have a few amazon boxes laying around the house. Instead of throwing these boxes into the recycling bin, turn them into beautiful nature crafts for your kids! With a few simple supplies including cardboard, packing tape, and flowers you can create a fun and interactive outdoor activity that your kids are sure to love.
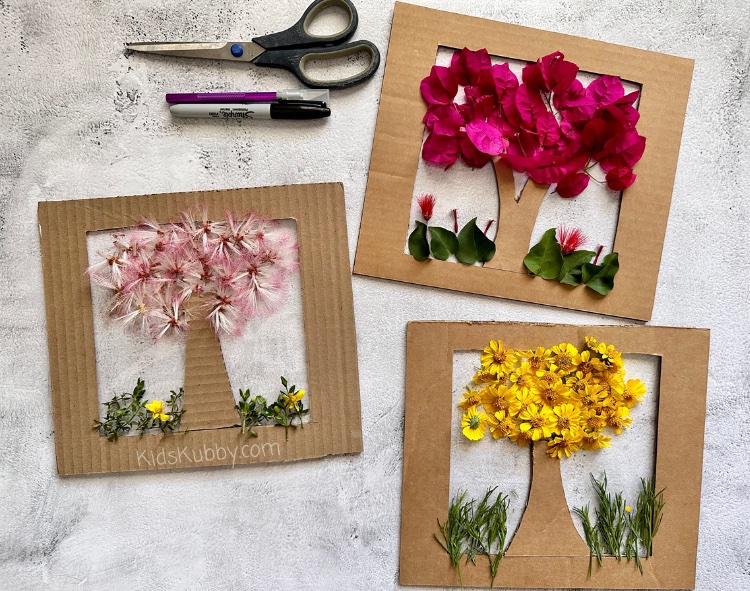
Outdoor Activities For Kids
Getting outside is one of the best things for kids! Countless studies have shown that being in nature is not only good for kids but also for us as parents. Nature has a calming effect that just seems to make everything better, especially since we’re always on our screens too much. That’s why I love finding fun and simple outdoor activities that keep my kids busy! This is an easy spring time craft but can also be done any season with foliage you find around your yard. And don’t forget to check out these other outdoor activities for kids!
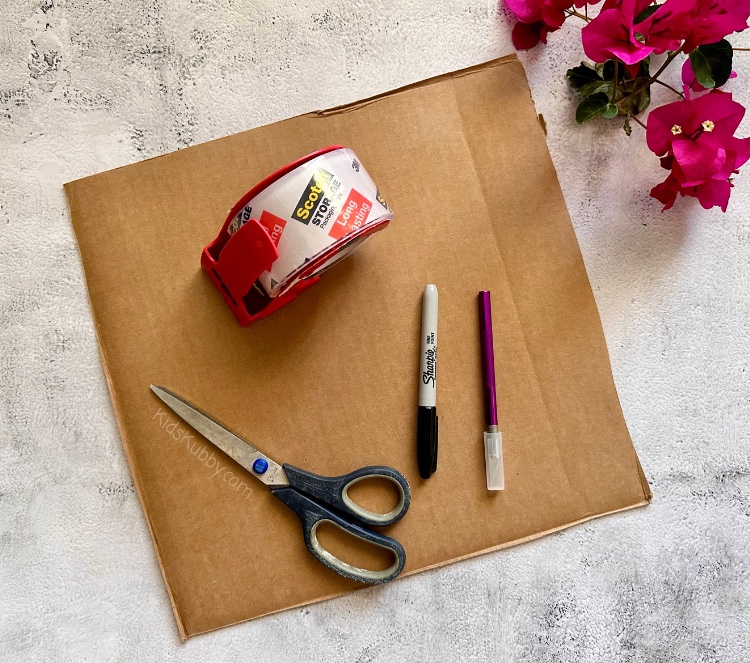
Supplies For This Fun Outdoor Recycled Craft For Kids
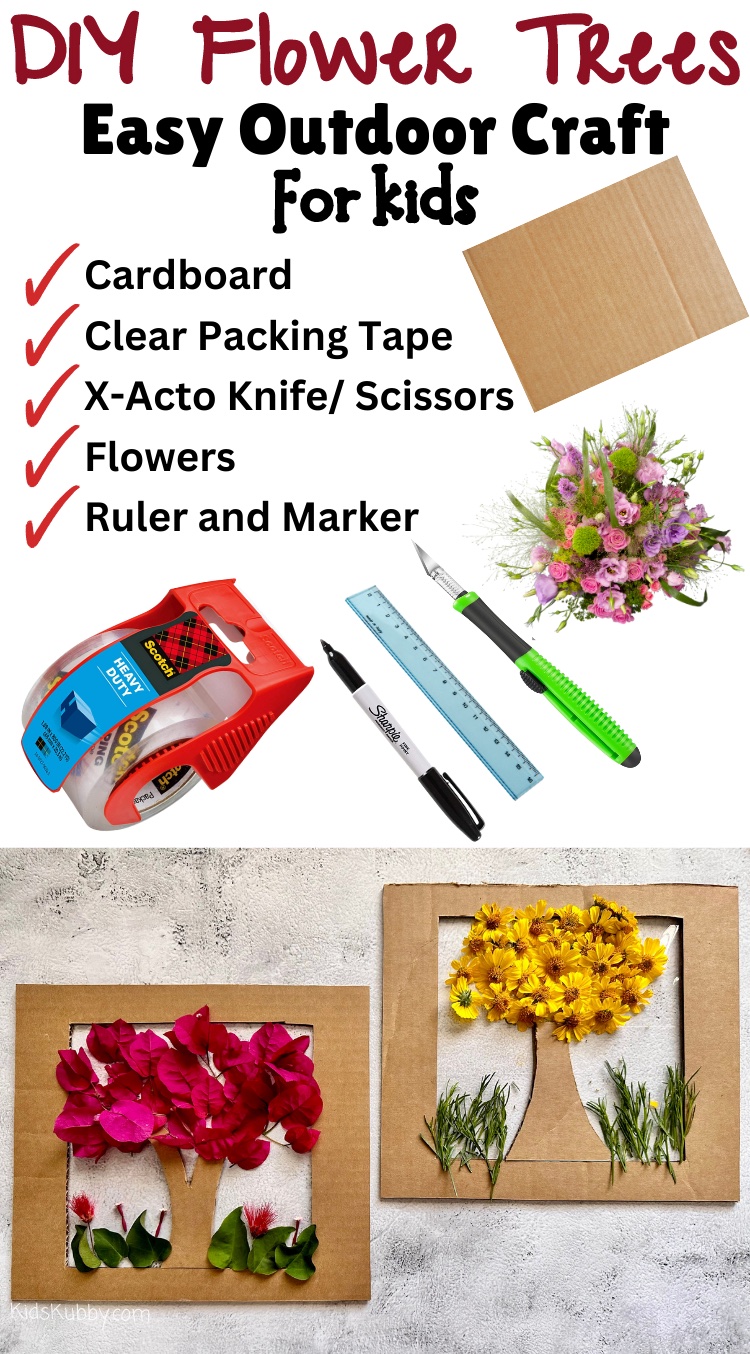
DIY flower trees are incredibly easy to make with just a few supplies. Once your kids make one of these beautiful flower trees, they will beg to make more. Make sure to save and pin this craft for later!
- Cardboard
- Packing Tape (clear)
- X-Acto Knife (razor blade or scissors work too)
- Marker for drawing the outline of the box
- Ruler
How To Make A Flower Tree Craft
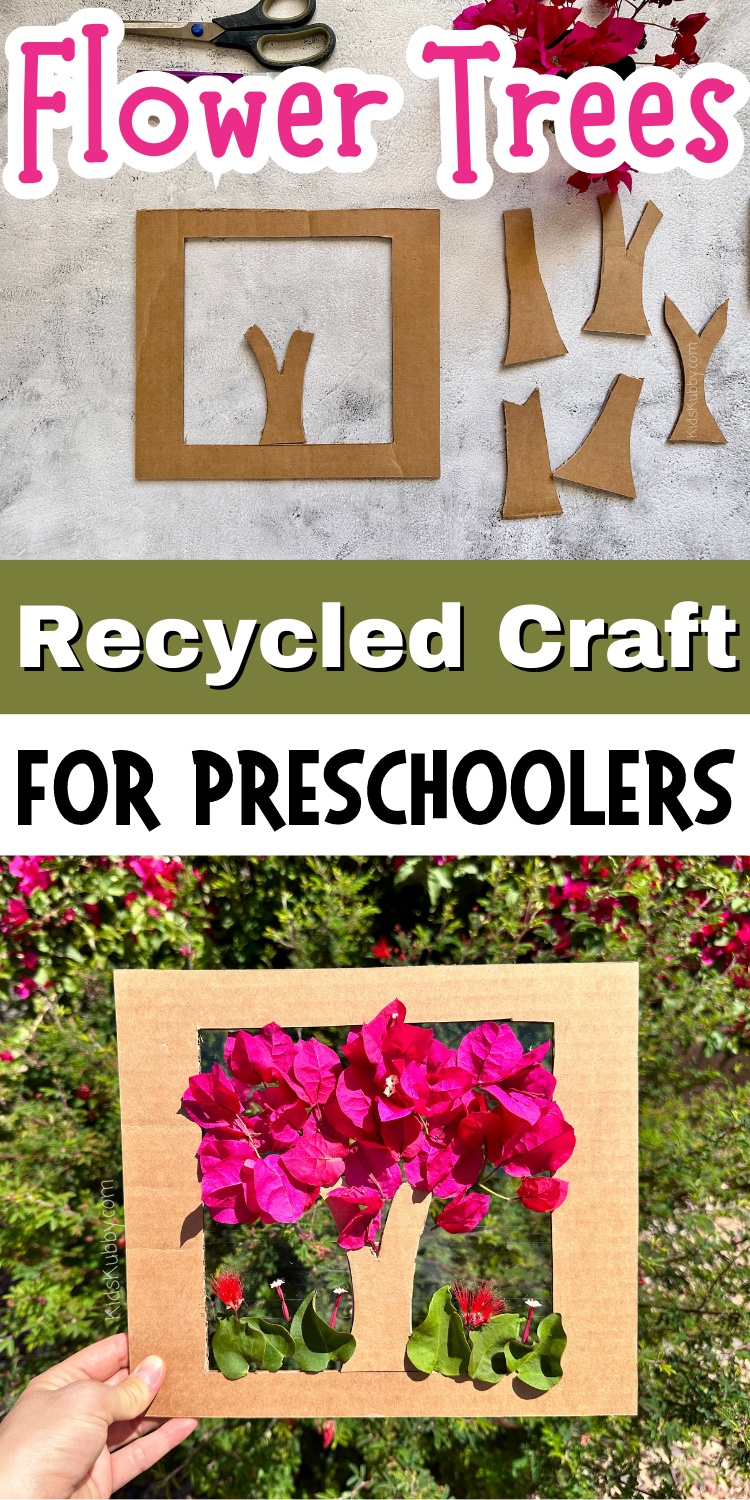
Step 1. Find a piece of cardboard and draw a square and cut it out. I made my cardboard frame 10×10 but you can make yours larger or smaller. This size was easy for my kids to carry and work with!
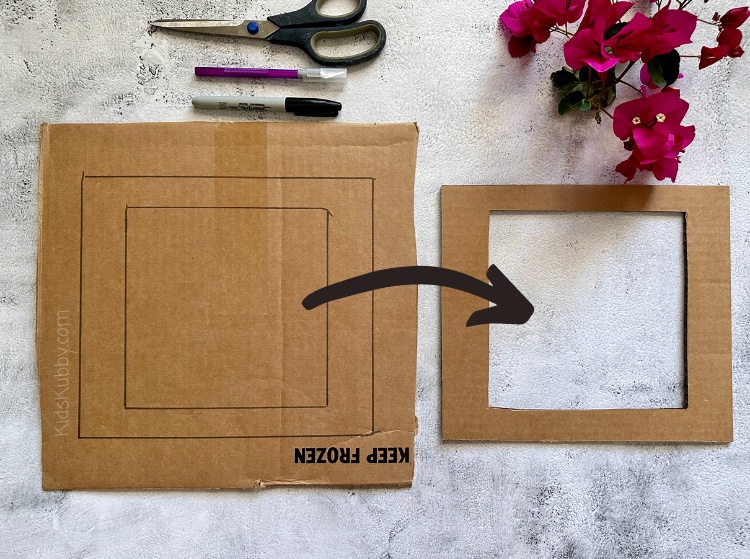
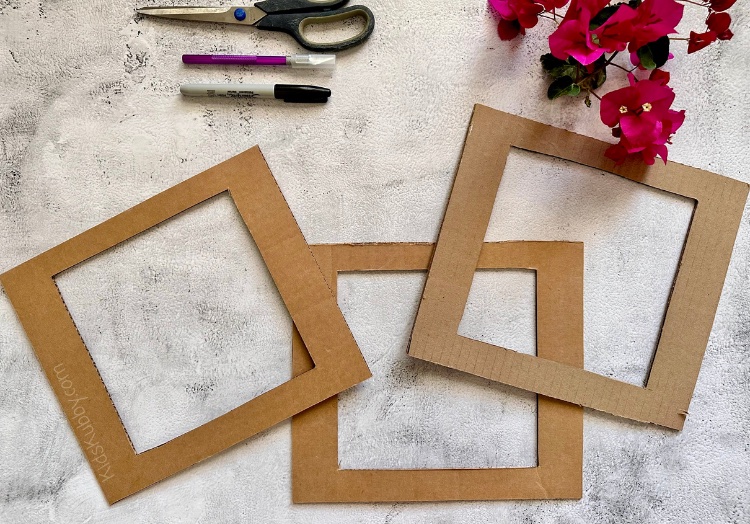
Step 2. Using a ruler, draw another square about 2 inches inside of the one you just cut out. Use an X-Acto knife or razor blade to cut the middle part of this square out. You should be left with a cardboard frame! I like to draw my lines on the “ugly” side of the box where there might be writing or tape. We’ll call this the back side of the frame.
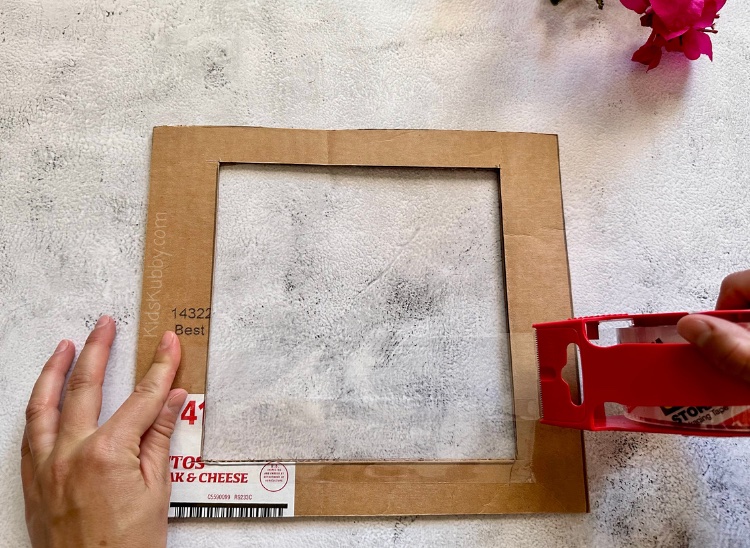
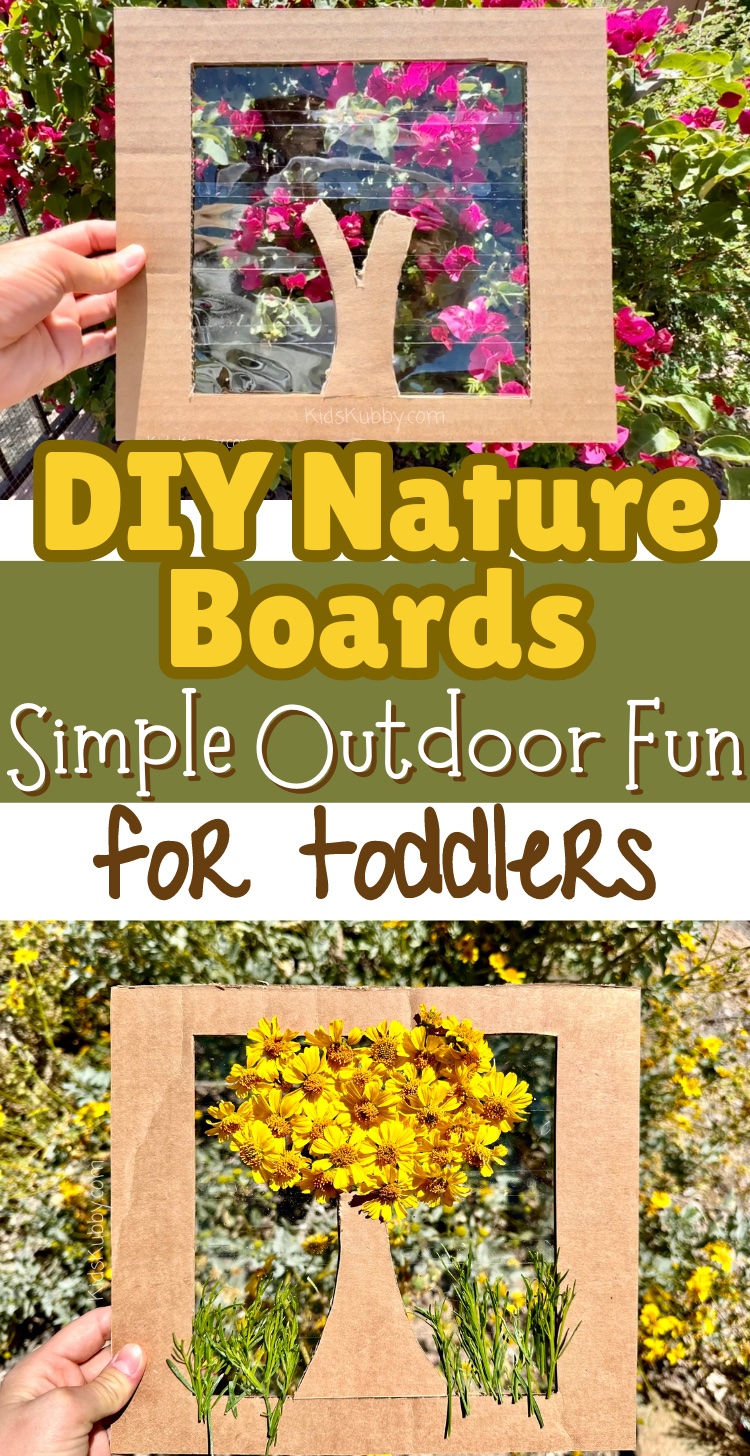
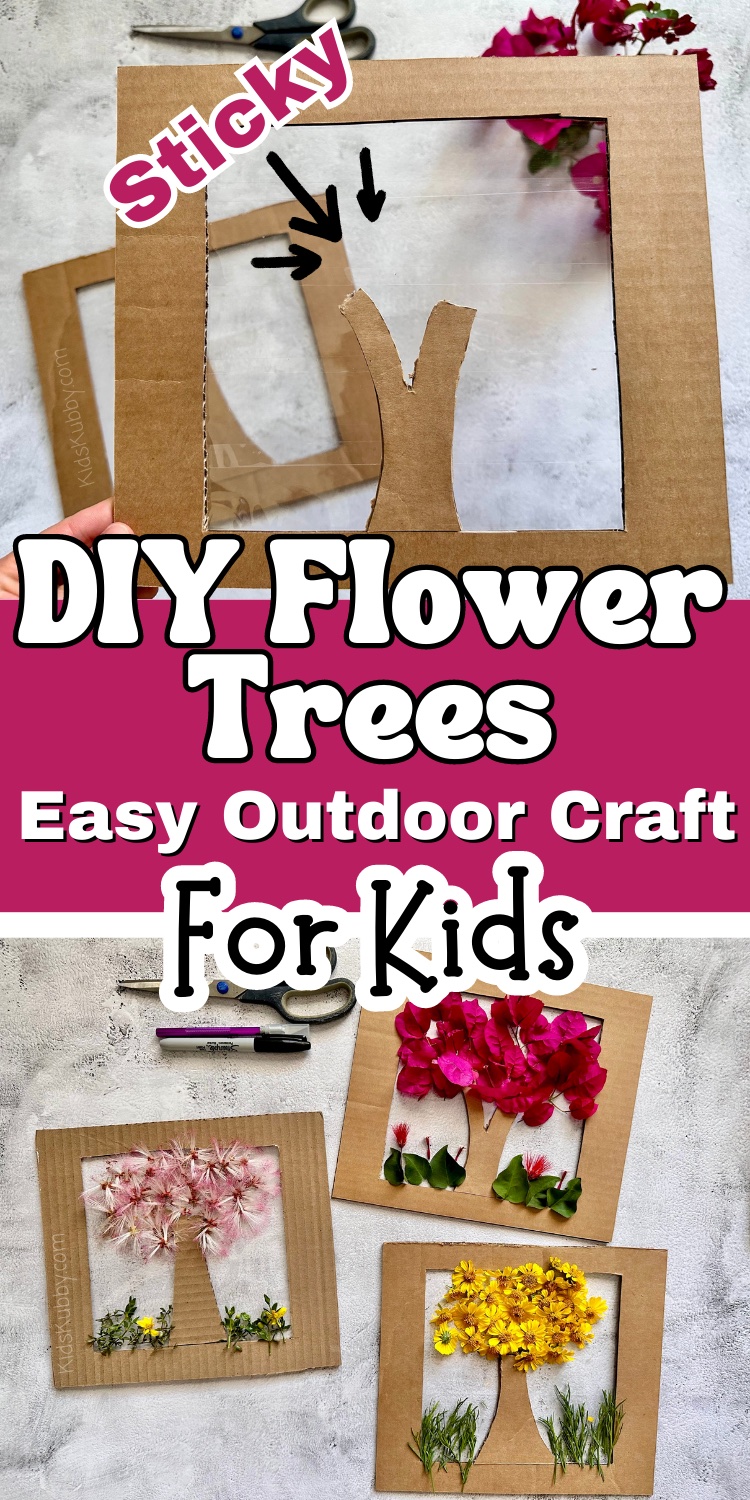
Step 3. Use clear packing tape and cover the back side of the cardboard frame. Each tape line should overlap just a bit. Turn the frame over and it will be sticky!
Step 4. Using the leftover scraps of cardboard, make little tree trunks and place one on the sticky side of the tape in each frame.
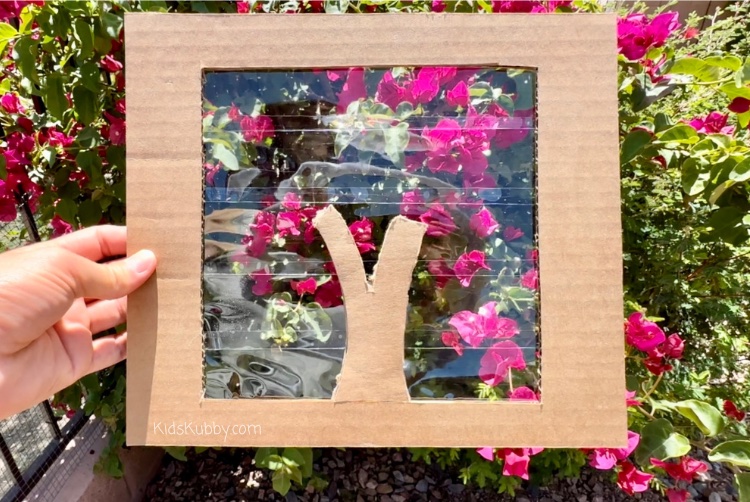
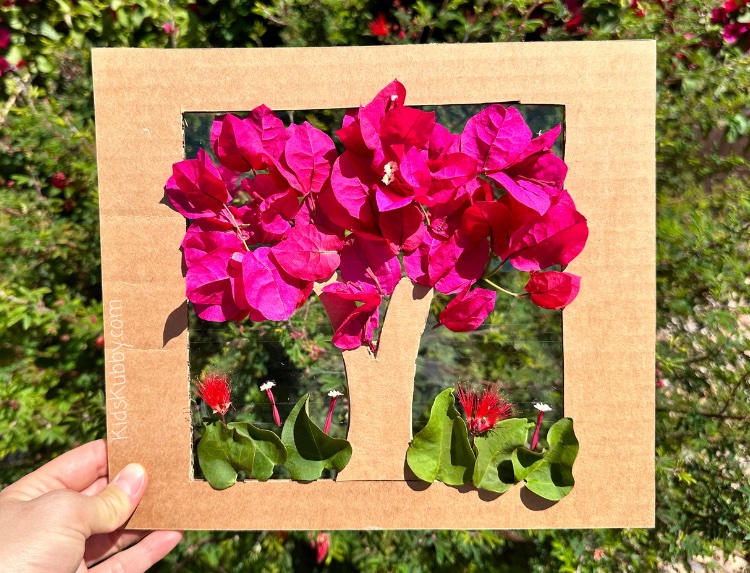
Step 5. Head outside and let your kids use flowers, leaves, sticks and grass to create beautiful flower trees! You can even replace the cardboard tree trunk with sticks to make this outdoor craft even more “natural”. How pretty is this nature craft for kids!
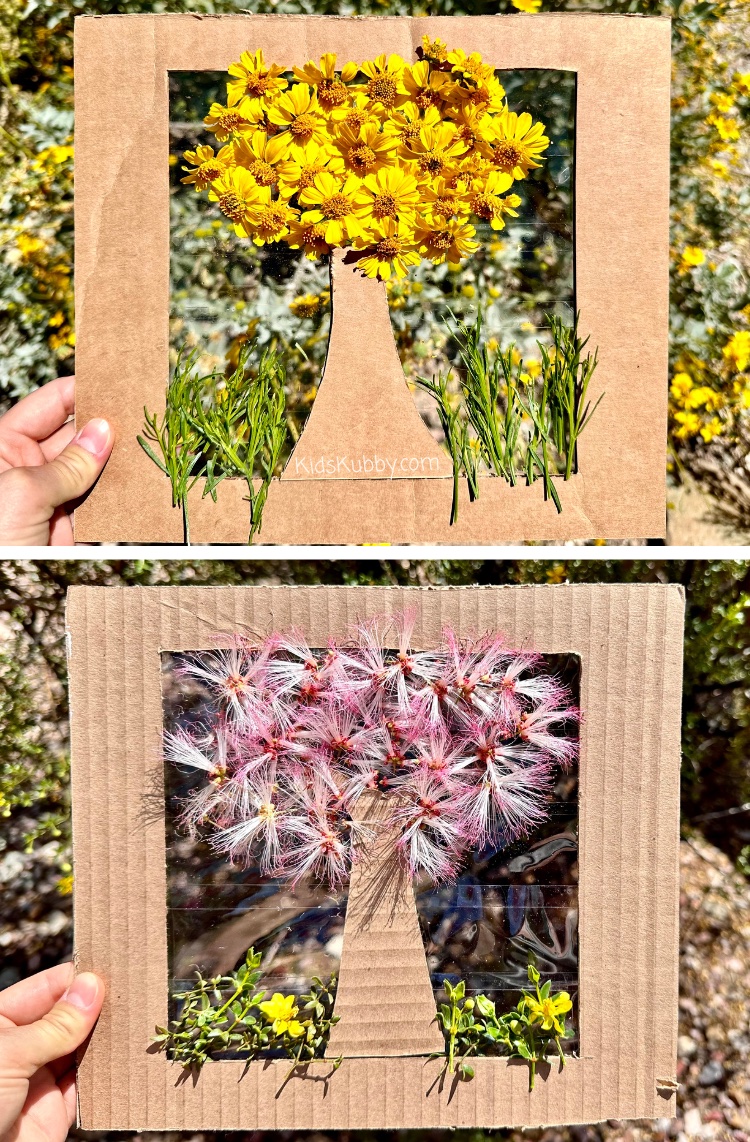
This DIY flower craft is easy and fun for kids and makes a great outdoor activity. Try making several cardboard frames ahead of time and see how many different combinations of flower trees your kids can make! I love that this cheap craft uses recycled material and only takes a few minutes to setup.
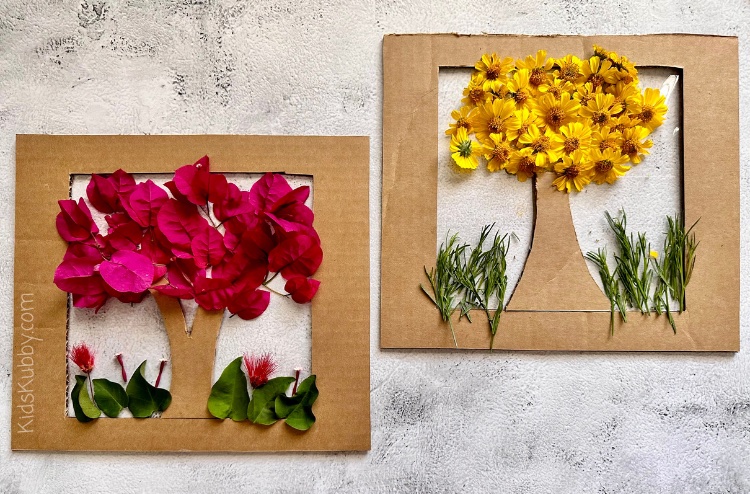
But How Long Will My Flower Tree Last?
So everything beautiful eventually fades. Within a few days, the flowers on this nature craft will begin to dry. I actually really like the way these flower boards look once they’re dried. I feel like you could hang this craft in the window as a sun catcher or on the wall as recycled art! If you really want to make this DIY flower craft last forever, use atificual flowers instead of real ones. By doing this you can create a fun indoor activity for your kids!

This flower tree crafts makes a great Mother’s Day gift too!

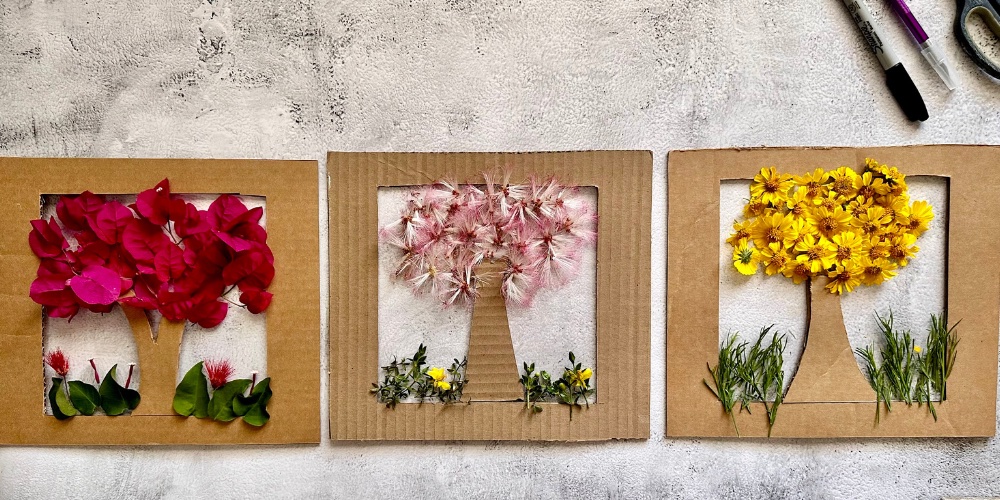

 I hope you and your littles have a blast crafting, baking, and creating together!