Fun Fall Sensory Bins for Kids
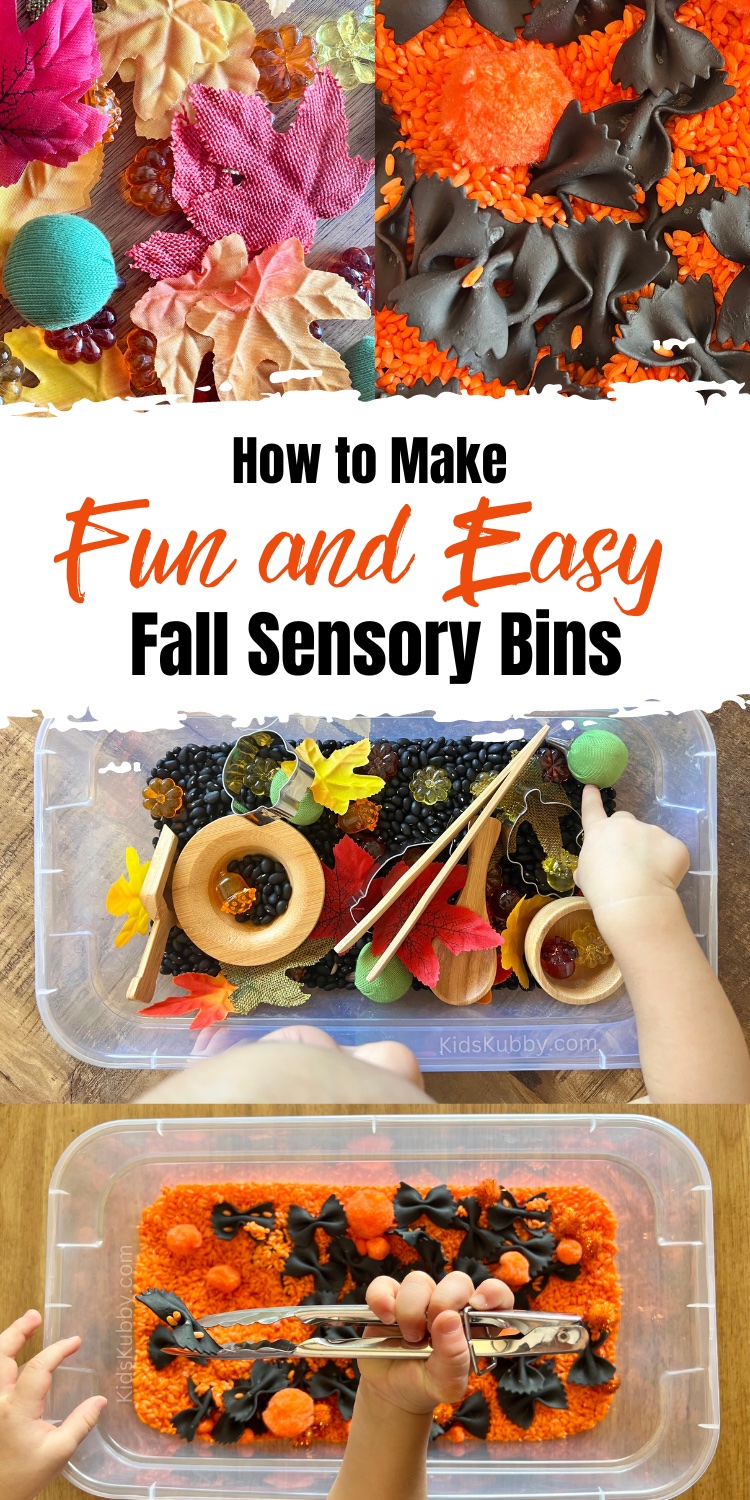
It’s that time of year again. The air is cool and crisp, pumpkin spice is around every corner, and your kids are officially tired of the toys they played with all summer. Now is the perfect time to create some new and exciting Fall Sensory Bins. These bins are a perfect way to introduce the change in season to your toddlers and preschoolers and are also a great way to keep little hands busy while you’re cooking, cleaning or just having a moment to yourself (cue the pumpkin spice latte!)

What is a Sensory Bin
Sensory bins are a great way to help your toddler or preschooler explore the world around them in a safe and friendly environment. Most sensory bins are made in a shallow plastic container like a storage bin (I like to get mine at the dollar store – bonus points if you can find one with a lid for easy storage!). Then the bin is filled with some sort of base filler like dry rice or beans, and small objects that stimulate your little one’s senses. Sensory bins can be as easy as dyed rice with scoopers and funnels or more intricate holiday themed bins like these amazing Fall Sensory Bins below!!
How to Create The Best Fall Sensory Bins
Pumpkin Number Matching Sensory Bin
Materials Needed
- Pumpkin Counting Sheet (2 Copies)
- Scissors
- Glue
- Cardboard (I used an amazon box!)
- Clothespins
- Green Paint and Paintbrush
- Dyed Pasta, Beans or Rice
- Plastic storage container with lid
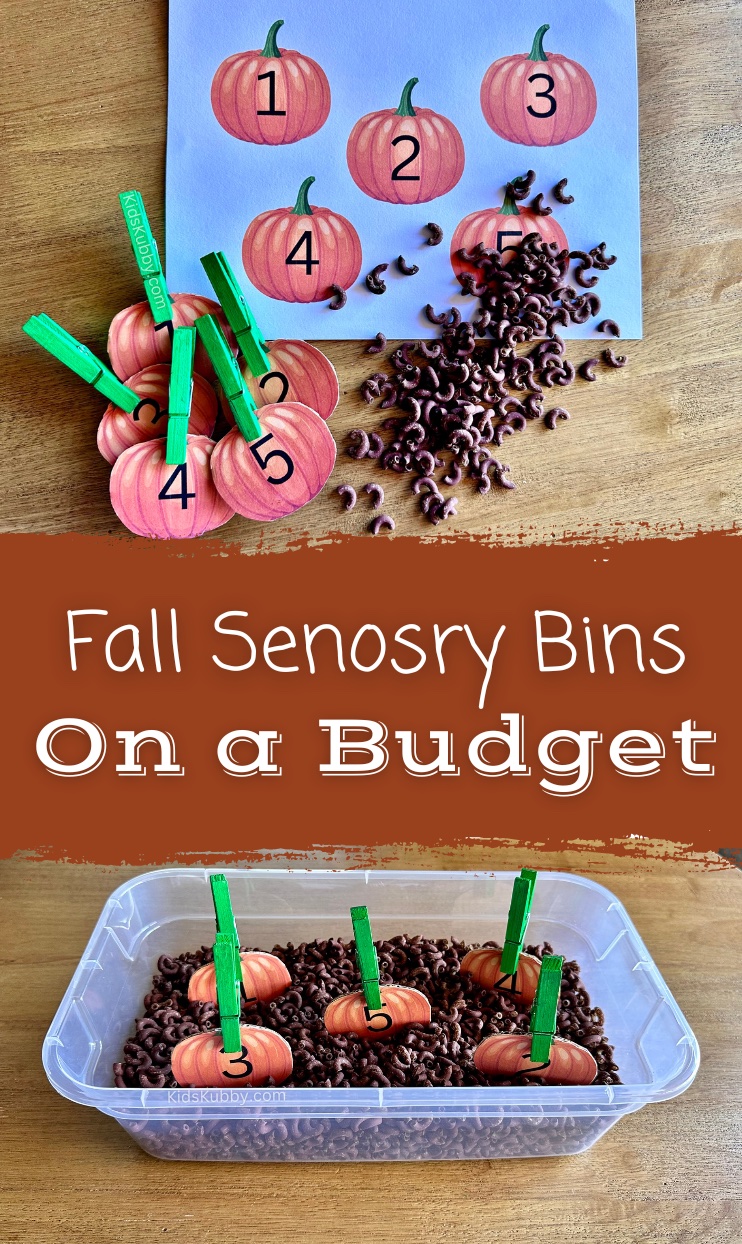
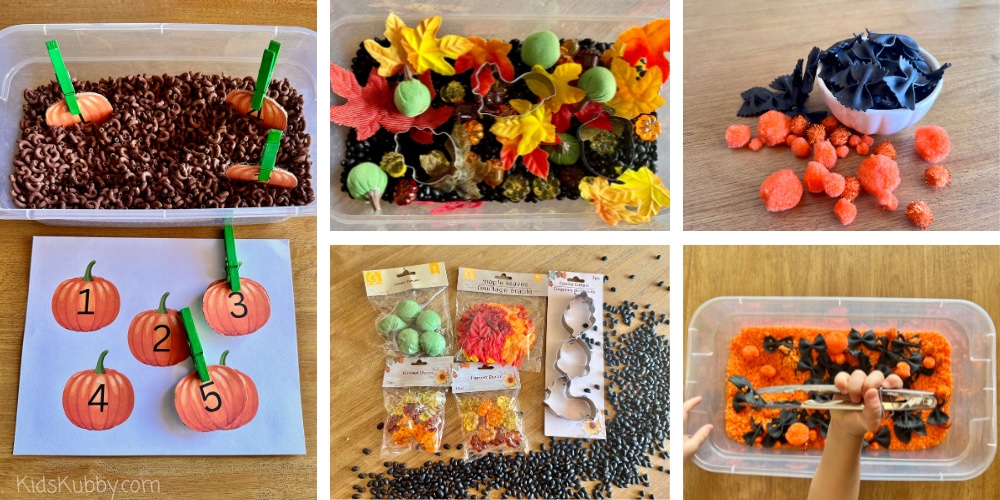
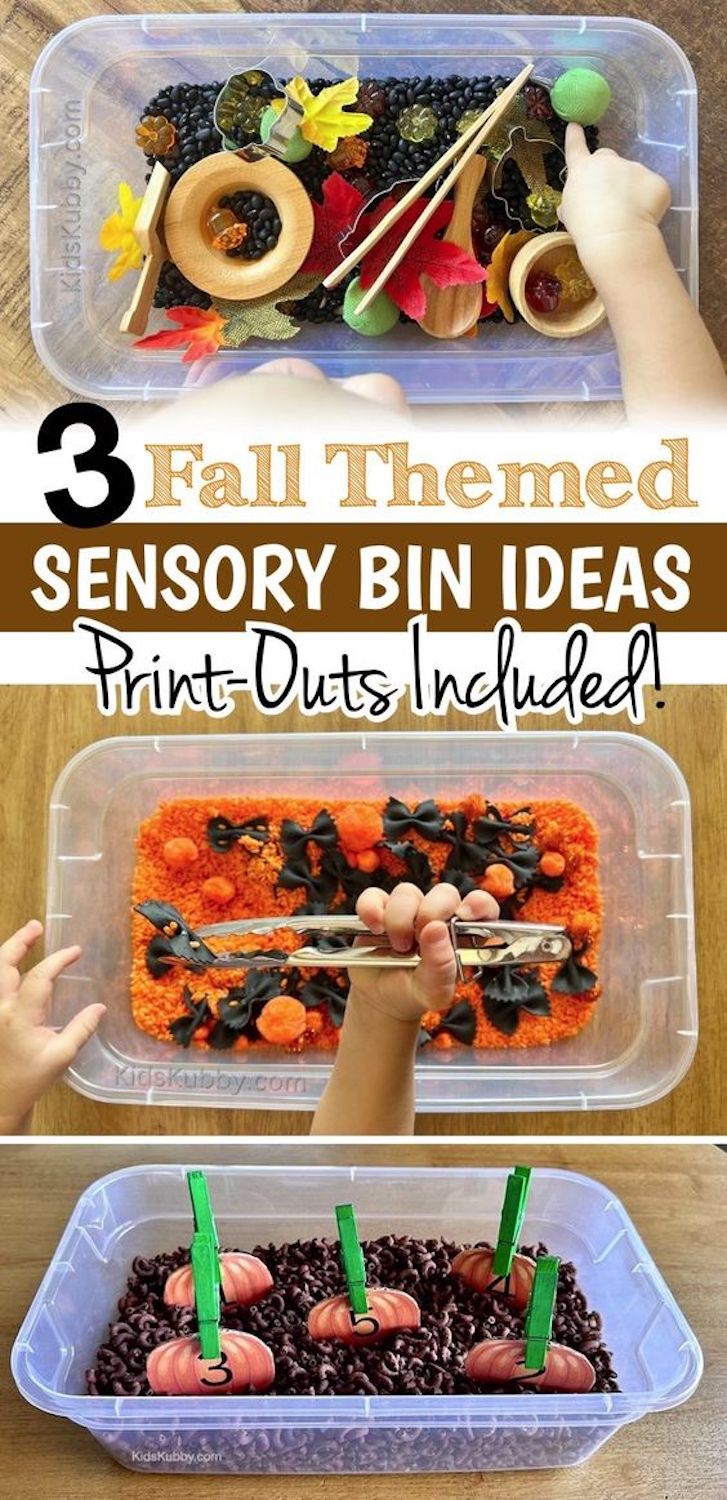
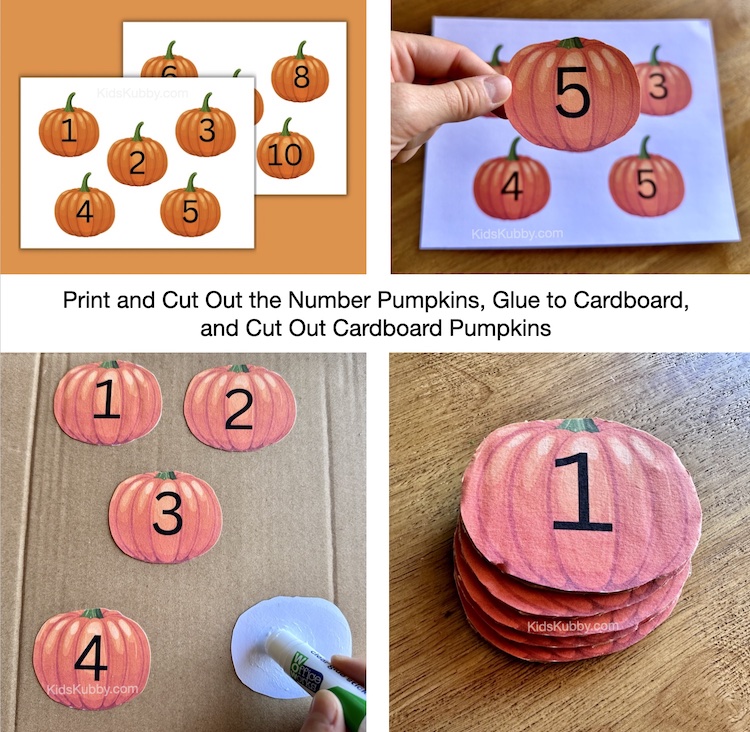
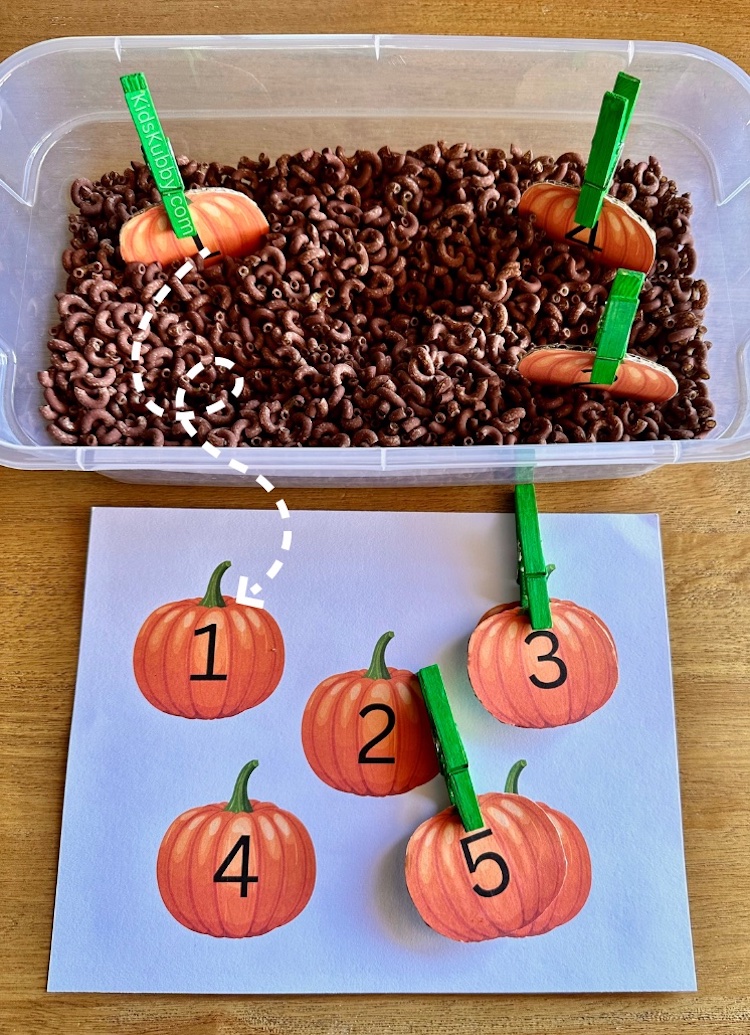
Looking for a great way to incorporate number matching into play time with your toddler, look no further. This fun fall sensory bin combines pumpkin picking with number matching. Simply print two copies of this pumpkin counting sheet or make your own. Cut out one set of pumpkins and glue to cardboard.
Tip: Don’t worry about the stem. I cut them off to make attaching to the cardboard even easier.
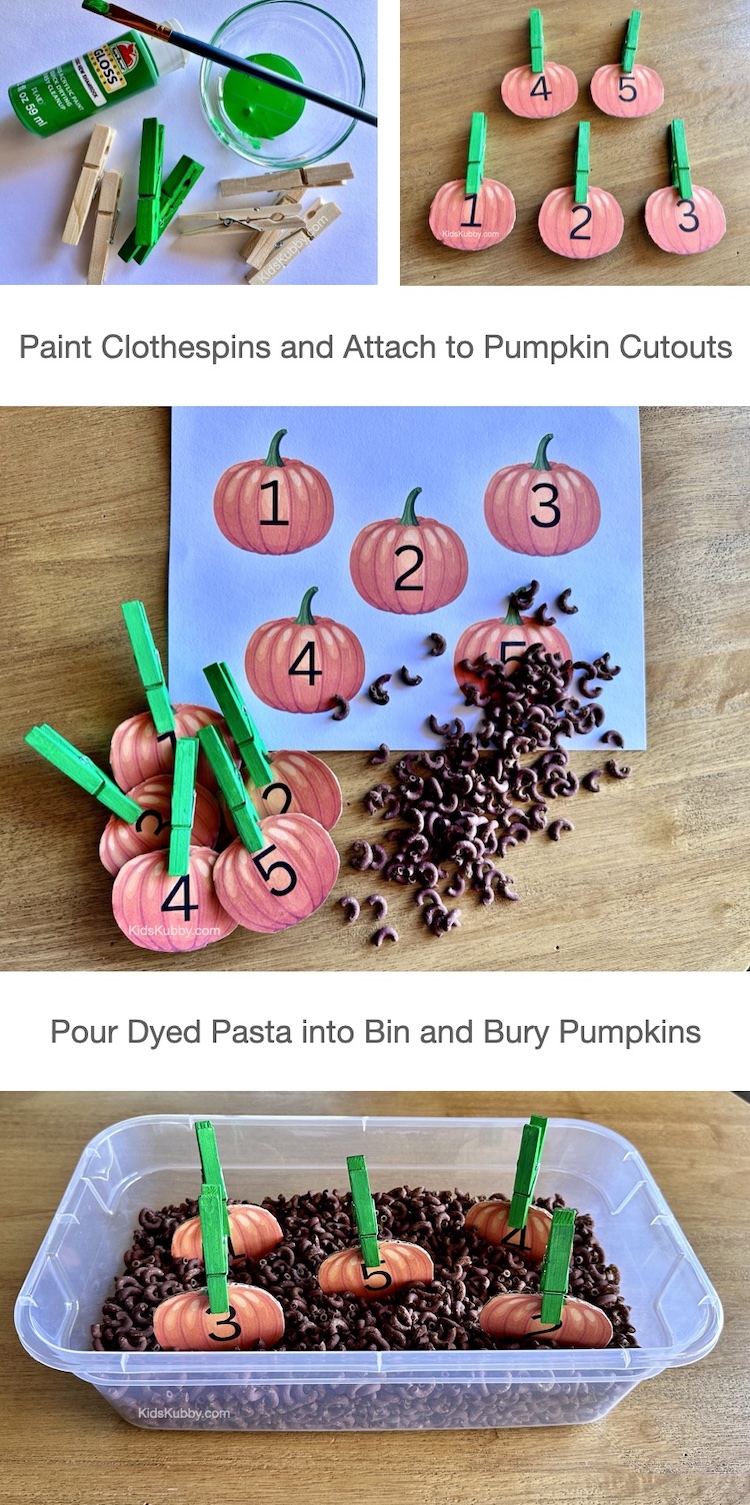
Next, paint your clothes pins green and attach to the pumpkins by clipping to the top. “Bury” the cardboard pumpkins in your sensory bin pasta base. You can find a tutorial on how to dye pasta here (super simple sensory bin filler)! Now your kids can pick a pumpkin and match it to the second pumpkin counting sheet.
Flying Bats Sensory Bin
Materials Needed
- Dry rice dyed orange
- Bowtie pasta dyed black
- Plastic storage container with lid
- Orange pom-poms
- Bowl and tongs
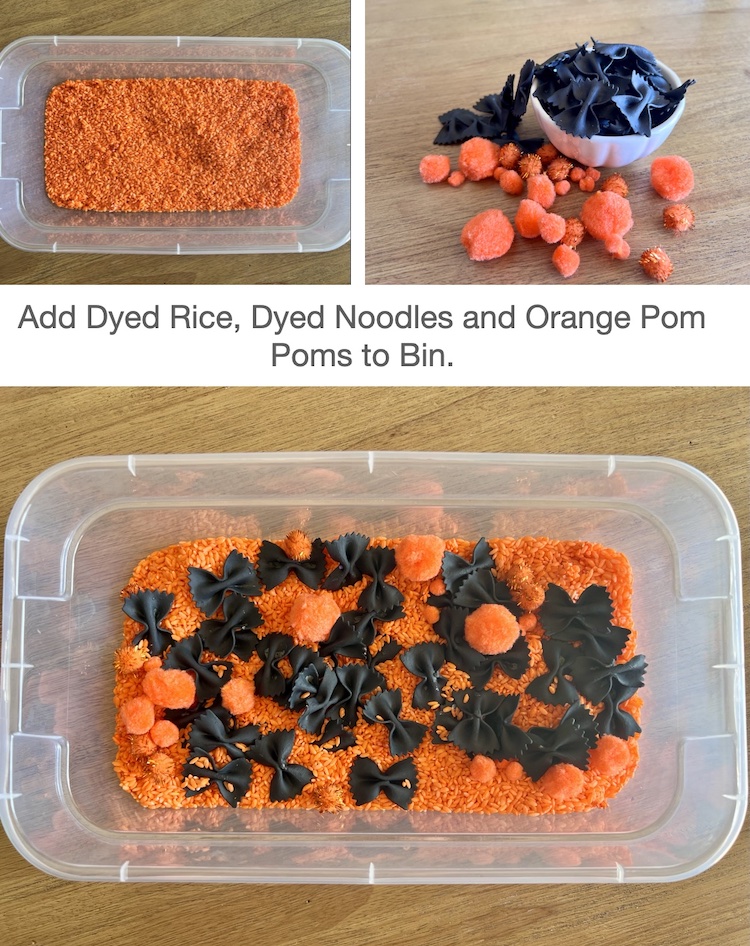
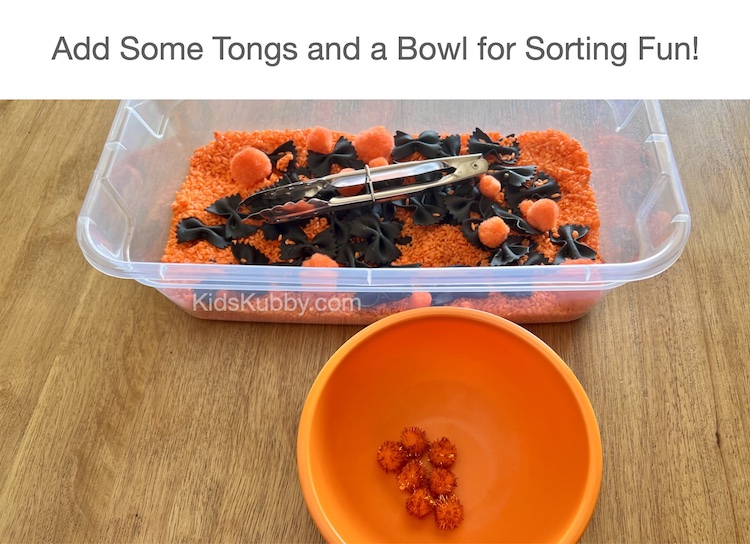
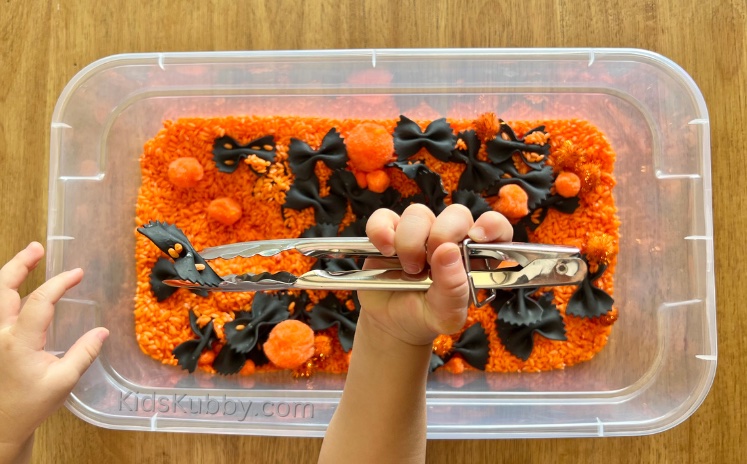
This simple two step Fall Sensory Bin is easy to make and so engaging for your kids. Start with some dyed rice for your base (You can find the recipe here)! Next dye some bowtie pasta black using the same recipe as the rice. These will be your “bats”. Once your rice and pasta are dry, add to your sensory bin and mix. A couple of bowls and some tongs are the perfect sensory bin tools that will keep your kids busy for hours! This is such a fun Fall sensory activity for your toddlers and preschoolers!
Fun Fall Sensory Bin
Materials Needed
- Dry black beans
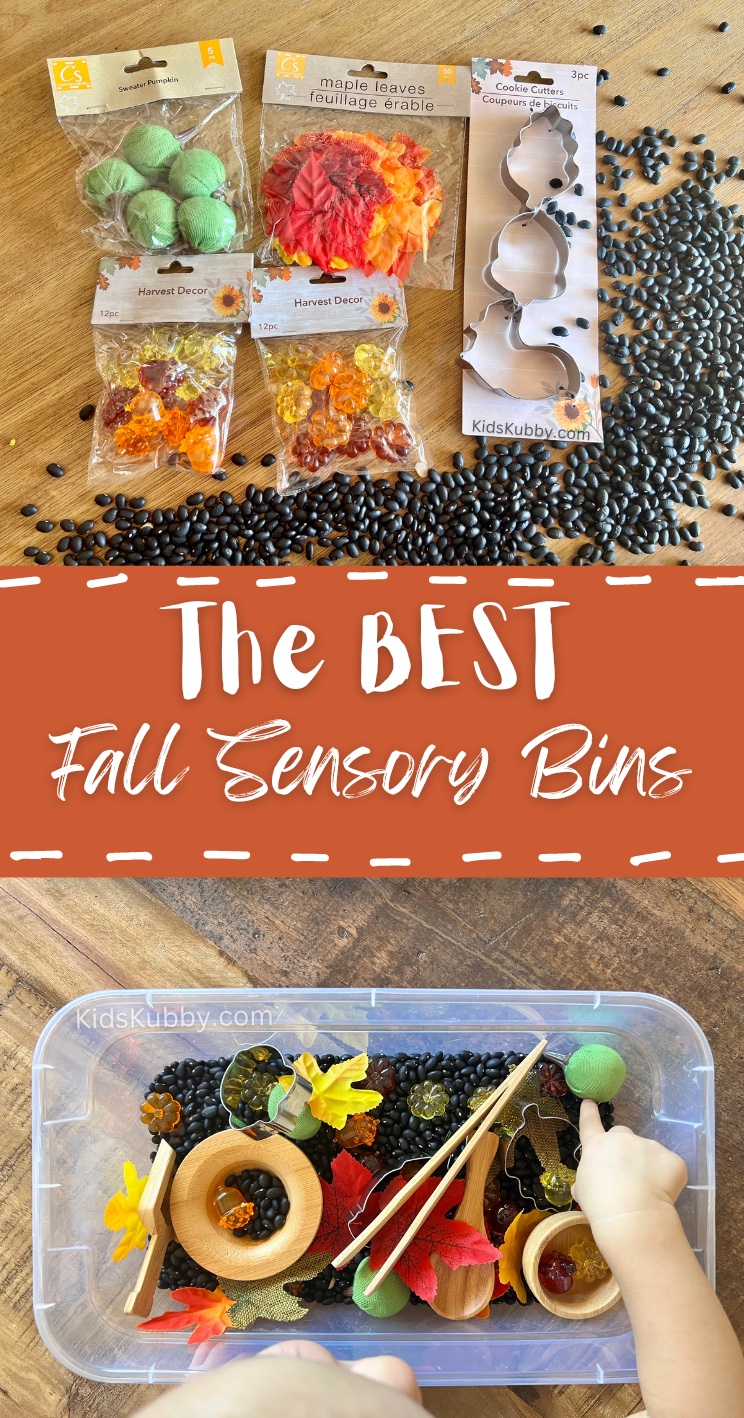
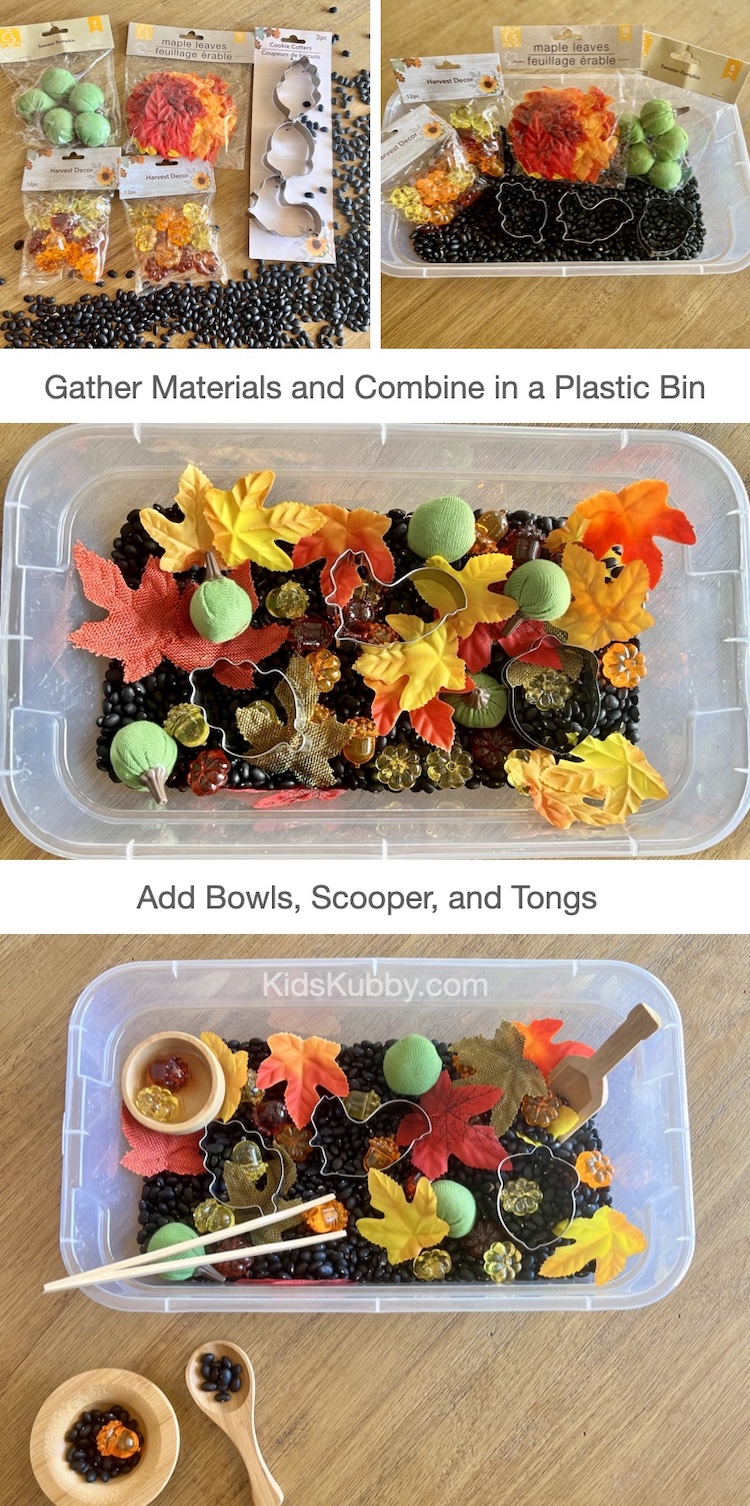
- Faux fall leaves, Fabric pumpkins, Fall colored jewels, and Fall cookie cutters
- Bowls, tongs and scoopers
- Plastic storage container with lid
This may be the easiest sensory bin you’ll ever put together. I found almost everything I needed at the dollar store. Grab some dried beans, faux Fall leaves, fabric pumpkins and some fall jewels and any other fall themed sensory bin fillers you’d like! Simply add a bag or two of dried black beans to your sensory bin as a base (dried corn is also a great option). Next pour all the fun fall items on top of the black beans. I absolutely love how the fall colors pop against the dark beans. Add a wooden scooper and a few small bowls and your kids will be happily entertained with pouring and sorting fun!
How to play
I love sensory bins because they ignite your children’s imagination. Take a step back and just let your kids take the lead!
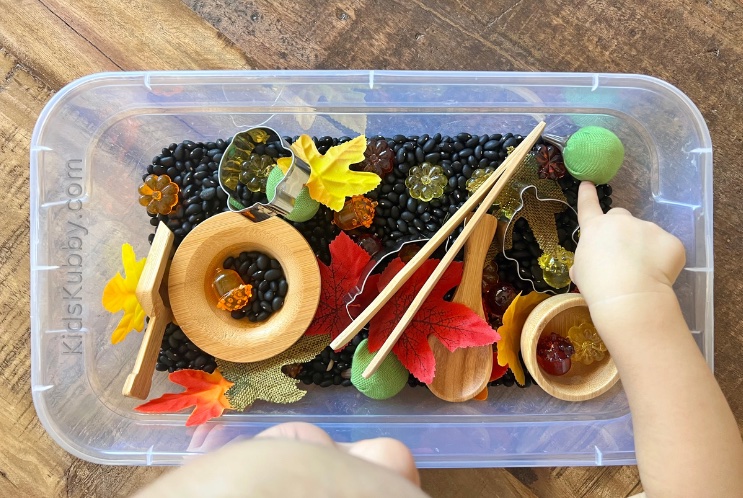
These Fall sensory bins are a great opportunity for your child to grow their independence. Let them lead the way exploring all the fun items you’ve hidden in these sensory bins. Scooping, pouring and using tongs are a great way to increase finger strength and hand eye coordination. All while they have a blast!
My daughter played with each of these bins for hours and she is still asking for these three weeks later. I even caught my 6 year old scooping beans and playing quietly with his sister. I’d call that a win in my book. I hope your kids enjoy these Fall Sensory Bins as much as mine do!
✨Helpful Tips✨
- You can find most of the materials needed at the dollar store. No need to spend a lot, especially these days!
- I used 6 QT (8 inch by 14 inch) storage containers. I like the way this size container stacks and it doesn’t take up too much room.
- You can always store the contents of each sensory bin in a large ziplock bag so you don’t have stacks and stacks of storage containers around your house! When your kids are ready to play, pour the contents into your 1 designated sensory bin storage container and let the fun begin.
- While sensory bins are a great independent activity for your kids, make sure to supervise. I speak from experience – you DO NOT want to walk away and come back to rice poured all over your living room!
🍁Happy Fall Y’all! 🍁
