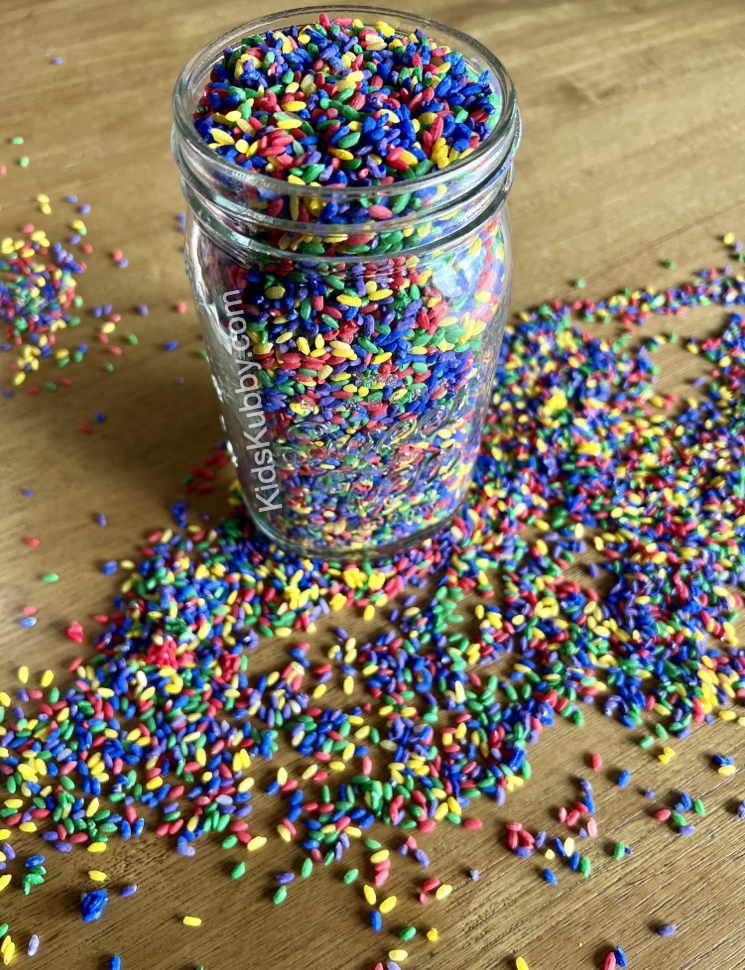
A Fun and Easy Craft Your Kids Will Love
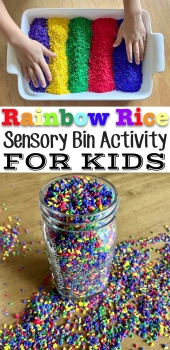
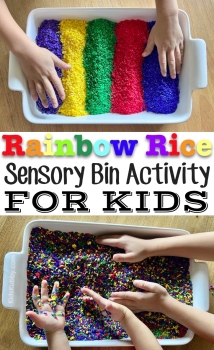
Rainbow Rice is super simple to make, and it just takes minutes. Your busy toddler is going to have hours of fun using this Rainbow Rice recipe in sensory bins, art projects, I-SPY jars and so much more! This DIY dyed rice is so easy even your older kids will be entertained. And the best part is there are two very fast and cheap methods to make Rainbow Rice. So let’s get started!
How to Make Rainbow Rice
1. Painted Rainbow Rice
This method creates the most brilliantly colored rice you can imagine. And what’s better, you have endless color possibilities. My son went through a stage where he only wanted gold-colored toys. Well as you can imagine this wasn’t the easiest thing to accomplish. Insert the painted Rainbow Rice- I was able to make metallic gold rice and he was in heaven!
Materials Needed:
- Uncooked White Rice
- Paint – I used Acrylic paint (2 for $1)
- Ziplock Baggies
- Drying Tray and Foil
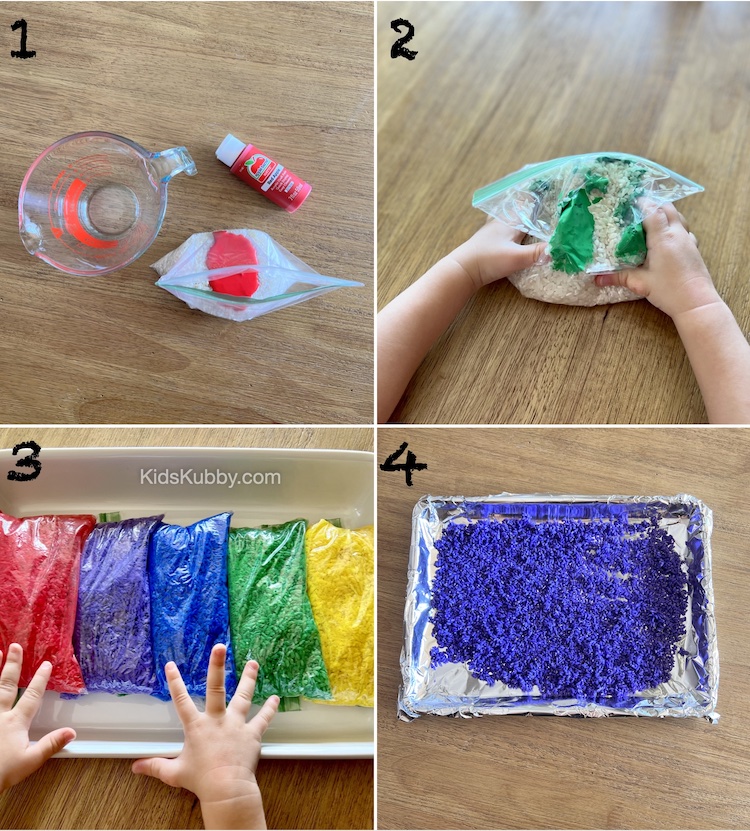
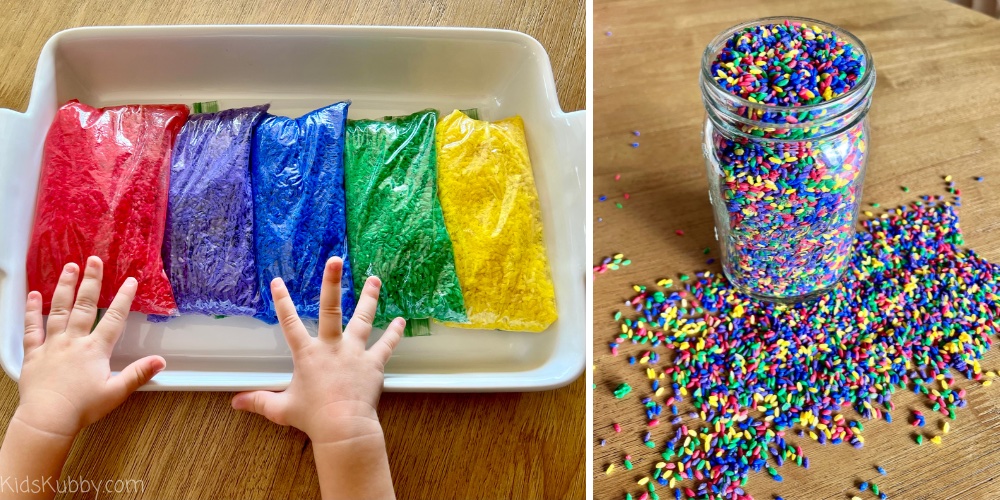
Put your dry rice in individual Ziplock baggies and squirt a nice dollop of paint in the bag. Here is the fun part- make this a sensory activity with your kids by having them squish the bags until all the rice is covered in paint. If you feel like your rice needs more color, add another squirt of paint and mix again.
Once the rice is completely covered in paint, empty onto a foil lined drying tray and spread into a thin even layer. It will dry surprisingly fast. Once completely dry, break up any clumps and you’re ready to play!
2. Taste Safe Rainbow Rice
This method is taste safe for younger kids (AKA our busy busy toddlers) who tend to put EVERYTHING in their mouths. For this method we use food coloring and a bit of vinegar to help the food coloring spread easily.
Materials Needed:
- Uncooked White Rice
- Food Coloring
- Vinegar
- Ziplock Baggies
- Drying Tray and Foil
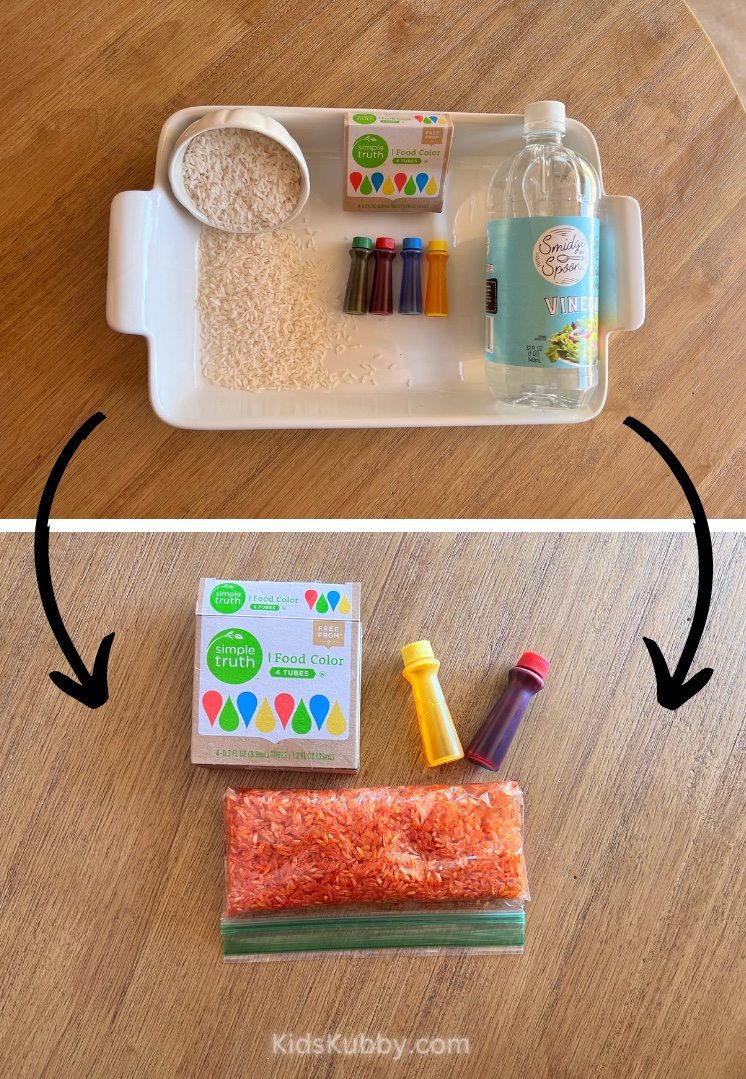
Start by putting a cup of rice in each Ziplock with a tablespoon of vinegar and a few drops of food coloring. Squish the bag in your hands until the color has covered all the rice. If you feel like your rice isn’t vibrant enough, add more food coloring and continue squishing until you’re happy with the shade.
Line your drying tray with foil and pour the rice on the tray to dry. The more you spread out the rice the faster it will dry. Once completely dry, you’re ready to use your Rainbow Rice! Repeat with as many colors as you’d like!
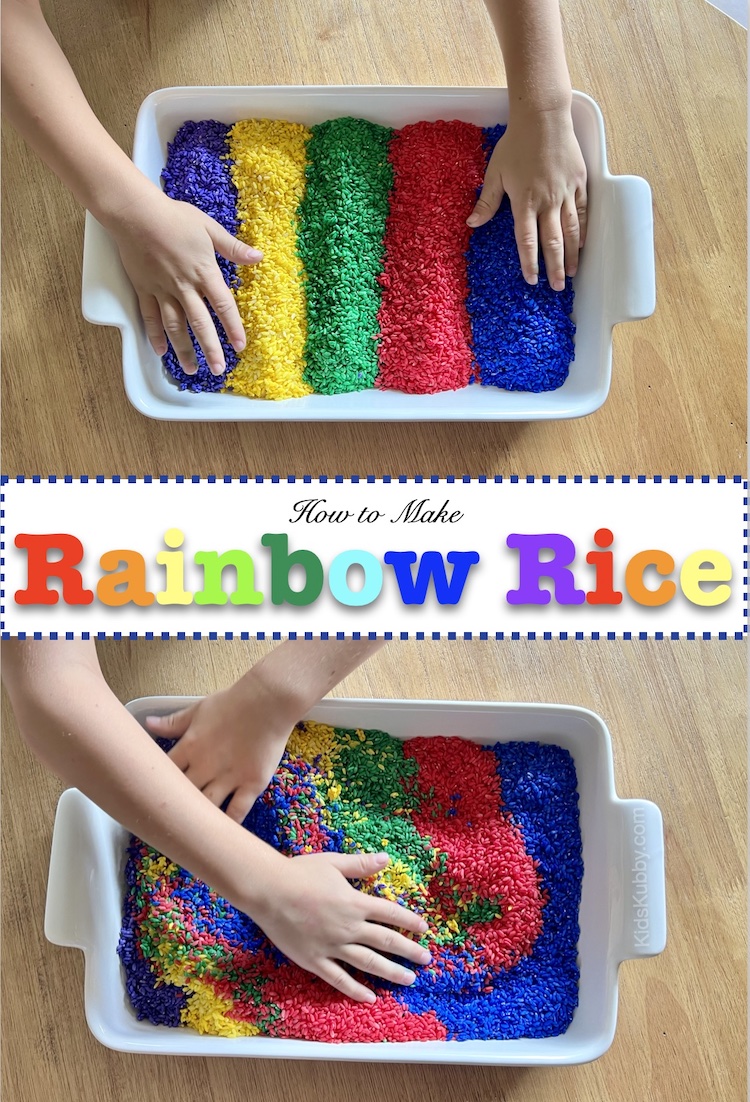
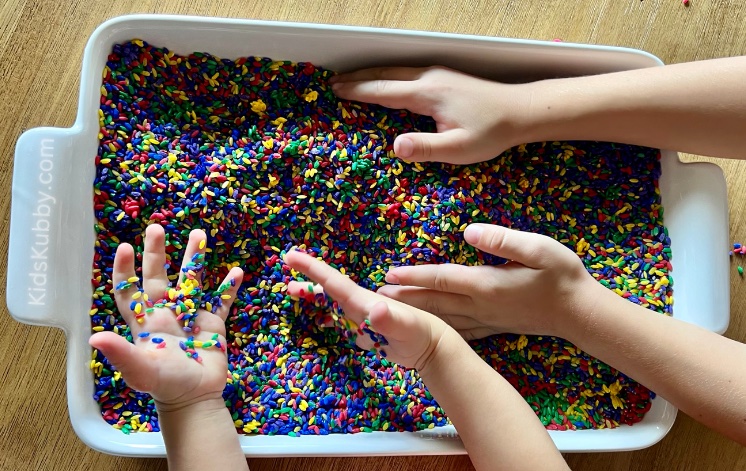
I absolutely love how this dyed rice turns out every single time. I find myself buying new and exciting colors just to make more Rainbow Rice. It’s the perfect base for sensory bins. Kids love to scoop and pour for hours and hours. Your busy toddler is going to have so much fun with this Rainbow Rice. Anything that keeps their sweet little hands busy is a win in my book.
⭐️Helpful Tips⭐️
- Dyed Rice will last just about forever as long as it is kept dry. When not using your rainbow rice store in a ziplock bag. If you find your rice is a bit dirty after several years of play, simply toss it and make a brand new batch!
- I personally prefer the paint method to dye my rice. I like the more brilliant color and I haven’t had an issue with my kids putting the rice in their mouths so it’s a win-win!
- I used a 9×12 baking sheet lined with foil to dry the rice after dying. This size pan will hold 1 cup of colored rice spread into a thin layer. You can always use a larger baking sheet so you can dry more than 1 batch of rice at a time!
- Feeling overwhelmed thinking about making several different colors all at once- Then DON’T!! Pick your kid’s favorite color and make one batch of dyed rice. I promise your kids will still love playing with the colored rice!
- As an added bonus, both methods can be used on dried beans and pasta to make even more rainbow fun!
